The 1970s remain one of the most distinctive and influential decades in interior design, marked by bold colors, organic materials, and free-spirited aesthetics. While original vintage pieces can command steep prices, recreating this iconic era through DIY projects offers an accessible and personalized approach to retro decor. From the intricate patterns of macramé to the warm glow of rattan, these fifteen handcrafted elements capture the essence of seventies style while adding contemporary flair to modern spaces. Discover how these classic techniques and materials can transform your home into a sophisticated tribute to this groundbreaking design period.
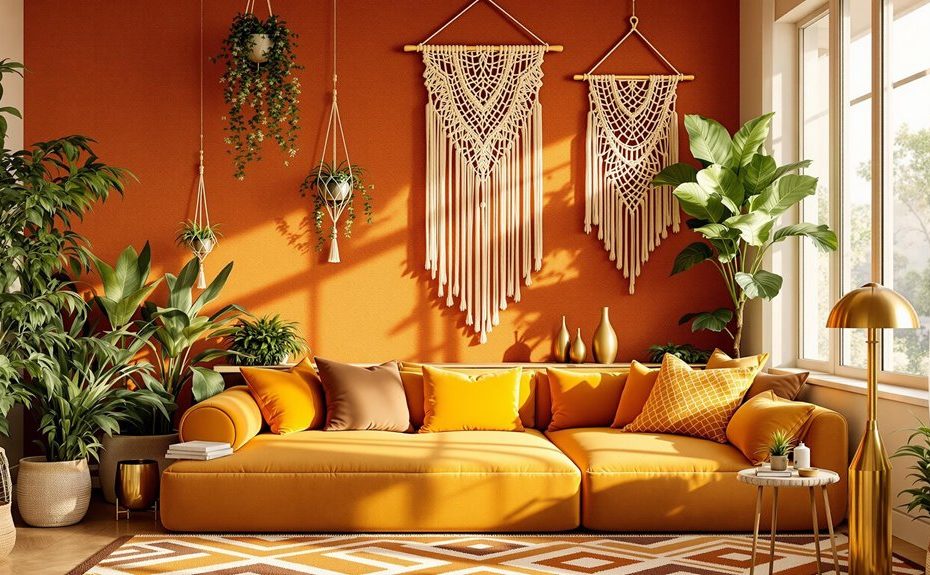
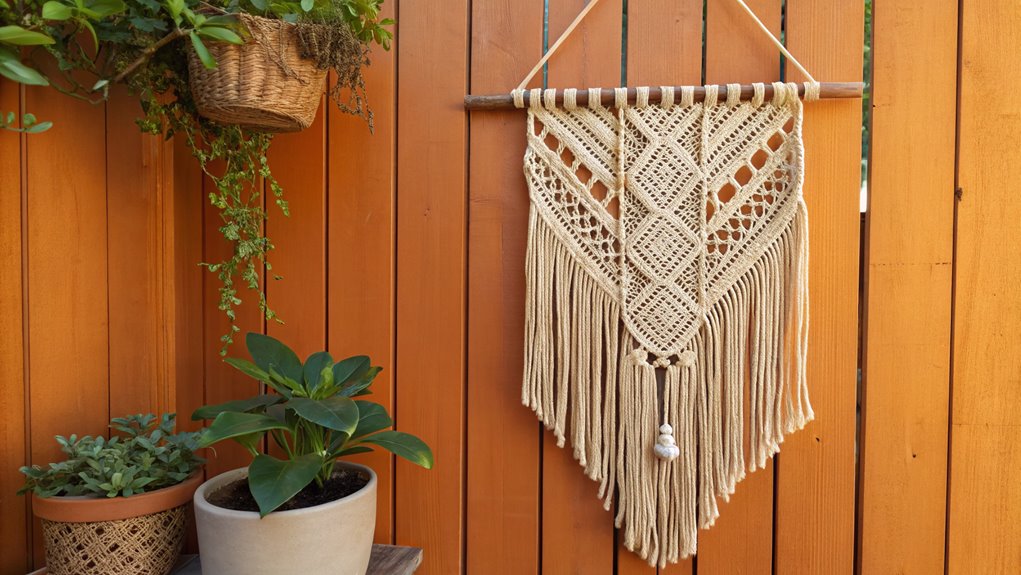
Macramé Plant Hanger
The iconic macramé plant hanger stands as one of the most recognizable decorative elements of 1970s interior design. You can bring this groovy look into your home by creating your own plant hanger using basic knotting techniques and cotton cord.
To get started, you’ll need about 8-10 lengths of cotton cord, each measuring around 6-8 feet long. The main knots you’ll use are the square knot and spiral knot, which create that classic woven pattern. Don’t worry if your first attempt isn’t perfect – that’s part of the charm! Add wooden beads between the knots for extra ’70s flair.
Once finished, hang your creation near a window and add your favorite trailing plant. Spider plants and pothos work beautifully and were popular choices back in the day.
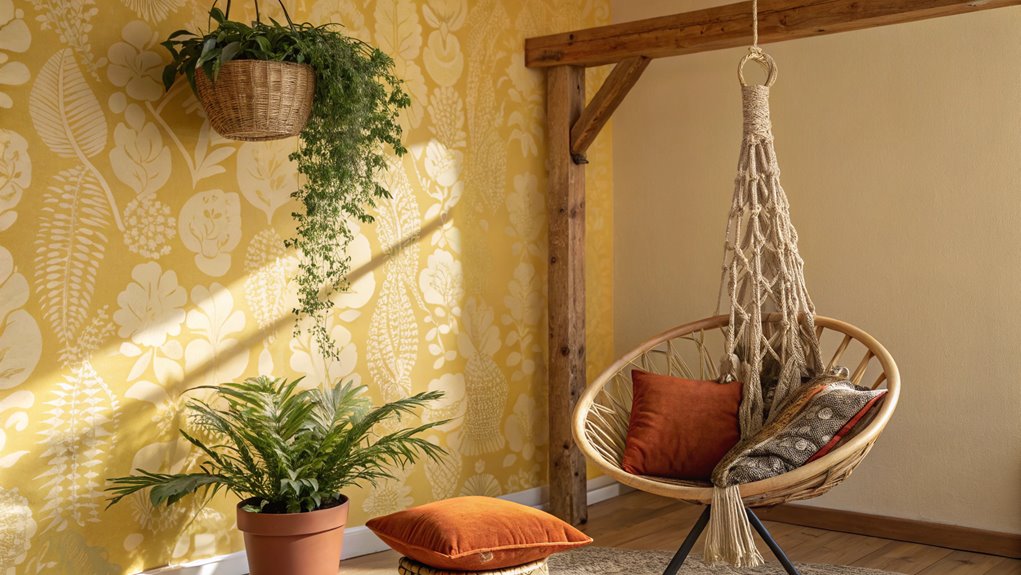
Hanging Rattan Chair
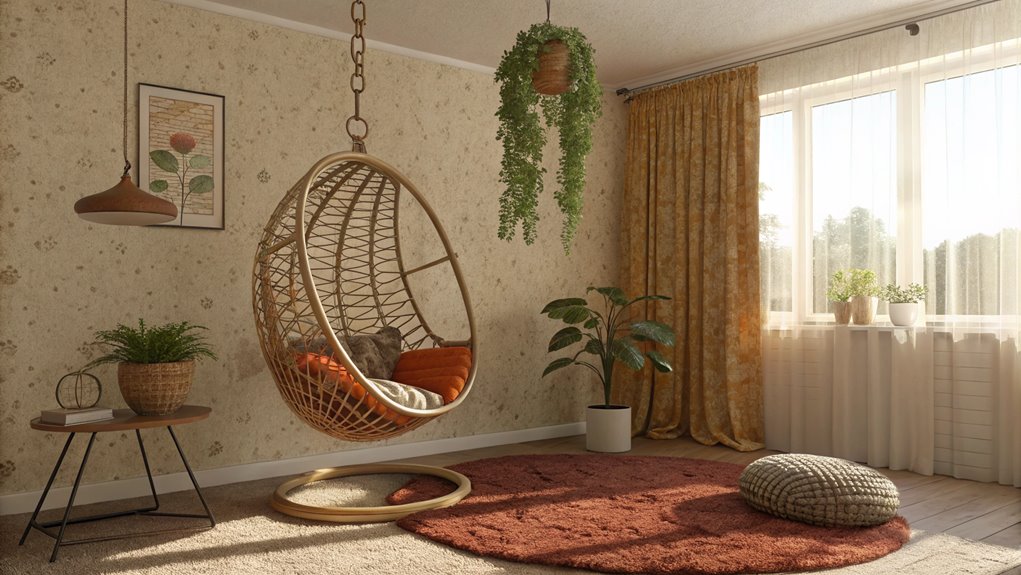
Another quintessential piece of 1970s decor, hanging rattan chairs epitomized the era’s bohemian spirit and natural aesthetic. You can create your own suspended sanctuary by starting with a sturdy rattan egg chair and heavy-duty ceiling hooks rated for your chair’s weight.
Before installation, find a ceiling joist using a stud finder – this is essential for safety! You’ll need strong chain or rope, spring hooks, and mounting hardware. Make sure to measure twice so your chair hangs at the perfect height. Once secured, add comfy cushions and a throw blanket to make it extra cozy.
Your new hanging chair will create an instant conversation piece and give you the perfect spot to curl up with a book or simply swing away your stress.
Sunburst Mirror
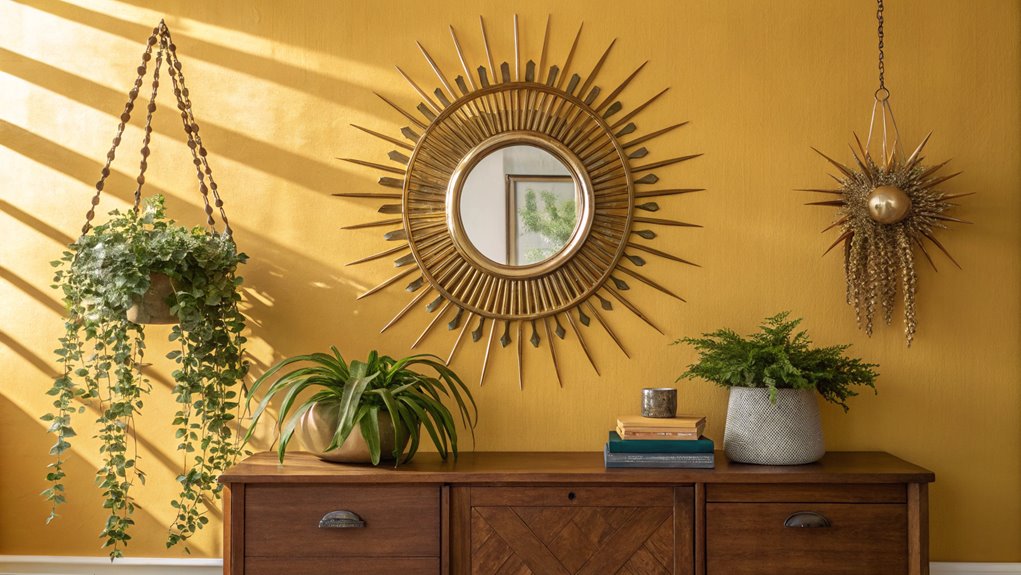
Beloved by decorators for their dramatic impact, sunburst mirrors emerged as a defining design element of 1970s home decor. You can create your own retro statement piece using affordable materials from your local craft store. The basic supplies you’ll need are a round mirror, wooden dowels or craft sticks, and metallic spray paint.
To make your sunburst mirror, arrange the dowels in a radial pattern around your mirror, alternating lengths to create visual interest. You can experiment with different spacing and angles until you find the perfect arrangement. Once you’re happy with the design, secure everything with strong adhesive and give it a coat of gold or brass spray paint. Your DIY sunburst mirror will add that perfect vintage touch to any room, just like the ones that graced so many 70s living rooms.
Shag Rug Wall Art
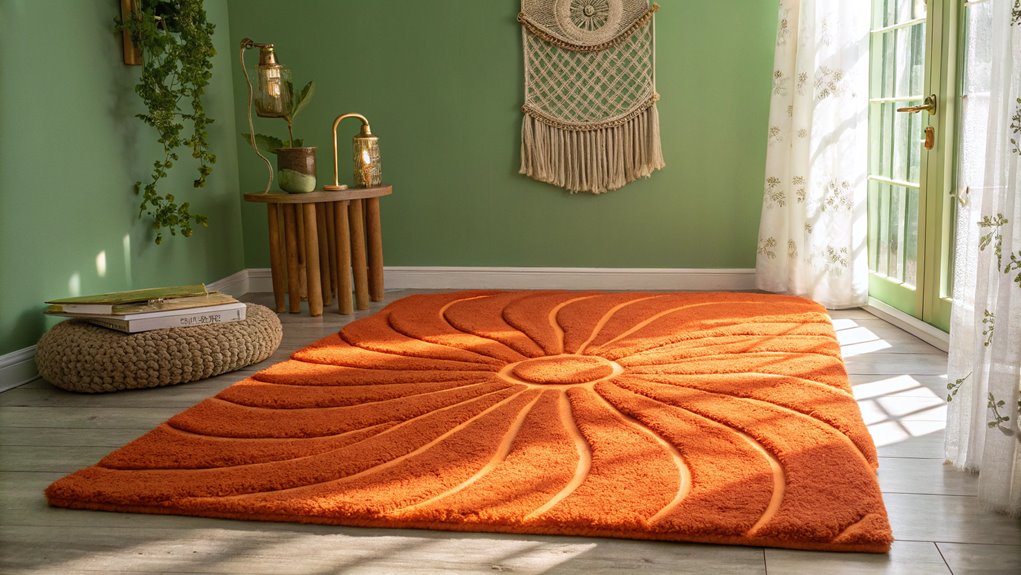
Popular during the groovy seventies, shag rug wall art transformed ordinary walls into tactile masterpieces of texture and color. You can recreate this iconic look by creating your own wall hanging using shag carpet remnants or yarn.
To get started, you’ll need a wooden frame, shag material of your choice, and basic tools. Cut your shag material into shapes like sunbursts, waves, or geometric patterns. Then, secure the pieces to your frame using a staple gun. You can mix different colors and pile heights to add depth and visual interest to your design.
The best part? This fuzzy conversation piece will instantly warm up any room while giving you major retro vibes. Plus, it doubles as sound insulation – something your vinyl collection will appreciate during those late-night listening sessions.
Terrazzo Table Top
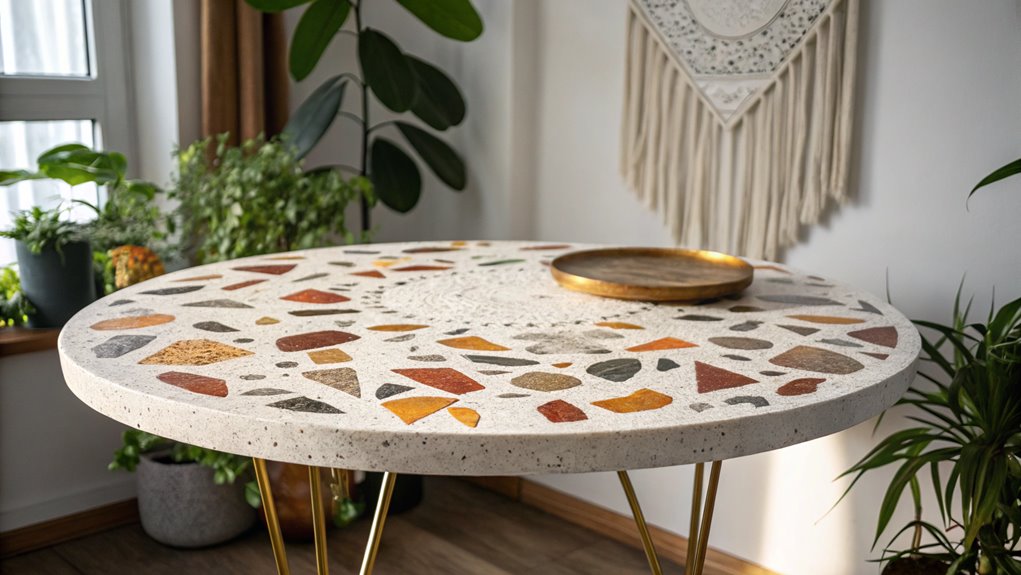
Transform your ordinary table into a stunning piece of 70s-inspired decor with a DIY terrazzo table top. This eye-catching design, which features colorful chips of marble, glass, and granite embedded in concrete, was a hallmark of retro interior design. You can recreate this look using epoxy resin and various colored stone chips from your local craft store.
Start by sanding your table surface and applying a primer. Mix your epoxy resin according to package instructions, then sprinkle your chosen chips into the wet resin in a random pattern. Don’t worry about being too perfect – the beauty of terrazzo lies in its organic arrangement! Once dry, sand lightly and add a final clear coat for protection. Your new table will bring that perfect touch of 70s flair to your space while remaining totally unique to you.
Geometric Wall Mural
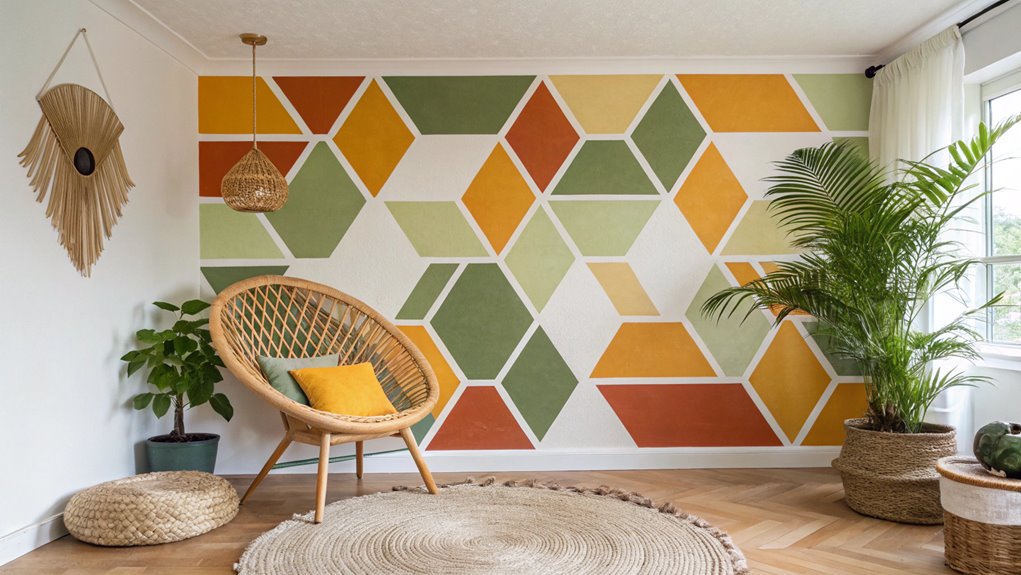
Nothing captures the bold spirit of 70s design quite like a geometric wall mural. You can create your own eye-catching masterpiece using basic shapes like diamonds, hexagons, and zigzag patterns in classic 70s colors such as orange, brown, and harvest gold.
To get started, measure your wall and sketch your design on paper first. Use painter’s tape to mark out your pattern, ensuring clean lines and precise angles. You’ll want to pick 3-4 complementary colors that match your room’s existing decor. Start with the largest shapes first, then work your way to smaller details. Don’t worry about perfection – the charm of DIY murals lies in their handcrafted appeal. Once you’ve finished painting, step back and admire your groovy new focal point that’ll transport you straight back to 1975.
Beaded Curtains

While geometric wall murals make a bold statement, beaded curtains offer a different kind of visual impact in 70s-inspired spaces. You can create your own beaded curtain using wooden, plastic, or glass beads in colors that match your room’s palette. Start by measuring your doorway or window, then string the beads onto fishing line or sturdy thread.
For a classic 70s look, try alternating earth tones like amber, brown, and olive green, or go bold with metallic and iridescent beads. You’ll need several strands hanging side by side to create that iconic curtain effect. Don’t forget to secure the top of your curtain to a wooden dowel or curtain rod. When finished, you’ll have a fun, flowing divider that catches light and adds movement to your space.
Woven Wall Tapestry
A handmade woven wall tapestry captures the essence of 1970s home decor with its rich textures and earthy appeal. You can create your own statement piece using simple materials like yarn, twine, and natural fibers in warm, rustic colors typical of the era.
To get started, you’ll need a wooden dowel, various yarns in browns, oranges, and creams, and a large crochet hook. Begin by securing your base threads to the dowel, then work your way down using basic weaving techniques. Don’t worry about perfection – the beauty of 70s-style tapestries lies in their handcrafted, slightly imperfect nature. Add tassels, braids, or feathers for extra flair.
Place your finished tapestry above your sofa or bed to instantly transform any room into a cozy, vintage-inspired space.
Mushroom Lamp
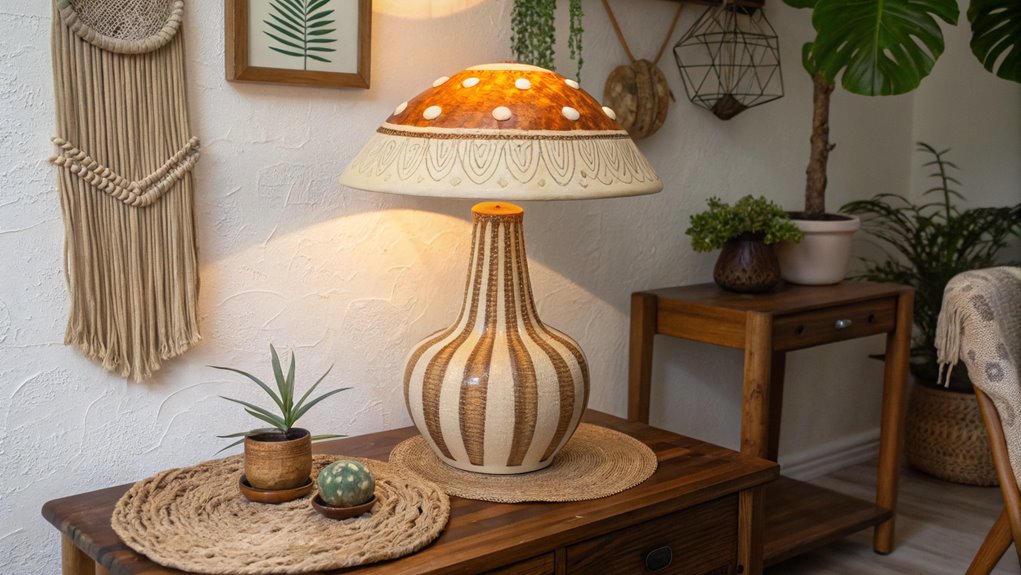
From retro living rooms to vintage-inspired spaces, the iconic mushroom lamp stands as one of the most recognizable lighting fixtures of the 1970s. With its distinctive dome-shaped shade and short stem, you can easily create your own version of this groovy lighting piece.
To make your DIY mushroom lamp, you’ll need a round glass or plastic shade, a lamp base, and basic wiring supplies. Start by painting your shade in classic 70s colors like orange, brown, or cream. Once dry, attach it to your base using the lamp hardware. You can find vintage-style bases at thrift stores or use a modern one painted in metallic gold or silver.
Don’t forget to add a warm-toned bulb to create that cozy, nostalgic glow that made these lamps so popular during the disco era.
Retro Floor Pillows
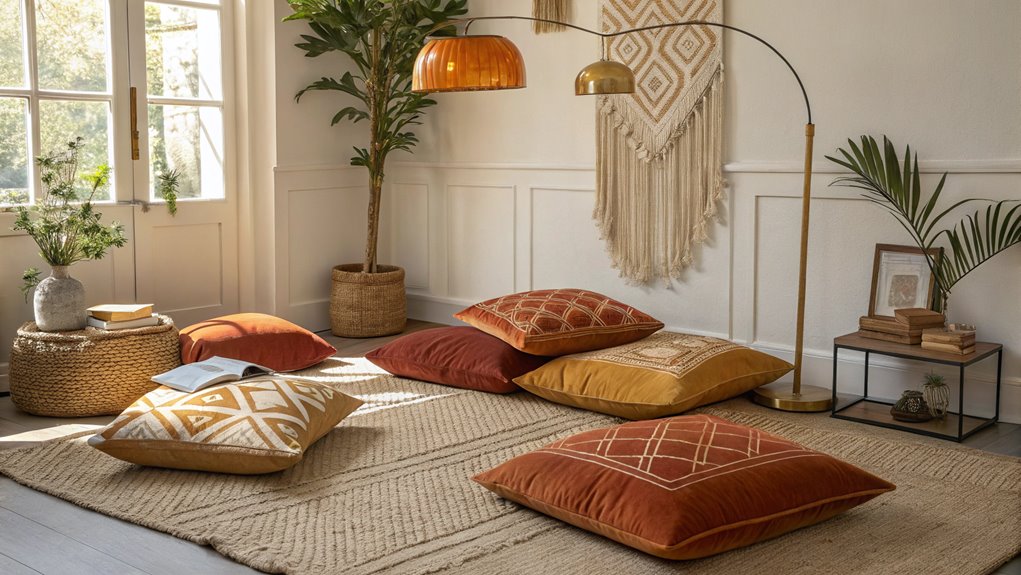
Comfortable seating options were paramount in 1970s home decor, and retro floor pillows perfectly complemented the ambient lighting provided by mushroom lamps.
You can create your own groovy floor pillows using colorful velvet, corduroy, or chenille fabrics. Pick bold patterns like geometric shapes, flowers, or swirls in earthy tones like orange, brown, and mustard yellow. Simply cut two identical squares or circles (24-30 inches wide), sew them together, and stuff with polyester filling.
For extra flair, add tassels or fringe around the edges, or create a tufted center using covered buttons. Stack these pillows in corners or arrange them around your coffee table for casual seating. They’re perfect for lounging, meditation, or those laid-back conversation areas that defined 70s living spaces.
Wooden Room Divider

The iconic wooden room divider emerged as a defining feature of 1970s interior design, serving both practical and aesthetic purposes in open-concept spaces. You can create your own retro room divider using wooden dowels, a few boards, and some basic tools from your local hardware store.
Start by making a sturdy frame from pine or oak boards, then space your dowels evenly across the width. You can stain the wood in warm tones like teak or walnut to capture that true 70s vibe. For an extra groovy touch, try hanging macramé plant holders between the slats or weaving colorful yarn in geometric patterns through the dowels. Your DIY room divider will not only separate your space but also add that perfect vintage touch to your home, just like they did back in the day.
Peace Sign Door Wreath
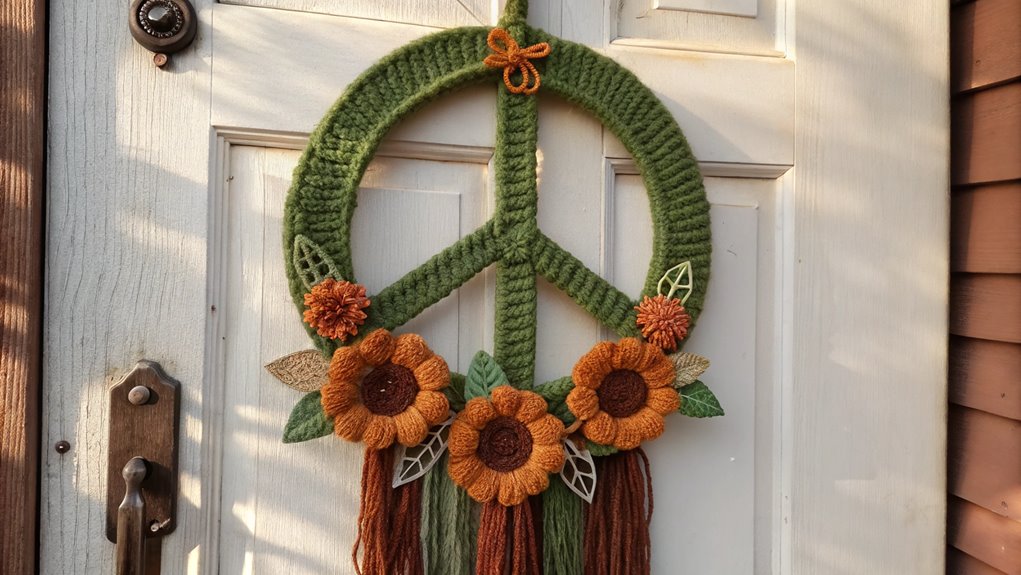
Peace and love defined the spirit of the 1970s, and no symbol captured this sentiment better than the peace sign. Creating your own peace sign wreath brings that groovy vibe right to your front door, making a bold statement about your style and values.
To make this iconic decoration, start with a wire wreath frame and wrap it with colorful yarn or fabric strips in classic 70s shades like harvest gold, avocado green, or burnt orange. Form the peace sign pattern using wooden dowels or wrapped wire, securing them firmly to your base. Add some flair by weaving in artificial flowers, wooden beads, or macramé accents. You can even attach small bells or wind chimes for a musical touch that jingles when the door opens and closes.
Velvet Ottoman

Luxurious velvet ottomans became a quintessential piece of 1970s living room furniture, offering both aesthetic appeal and functional comfort. You can create your own retro-inspired ottoman by transforming an old footstool or coffee table with plush velvet fabric in classic 70s colors like burnt orange, avocado green, or deep purple.
To make your DIY ottoman, you’ll need foam padding, velvet fabric, a staple gun, and basic tools. Simply wrap your base with foam, cover it with your chosen velvet, and secure it tightly with staples underneath. For extra flair, add decorative buttons or tufting to create that iconic 70s diamond pattern. If you’re feeling groovy, try combining two complementary velvet colors or add trendy fringe around the bottom edge for that authentic vintage touch.
Starburst Clock
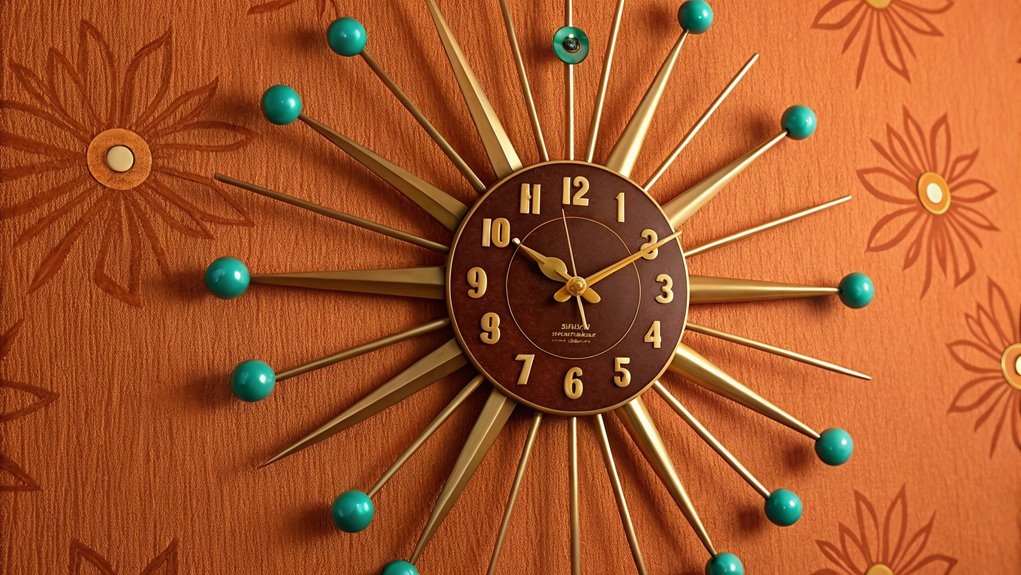
Moving from soft furnishings to wall décor, starburst clocks emerged as one of the most recognizable design elements of 1970s home interiors. These eye-catching timepieces featured metallic rays shooting out from a central clock face, creating a dramatic sunburst effect that could instantly transform any wall into a striking focal point.
You can create your own starburst clock using simple materials like wooden dowels, metallic spray paint, and a basic clock mechanism. Start by arranging the dowels in varying lengths around a circular base, alternating between longer and shorter pieces. Once you’re happy with the pattern, secure everything in place and give it a coat of gold or silver spray paint. Add your clock mechanism in the center, and you’ll have a groovy piece that looks like it came straight from the disco era.
Groovy Glass Terrarium
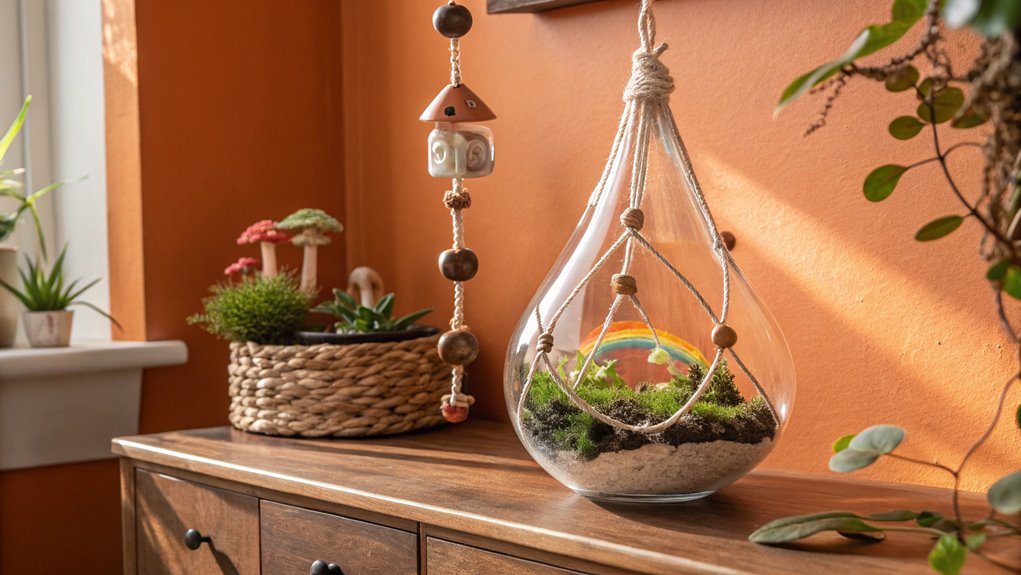
The 1970s’ fascination with bringing nature indoors found perfect expression in glass terrariums, which became must-have decor pieces in homes across America. These miniature gardens under glass offered a groovy way to display tiny plants, colorful stones, and even small figurines.
You can create your own 70s-style terrarium using a large glass container with a wide opening. Start by adding a layer of pebbles for drainage, followed by activated charcoal and potting soil. Choose low-maintenance plants like ferns, moss, and succulents. Add personal touches with vintage-inspired elements like peace signs, mushroom figurines, or colored glass pebbles. Remember to place your terrarium in indirect sunlight and mist it occasionally to maintain the perfect humid environment your mini ecosystem needs.
Frequently Asked Questions
What Cleaning Products Are Safe to Use on Vintage 70S Furniture?
For vintage 70s furniture, stick to gentle cleaning products to protect the materials. Use mild dish soap mixed with warm water for most surfaces, Murphy Oil Soap for wood pieces, and white vinegar solution for vinyl. Avoid harsh chemicals or bleach-based cleaners that can damage delicate finishes. For fabric upholstery, test any cleaner on a hidden spot first and use a soft brush to prevent wear.
How Do I Prevent Sun Damage to My Retro Decor Pieces?
Just like your skin needs protection from harmful UV rays, your beloved retro pieces do too! To prevent sun damage, position furniture away from direct sunlight, use UV-blocking window films, or install light-filtering curtains. When possible, rotate decorative items periodically to guarantee even exposure. For extra protection, consider applying UV-resistant sprays specifically designed for vintage materials. Remember, prevention is easier than restoration!
Where Can I Find Authentic 70S Hardware and Furniture Parts?
You can find authentic 70s hardware and furniture parts at estate sales, vintage shops, and architectural salvage yards. Online marketplaces like Etsy and eBay often have great selections too. Don’t forget to check local thrift stores and flea markets – they’re treasure troves for period pieces. For specialty items, try connecting with vintage furniture restoration specialists or joining online collectors’ groups, where members often trade and sell original parts.
Can Modern LED Bulbs Be Used in Original 70S Light Fixtures?
Yes, you can use LED bulbs in vintage 70s fixtures, but you’ll need to check a few things first. Make sure the LED bulb’s base matches the fixture’s socket size and that its wattage equivalent doesn’t exceed the fixture’s rating. Also, consider using “warm white” LEDs around 2700K to match that classic 70s glow. Most modern LEDs work fine, but dimmer switches might need updating.
How Do I Identify Genuine Vintage Pieces Versus Modern Reproductions?
To spot genuine vintage pieces, look for signs of natural aging like patina, wear patterns, and original hardware. Check labels, maker’s marks, and construction methods – 70s pieces often used specific materials like teak or chrome. Research authentic designs and manufacturers from that era. Modern reproductions typically have perfect finishes, contemporary materials, and newer manufacturing techniques. When in doubt, consult vintage furniture experts or reference guides.
