When my clay butterfly sculpture crumbled after a week of display, I knew I’d need to master the art of strengthening air dry clay. Through years of experimentation, I’ve discovered that creating durable clay pieces isn’t just about the drying process—it’s a combination of proper techniques, the right additives, and strategic construction methods.
I’ll share the essential methods I’ve developed to transform fragile clay into robust, lasting pieces that can withstand handling and time.
Clay Thickness
Thickness plays an essential role in creating strong air-dry clay pieces. I’ve found that keeping your clay under 1 inch thick is vital for preventing cracks and ensuring even drying. Trust me, I’ve learned the hard way that thicker pieces are more prone to cracking and take forever to dry! You can always use a non-stick surface when rolling out your clay to achieve better thickness control.
Let me share a pro tip: I always aim for about a quarter-inch thickness when rolling out my clay. It’s the sweet spot that gives you enough strength without risking those annoying cracks. If you need to create something thicker, I’d recommend building it up in layers. This way, each layer can partially dry before you add the next one – it’s like building a clay sandwich!
Here’s something interesting I’ve discovered: flat pieces dry much faster than spherical ones of the same volume. It’s all about surface area! I also love working with hollow shapes because they’re less likely to crack than solid pieces. When you’re rolling out your clay, grab a good rolling pin and apply gentle, even pressure. Think of yourself as a clay DJ – keep that rhythm steady and consistent!
Working With Clay Additives
Three key additives can dramatically strengthen your air-dry clay projects – PVA glue, wire armatures, and sealants. I’ve found that mixing PVA glue directly into your clay (about one squirt per pound) creates a much more durable piece by helping those tiny paper fibers stick together. Trust me, it’s worth the extra step! Building your clay in consistent layers ensures even drying and better structural integrity.
When I’m working on delicate sculptures or art dolls, I always start with a wire armature wrapped in painter’s tape. It’s like giving your sculpture a strong skeleton to build upon. This is especially important for those tricky parts like fingers and ears that might otherwise snap off.
For the finishing touch, I’ll seal my pieces with either polyurethane or acrylic sealer. If you’re feeling crafty, you can even make your own varnish by mixing clear nail polish, glue, and water. Just remember to apply thin layers and let each one dry completely.
I learned that lesson the hard way! Don’t forget to prime your piece first – it’ll make the surface more resistant to dents and scratches, plus it creates a perfect canvas for painting.
Effective Clay Drying Techniques
When it comes to drying air-dry clay, I’ve learned that patience and proper technique make all the difference. I always set my projects in a room-temperature space away from direct sunlight, where they can dry gradually over 24-72 hours. Trust me, trying to rush the process with a hairdryer is just asking for cracks!
I’ve found that the key to crack-free drying is giving your piece plenty of breathing room. I use a wire rack or screen so air can circulate all around the project. Using a clean work surface is critical to prevent any debris from getting stuck in your clay. I’ll flip it halfway through drying too – it’s like giving your clay project a little midday nap on its other side. This prevents any warping or uneven drying that might weaken your piece.
Here’s a pro tip I’ve picked up: keep your clay thickness consistent throughout your project. If you notice any small cracks forming while it’s drying, just smooth them out with slightly damp hands. I also like to mist my projects occasionally with water to prevent them from drying too quickly. Remember, when it comes to air-dry clay, slow and steady definitely wins the race!
Essential Sealing Methods
A properly dried clay piece needs effective sealing to reach its full potential. I’ve found that choosing the right sealant makes all the difference in protecting your creation from moisture and wear.
While there are several options available, I typically reach for either polyurethane varnish or acrylic sealer spray for the best results. Working in a well-ventilated area is essential when using spray sealers.
When I’m sealing my pieces, I always start with a completely dry, dust-free surface. I’ll grab my foam brush and apply thin, even layers of sealant – think of it like painting your nails, where multiple thin coats work better than one thick one!
If you’re working with intricate details, I’d recommend using a spray sealer since it can reach those tricky spots without pooling.
For everyday crafts, you might be tempted to use Mod Podge or PVA glue – they’re certainly budget-friendly options. However, if you’re creating something that needs to last, I strongly suggest investing in polyurethane or acrylic sealers.
Just remember, no matter which sealant you choose, your air dry clay pieces should be kept strictly decorative – they’re not food-safe, even after sealing!
Proper Clay Handling
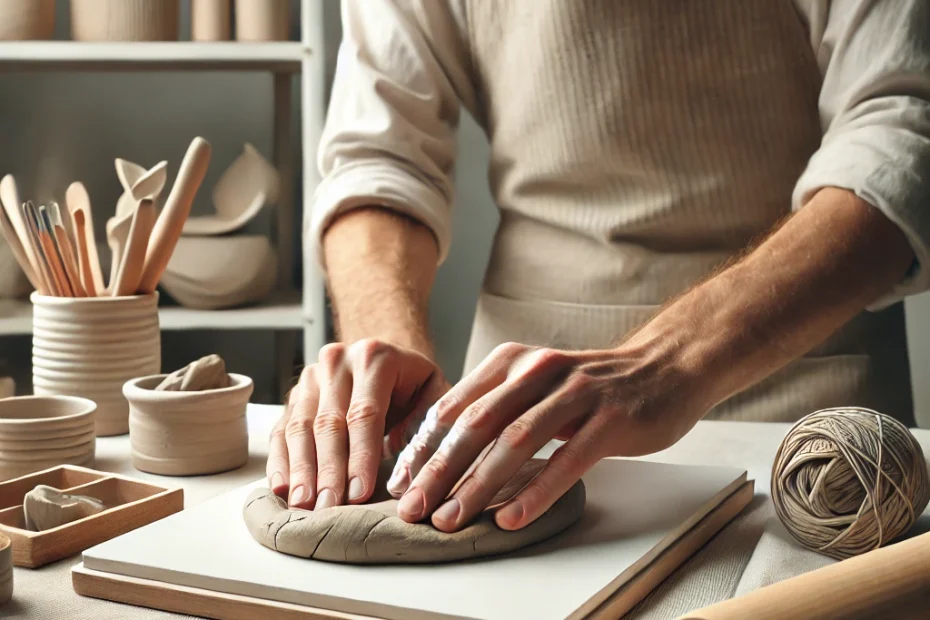
The right handling techniques can make or break your air-dry clay project. Starting with proper conditioning is essential – you’ll want to knead the clay until it’s perfectly smooth and workable.
If it’s too hard, I’ll mist it lightly with water or work with damp hands, but I’m always careful not to overdo the moisture. Working in a room with optimal temperature range between 68-72°F helps prevent damage to your clay piece.
When I’m rolling out the clay, I stick to about a quarter-inch thickness – it’s my sweet spot for preventing cracks while maintaining strength. I’ve learned the hard way that working on the right surface makes a huge difference. I always use a silicone mat or wax paper (trust me, you don’t want to battle with clay stuck to your table!). If things get sticky, a little hand cream on my palms works wonders.
For texture and patterns, I love using textured rolling pins – they’re like magic wands for instant design. Oh, and here’s a pro tip: if your clay gets too soft while you’re working, pop it in the freezer for a few minutes. It’ll firm right up, and you’ll be back to creating in no time.
Supporting Your Clay Project
Now that you’ve mastered handling your clay, let’s focus on supporting it properly during creation and drying. Thick projects need special attention – you’ll want to use molds or supports to prevent any unwanted sagging. Trust me, there’s nothing worse than watching your masterpiece slowly droop out of shape!
For slab constructions, I always recommend using reinforcement coils. They’re like the backbone of your project, adding vital strength where you need it most. Remember to maintain a minimum thickness of 0.5cm throughout your piece – any thinner and you’re asking for trouble.
I can’t stress enough how important proper support is during drying. I make sure to flip my projects regularly so all sides get equal air exposure. This might seem fussy, but it’s worth it to prevent warping. When joining pieces together, I always score and slip the surfaces – it’s like giving your clay pieces super glue!
And here’s a pro tip: if you’re working on a larger piece, create a temporary support structure using foam or cardboard. It’ll help maintain your project’s shape until it’s fully set.
Strengthening Through Layering Techniques
Building strong layers forms the foundation of durable air dry clay projects. Starting with a thick base layer of about 1/4 inch gives your piece the stability it needs. I always make sure my layers are even – trust me, it makes a huge difference in preventing those frustrating cracks later on.
Here’s my tried-and-true technique: I score each layer (that’s fancy talk for scratching up the surface) and then add a bit of slip – it’s like clay glue made from water and clay. I’ll let each layer dry just a tad before adding the next one. It’s kind of like building a sandwich, but you want each layer to stick together perfectly!
For extra strength, I mix in some PVA glue with my clay, especially for those delicate parts that love to break. You’ll want to take your time with the drying process – I flip my pieces halfway through and keep them away from direct sunlight.
Once everything’s dry, I smooth out any rough spots with fine sandpaper and seal it with acrylic paint or varnish. It’s worth the extra effort for a piece that’ll last!
Frequently Asked Questions
Can Air-Dry Clay Be Used for Outdoor Projects That Face Weather Elements?
I wouldn’t recommend using air-dry clay outdoors. Even with sealants, it’s vulnerable to weather damage. Instead, I’d suggest using polymer clay or fired ceramics for outdoor projects.
How Long Can Finished Air-Dry Clay Projects Last Before Showing Signs of Deterioration?
I’ve seen my daughter’s sealed air-dry clay sculptures last 5+ years indoors. With proper care, your projects can last decades, though they’ll need protection from moisture and extreme conditions.
Is It Possible to Join Dried Clay Pieces Together Afterward?
I can assure you that joining dried clay pieces is possible using methods like paper clay glue, scoring surfaces, adding clay slurry, and keeping pieces evenly wet during bonding.
Can Air-Dry Clay Be Safely Used for Food-Contact Items Like Cups?
I strongly advise against using air-dry clay for food items. It contains toxic ingredients, remains porous, and can deteriorate with liquid contact. Use proper ceramic clay instead.
What’s the Maximum Size Project Possible With Air-Dry Clay Before Stability Issues?
I’ve found that air-dry clay projects larger than 12 inches can become unstable. I’d recommend staying under this size unless you’re using internal supports and careful layering techniques.
