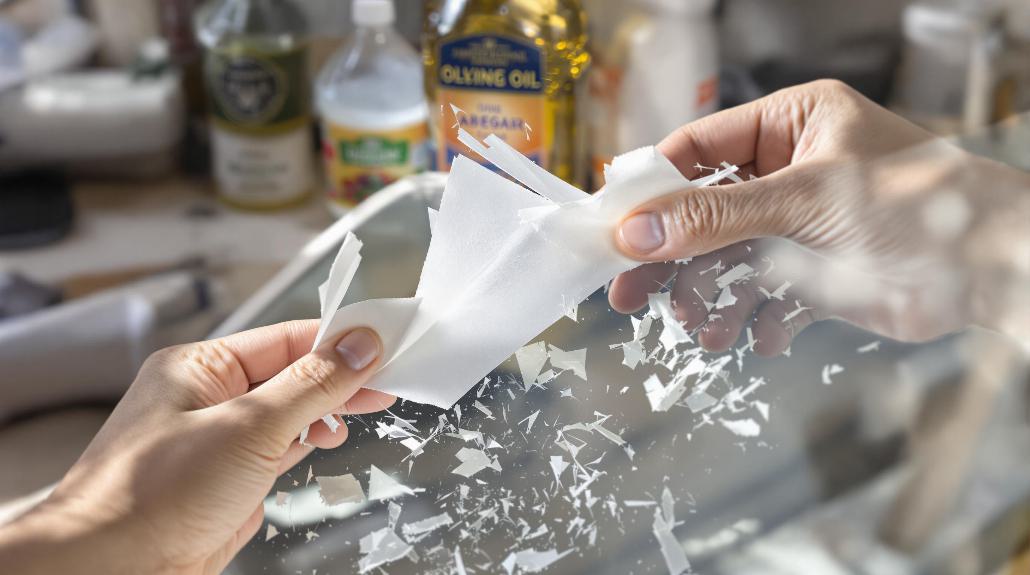
I’ve got some super simple tricks to remove stubborn sticker residue using items you already have at home. Start by warming the sticker with a hair dryer for 30 seconds, then gently peel it away. For any leftover residue, try rubbing alcohol on glass, white vinegar on plastic, or cooking oil on wood surfaces. Make a paste with baking soda and coconut oil for extra-tough spots, working it in with a plastic scraper (even an old gift card works great). These methods are safe for most surfaces, but I’ve got specific techniques for trickier materials that’ll make the job even easier.
Common Household Items You’ll Need
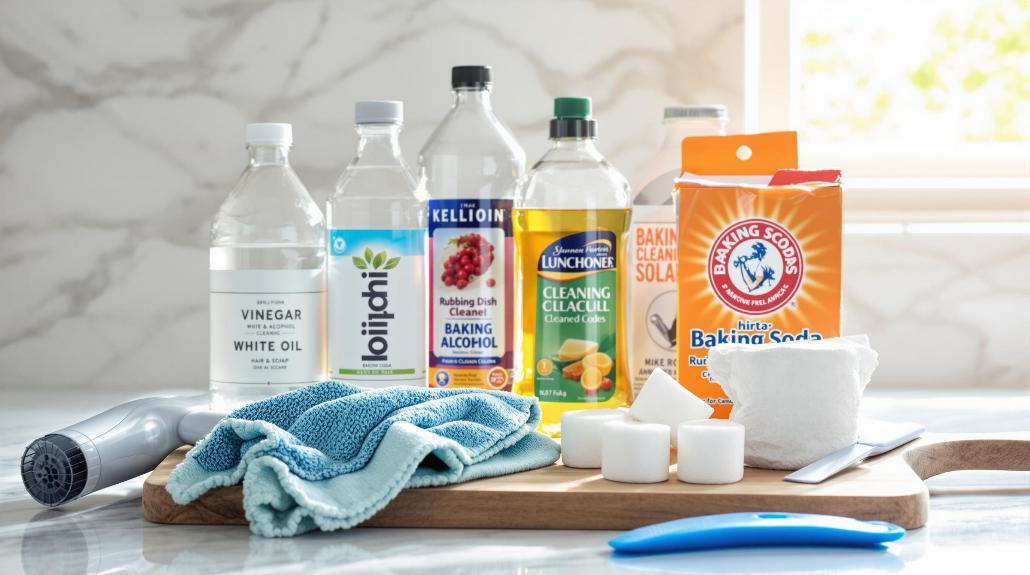
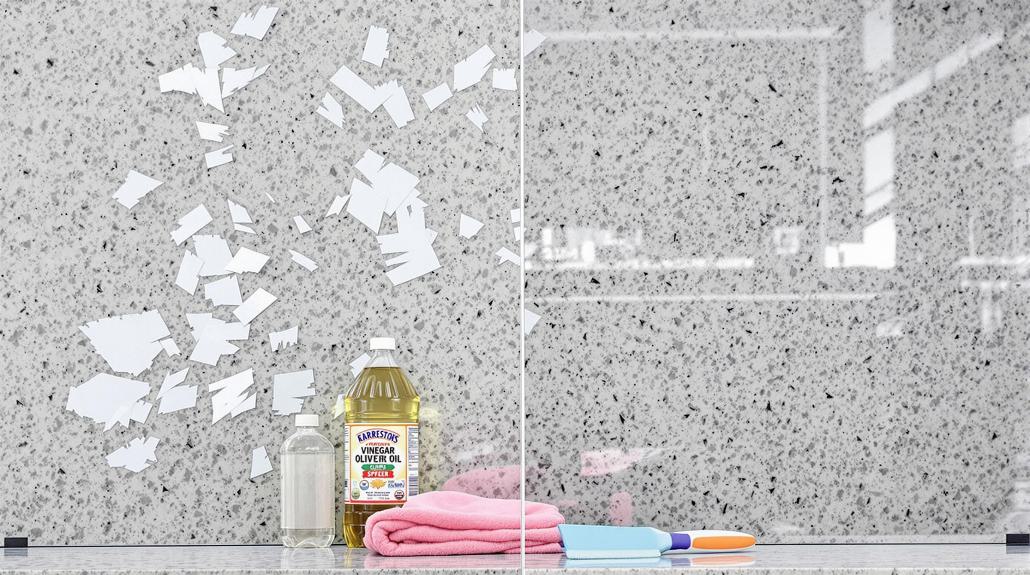
You’ll need five basic household items to remove stubborn sticker residue: white vinegar, rubbing alcohol, cooking oil, baking soda, and a scraping tool like a credit card or plastic spatula.
I’ve found these items work like magic when used properly, and you probably already have most of them in your home.
Let me explain why each item is essential. White vinegar’s acidity breaks down adhesive bonds, while rubbing alcohol dissolves sticky residue quickly – it’s my go-to for glass surfaces.
Cooking oil (any kind will do) helps soften stubborn adhesive that’s been baking in the sun for months. Trust me, I’ve rescued many a window from my kids’ sticker adventures with just a few drops.
Baking soda works as a gentle abrasive when you need extra scrubbing power, and I love that it won’t scratch delicate surfaces.
As for the scraping tool, I actually prefer old gift cards – they’re firm enough to work but won’t damage surfaces like metal tools might. Just don’t use the gift card you’re planning to shop with later!
Oil-Based Removal Methods
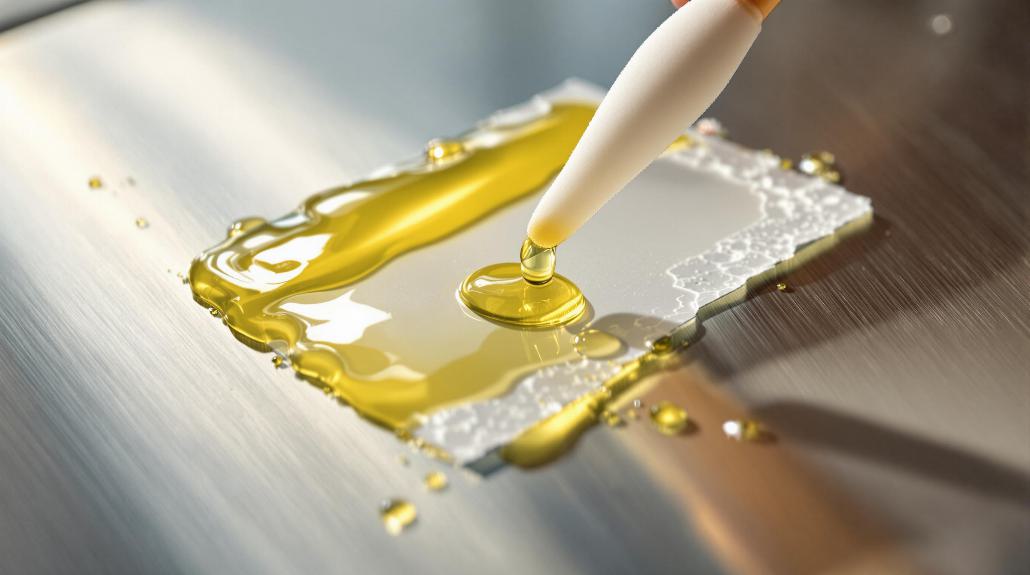
While many people reach straight for chemical solutions, oil-based products offer a gentle yet effective way to remove stubborn sticker residue. I’ve found that common cooking oils like vegetable oil, olive oil, and coconut oil work wonders on sticky surfaces. They’re safe, natural, and you probably already have them in your kitchen!
Here’s how I tackle stubborn sticker residue with oil: First, I apply a few drops directly to the sticky area and let it sit for about 5 minutes. Then, I gently work the oil into the residue using my fingers or a soft cloth – and yes, it’s okay to get your hands a bit messy here! The oil helps break down the adhesive’s molecular structure (fancy, right?), making it easier to wipe away.
For extra-stubborn spots, I’ll mix equal parts baking soda and coconut oil to create a paste. This combo adds just enough abrasion to lift the residue without scratching the surface.
Once I’ve removed all the sticky stuff, I clean the area with dish soap to remove any oily traces. Trust me, your surfaces will thank you for choosing this gentle approach!
Heat and Steam Solutions
Applying heat and steam provides another effective method for tackling stubborn sticker residue. I’ve found that using a hair dryer on high heat works wonders for softening even the most stubborn adhesives. Simply direct the hot air at the sticker for about 30 seconds, and you’ll notice it becoming more pliable.
For larger areas, I like to use my clothing iron with a damp cloth between the iron and the residue – just be careful not to damage delicate surfaces!
Here are my favorite heat-based removal techniques that I’ve tested:
- Use a blow dryer on high heat, holding it 2-3 inches from the surface while moving it in circular motions
- Place a damp cloth over the residue and iron on medium heat for 10-15 seconds
- Run hot water over the item (if waterproof) while scraping gently with a plastic card
Once you’ve applied heat, I recommend working quickly to peel or scrape while the adhesive is still warm. If you notice it hardening again, just reapply heat.
You’ll be amazed at how easily those stubborn stickers give up their grip when faced with a little strategic warming!
Natural Cleaning Solutions

Natural cleaning solutions offer a safe and eco-friendly approach to removing sticker residue without harsh chemicals. I’ve found that simple ingredients from your kitchen can work wonders on stubborn adhesive.
My go-to solution is white vinegar, which breaks down the sticky stuff while being gentle on most surfaces.
Here’s what I love using: Mix equal parts white vinegar and warm water, then add a few drops of lemon essential oil (it works great and smells amazing!). I’ll dab this mixture onto the residue with a soft cloth and let it sit for about 5 minutes.
For tougher spots, I’ll make a paste using baking soda and coconut oil – it’s like a tiny science experiment that actually works.
Another trick I swear by is using cooking oil – any kind will do, though olive oil’s my favorite. Just massage it into the sticky area with your fingertips, and you’ll feel the residue loosening up.
Remember to finish up by washing the area with mild soap and water – nobody wants their stuff feeling greasy! Trust me, these natural solutions work just as well as commercial products, and you won’t have to hold your breath while using them.
Surface-Specific Removal Techniques
Different surfaces require specific approaches to safely remove sticker residue without causing damage.
I’ll show you how to tackle each type of surface like a pro, ensuring you don’t accidentally scratch or discolor your precious items.
For glass and mirrors, I always start with a plastic scraper – it’s gentler than metal and won’t leave scratches.
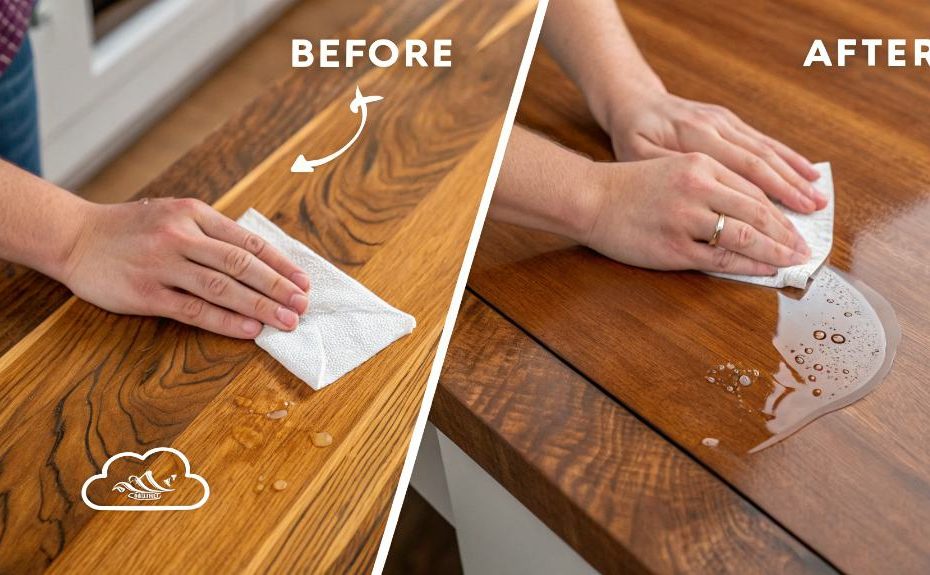
If you’ve got sticker residue on wood, you’ll want to be extra careful. I recommend using olive oil or mayonnaise to soften the adhesive first, then wiping with the grain using a soft cloth.
When it comes to plastic surfaces, here’s what works best:
- Heat the residue with a hair dryer for 30-45 seconds
- Apply your chosen adhesive remover in small, circular motions
- Test any solution on a hidden spot first to prevent discoloration
For delicate electronics, I’ve found that isopropyl alcohol works wonders – just make sure to use it sparingly on a cotton swab.
Metal surfaces are pretty forgiving, but I still avoid abrasive materials that might leave scratches. Instead, I opt for commercial adhesive removers or a vinegar solution.
Preventive Tips and Best Practices
While removing sticker residue can be challenging, preventing adhesive issues in the first place will save you time and effort. I always recommend testing new stickers in an inconspicuous spot first, especially on delicate surfaces.
When you’re planning to remove a sticker later, try applying a bit of wax paper or clear tape over it – this makes future removal much easier.
Before applying any sticker, I make sure to clean and dry the surface thoroughly. I’ve learned that moisture or dirt trapped under a sticker can weaken the adhesive, leading to that annoying partial peeling that leaves behind more residue.
If you know you’ll need to remove the sticker later, avoid placing it in direct sunlight or areas with high temperature fluctuations.
For temporary labels, I suggest using removable adhesive products instead of permanent ones. You can even create a barrier by applying clear nail polish to the surface before adding the sticker – it’s a trick that’s saved me countless hours of scrubbing!
And remember, if you’re marking personal items, consider using removable labels or masking tape instead of traditional stickers.
Frequently Asked Questions
Can Sticker Residue Damage Car Paint if Left Untreated for Too Long?
Like a stubborn houseguest, sticker residue can definitely harm your car’s paint if left too long.
I’ve found that the adhesive compounds can trap moisture and debris, leading to oxidation and etching of the clear coat and paint layers.
Over time, this can cause discoloration, peeling, and permanent damage.
That’s why I always recommend removing any sticker residue promptly to protect your car’s finish.
How Long Should I Wait Between Attempts to Remove Stubborn Residue?
I’d recommend waiting at least 15-20 minutes between removal attempts to give your surface time to recover.
If you’re using solvents or oils, this waiting period lets the residue soften up properly and prevents potential damage from excessive rubbing.
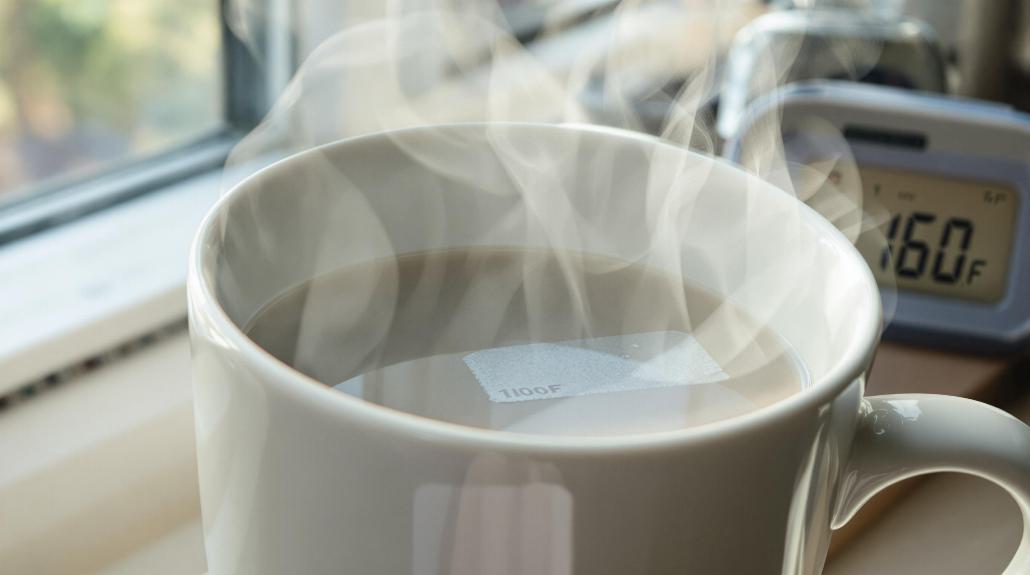
I usually take a short break, grab a coffee, and come back with fresh eyes – it’s amazing how often that stubborn spot comes off easier after a brief pause.
Does Sticker Residue Become Harder to Remove in Extreme Temperatures?
Yes, temperature definitely affects sticker residue removal!
In cold conditions, I’ve found that adhesive becomes more brittle and stubborn, while heat makes it softer and gummier.
I’ve noticed residue getting particularly tricky to remove when left in direct sunlight or freezing temperatures.
That’s why I recommend working with residue at room temperature – it’s much easier to handle when it’s not too hot or cold.
What Should I Do if the Residue Has Changed Color?
If you’re noticing discolored residue, don’t panic – it’s usually just the adhesive reacting with air or surface materials over time.
I’d recommend starting with a fresh cleaning solution, as older residue might need a bit more muscle.
Try using rubbing alcohol or a commercial adhesive remover, and if that doesn’t work, I’ve had success with a paste made from baking soda and coconut oil to lift those stubborn, discolored spots.
Are There Any Medical Risks From Prolonged Contact With Sticker Adhesive?
While most sticker adhesives are generally safe, I wouldn’t recommend letting them stay on your skin for too long.
Some people can develop skin irritation, rashes, or allergic reactions from prolonged exposure. If you have sensitive skin, you’ll want to be extra careful.
I’ve seen cases where adhesive residue trapped bacteria and caused minor infections. When in doubt, I always suggest cleaning the adhesive off promptly with soap and water.
