I’ll show you how to create a stylish room divider without breaking the bank! Start with affordable materials like curtains, bedsheets, or even old wooden pallets. For a basic fabric divider, you’ll need a measuring tape, fabric, and either PVC pipes or wooden frames for support. You can also repurpose items like bookshelves or wooden crates, securing them with L-brackets for stability. Add personal touches with stencils, macramé, or hanging plants to make your divider uniquely yours. With just $50 and some basic tools, you’ll transform your space into distinct, functional areas – and I’ve got all the detailed steps to make it happen.
Budget-Friendly Room Divider Materials
When you’re looking to divide a room without breaking the bank, there’s a wide variety of budget-friendly materials to choose from.
I’ve found that fabric options are among the most versatile and affordable solutions. You can transform simple curtains, canvas, or even bedsheets into elegant room dividers that’ll instantly define your space. Safety pins and clothespins provide secure attachment methods for your fabric.
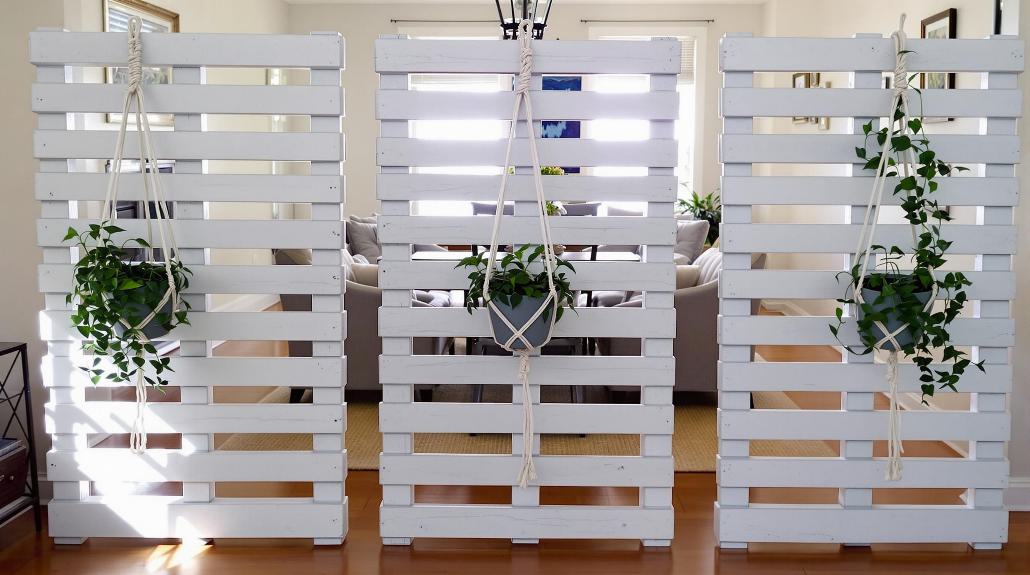
If you’re feeling crafty, I’d suggest exploring recycled materials. Those old wooden pallets gathering dust in your garage? They can become a stunning rustic divider with just a bit of cleaning and creativity.
I’ve seen gorgeous results using repurposed bookshelves, which pull double duty as both dividers and storage solutions.
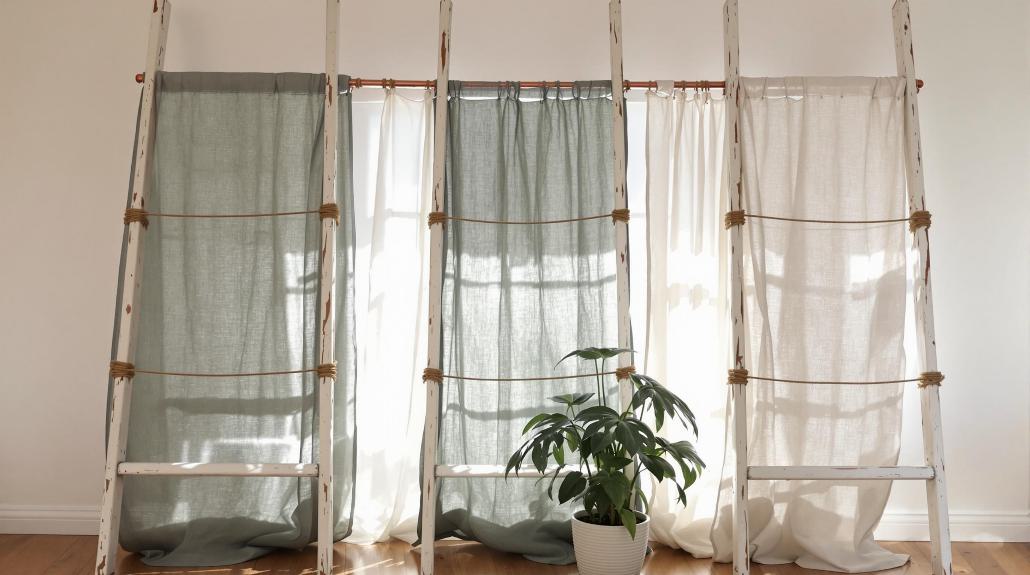
For a more structured approach, I recommend working with affordable frames. PVC pipes are my go-to material – they’re lightweight, easy to cut, and surprisingly sturdy.
You can create a simple frame and dress it up with fabric, or get creative with wooden slats for a modern look.
I’ve even had success using old clothing racks as frames – just add your favorite fabric, and you’ve got an instant room divider that didn’t cost a fortune.
Essential Tools and Equipment
Before diving into any room divider project, you’ll need the right tools and equipment to guarantee success. I’ve found that the essential items vary depending on your chosen design, but I’ll break down the must-haves for different types.
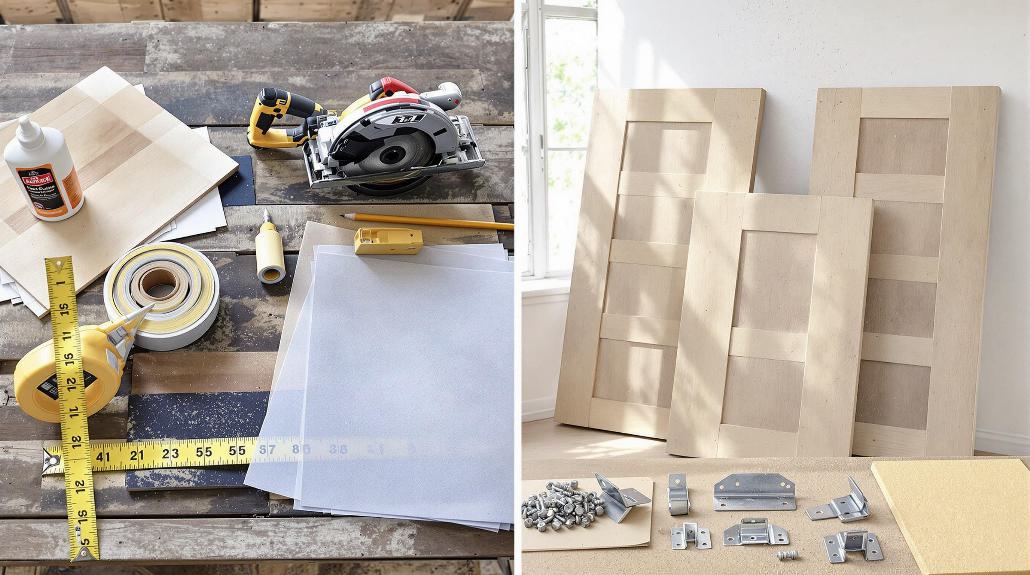
For basic DIY dividers, you’ll want a reliable tape measure, clamps, and a speed square for accurate measurements. If you’re working with wood, I recommend having a power drill, miter saw, and orbital sander on hand. Don’t forget those vital drill bits – a #1 Phillips and a 3/4″ Forstner bit will be your best friends! A sturdy table saw is recommended for making precise cuts on plywood panels.
For fabric dividers, I can’t stress enough how helpful a good sewing machine and iron are. If you’re going the PVC route, you’ll definitely need pipe cutters and PVC cement. Trust me, trying to cut PVC with the wrong tools is like trying to slice bread with a spoon – it just doesn’t work!
For any style, keep wood glue, screws, and sandpaper nearby. I always say having the right tools is half the battle – they’ll make your project smoother and help avoid those forehead-slapping moments of frustration.
Simple Fabric Divider Method
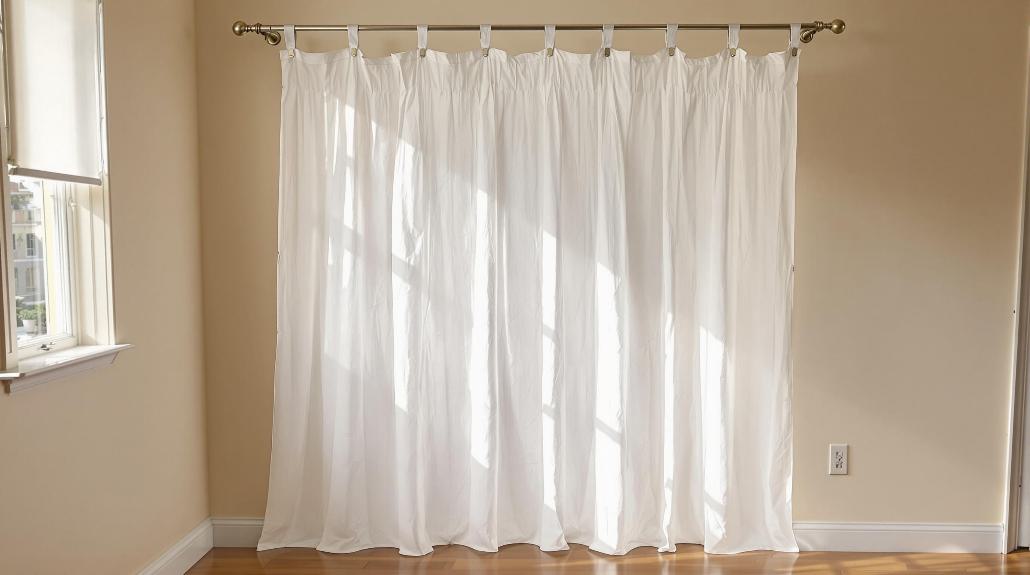
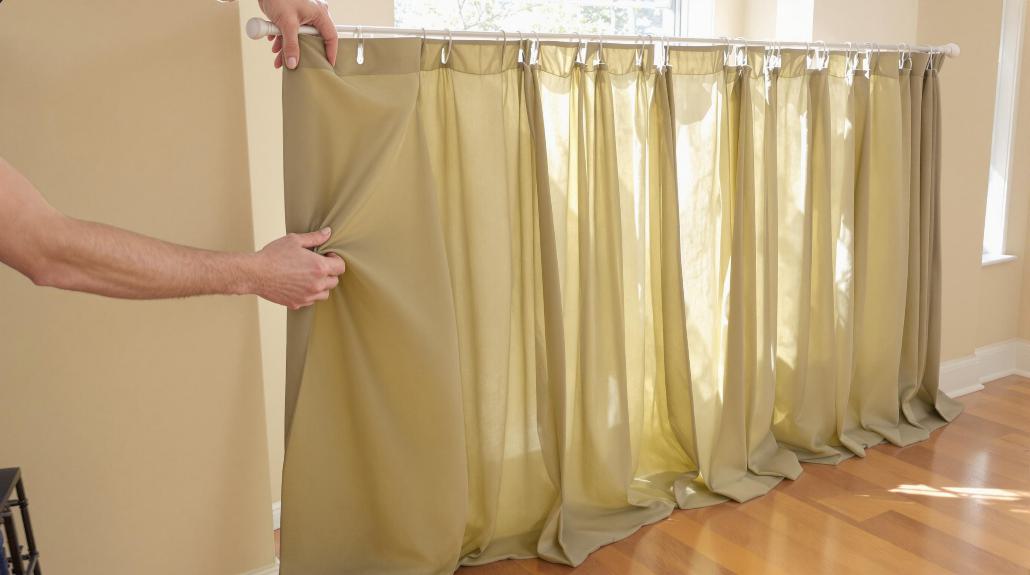
Creating a fabric room divider is one of the simplest and most cost-effective methods I’ve found. I’ll show you how to transform basic materials into a stunning divider that’ll work in any space.
Start by calculating your fabric needs – I always add an extra half-inch on each side for folding. Trust me, this extra bit makes all the difference!
Once you’ve cut your fabric pieces, iron and starch them thoroughly. I’ve learned that crisp, wrinkle-free panels make the final product look much more professional.
For the actual assembly, I start by attaching batting to my door panels with a staple gun. Then, I carefully place the fabric over the batting, pulling it nice and taught.
Here’s a little trick I’ve discovered: work from the center outward when stapling to avoid any annoying wrinkles or bubbles.
To finish things off, I cover the edges with iron-on adhesive tape and ribbon – it’s amazing how this simple touch can elevate the whole look.
If you’re feeling fancy, try using decorative hinges to connect the panels. They’re not just functional; they add a lovely design element too!
Repurposed Items as Dividers
Through years of experimentation, I’ve discovered that repurposed items make fantastic room dividers while keeping costs remarkably low. I’ve had great success with bookcases, which you can easily secure to the wall with L-brackets, and I absolutely love using old wooden crates to create modular shelving units that double as dividers.
When it comes to natural elements, I’ve found some incredibly creative solutions that’ll transform your space. Here are my top three favorites:
- Tree branches mounted on a sturdy base with decorative stones
- Living plant walls that create a revitalizing green barrier
- Rustic pallets (often free!) transformed into vertical dividers
I’m particularly excited about upcycled doors and windows – they’re my go-to for adding character to any room. Old window frames let light flow through while defining spaces, and painted bifold doors can create an elegant separation.
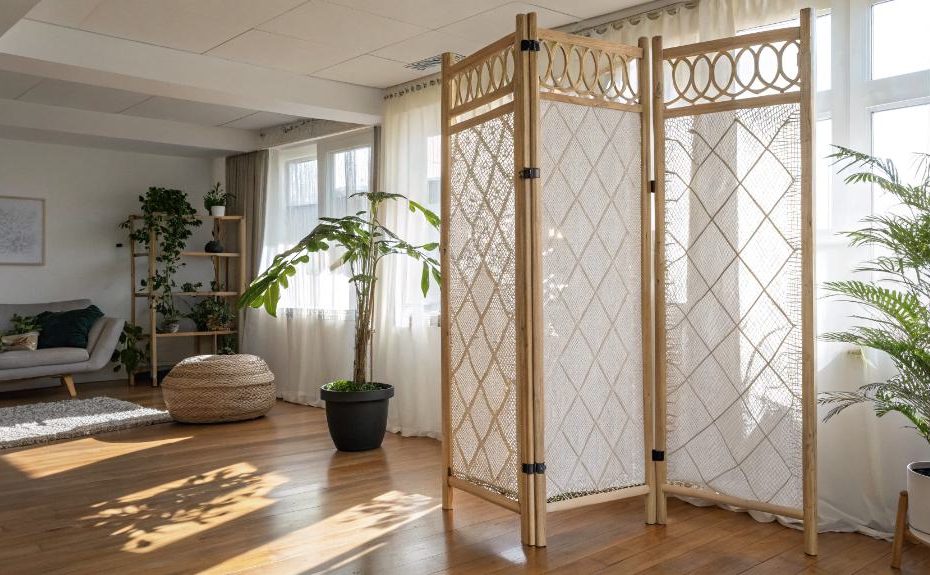
For a more unique approach, I’ve experimented with coiled wire mesh and even PVC tubing with canvas. Trust me, these alternatives aren’t just budget-friendly; they’ll give your space that one-of-a-kind look that expensive store-bought dividers just can’t match.
Custom Decorative Elements
Once you’ve selected your base materials, personalizing your room divider with custom decorative elements takes it from functional to fantastic.
I’ve found that adding personal touches doesn’t have to break the bank – there are so many creative options to explore.
For a classic look, I love using stencils to create eye-catching patterns on plywood or foam board. You’ll be amazed at how a simple paint design can transform your divider.
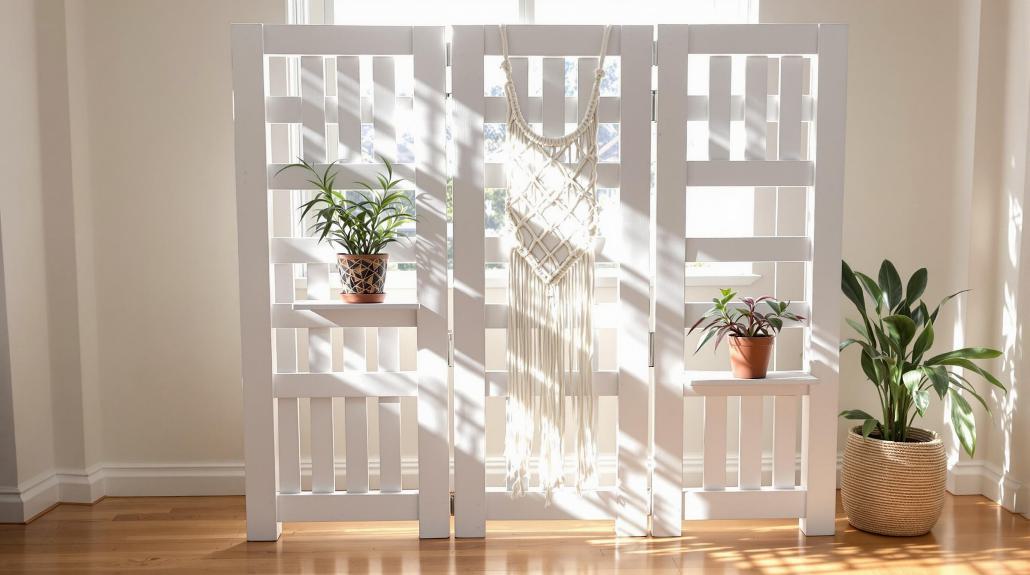
If you’re feeling crafty, try your hand at macrame – it’s making a huge comeback, and the intricate patterns can create stunning visual interest.
Want something more unique? I’ve had great success weaving colorful yarn through basic frames or adding metallic touches with coiled wire mesh.
Don’t forget about fabric patterns – they’re an easy way to inject personality into your space. I particularly enjoy layering different textures and patterns to create depth.
For a finishing touch, consider adding some hanging plants or delicate lace details. These elements not only enhance the divider’s appearance but also create additional privacy.
Installing Your Room Divider
After gathering your materials, it’s time to tackle the installation process of your room divider. I’ll walk you through the steps to guarantee your divider is secure and stable.
First, I’ll need you to carefully review your installation kit and mark the spots where you’ll place your brackets. Remember to avoid studs – we want to drill into drywall for those toggle bolts to work their magic!
Here’s what you’ll need to double-check before drilling:
- Your brackets are perfectly level (trust me, a crooked divider isn’t the look we’re going for)
- You’ve selected the right drill bit size for your toggle bolts
- You’ve got enough clearance from the ceiling
Once you’ve drilled your holes and secured the brackets, it’s time for the exciting part – mounting the divider!
I’ll have you wheel it into position and carefully engage the pins into the bracket slots. Don’t forget to adjust those feet at the bottom – they’re vital for stability.
Give everything a final check with your level, and voilà! You’ve just installed your very own room divider like a pro.
Frequently Asked Questions
How Do I Soundproof My DIY Room Divider?
Last week, I helped my roommate create an amazing soundproof divider that actually worked!
I’ll share my secrets: Start by layering thick materials – I use mass-loaded vinyl as the core, then add polystyrene panels on both sides.
I cover these with heavy fabric or felt, making sure there aren’t any gaps.
For extra sound dampening, I attach acoustic panels and add a second layer of curtains.
Can Room Dividers Affect Rental Property Deposits?
Yes, room dividers can affect your rental deposit if they cause damage to walls, floors, or ceilings.
I’d recommend using freestanding options like screens or bookcases that won’t leave marks.
If you’re planning to mount anything, I’d get your landlord’s written approval first.
What’s the Ideal Spacing Between Multiple Room Dividers?
Like a graceful dance of shadows, room dividers need careful spacing to create harmony.
I recommend keeping at least 36 inches between multiple dividers to maintain comfortable walkways.
If you’re using them to create separate zones, I’d space them 48-60 inches apart for ideal flow.
For sliding or folding dividers, I suggest adding an extra 12 inches to accommodate their movement range and prevent any awkward squeezes.
How Do Room Dividers Impact Home Ventilation and Heating Efficiency?
I’ve found that room dividers can greatly impact your home’s ventilation and heating in both positive and negative ways.
While they can help you save energy by creating smaller, more manageable spaces that require less heating, they might block airflow if not positioned correctly.
I recommend placing them away from vents and considering thermal-insulated dividers, which can reduce heating costs by up to 37% in winter.
Are There Specific Safety Regulations for Room Dividers in Commercial Spaces?
Purposeful planning prevents problems!
I’ll tell you that commercial room dividers must meet strict safety standards. They need to be flame-resistant and comply with NFPA-701 requirements.
I’ve learned they can’t block exit signs, doors, or occupancy load postings.
What’s interesting (and a bit funny) is that even the height of signs matters – they must be visible between 48-60 inches from the floor.
Materials like PVC and polycarbonate are top choices.
