I've discovered 20 budget-friendly DIY projects that'll instantly refresh your living room, from repainting leather chairs to crafting stylish hairpin coffee tables. You can maximize space with clever under-sofa storage solutions, create eye-catching plaid accent walls, and design unique pineapple pendant lights from everyday items. Add personality with handmade tassel blankets, upgrade tables with mid-century legs, enhance bookcases with custom feet, and transform walls with framed textiles. The best part? Most projects cost under $100 and need just basic tools you probably already own. Let's explore these creative transformations that'll make your living room truly spectacular.
Leather Chair Transformation
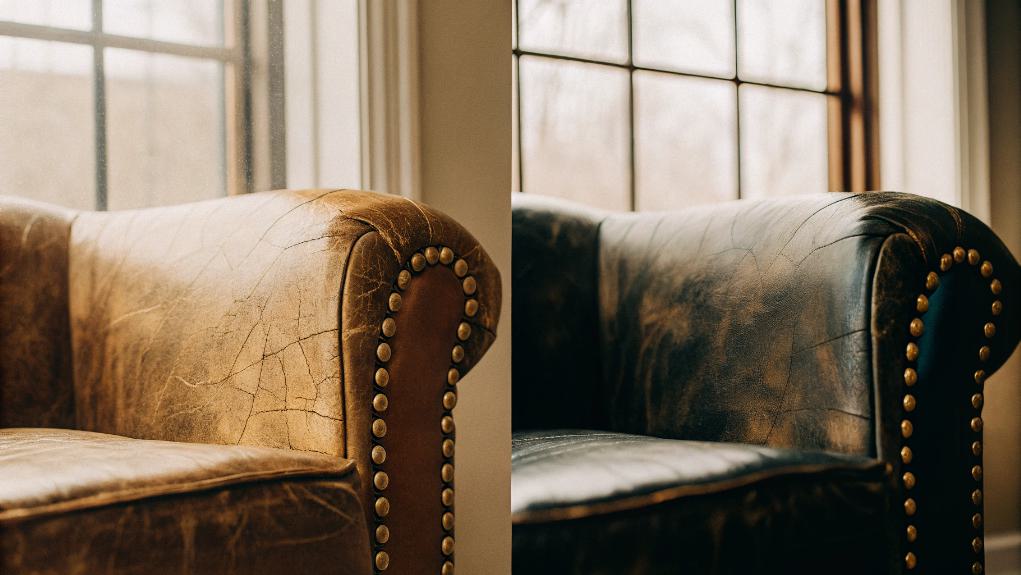
The potential of transforming an old leather chair can breathe new life into your living room décor. I love using high-quality leather paint to create stunning makeovers – just remember to apply thin, even coats for the best results. Degreasing with alcohol helps prepare the surface properly for painting. You can even get creative by adding stenciled patterns or combining different materials. Don't forget to repair any tears first, and you'll be amazed at the transformation!
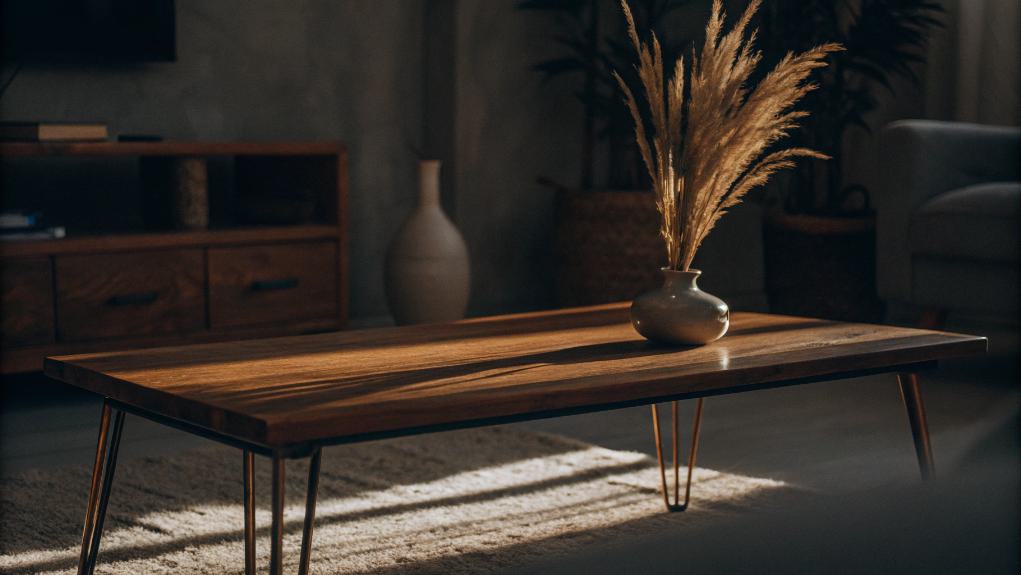
Hairpin Coffee Table Project
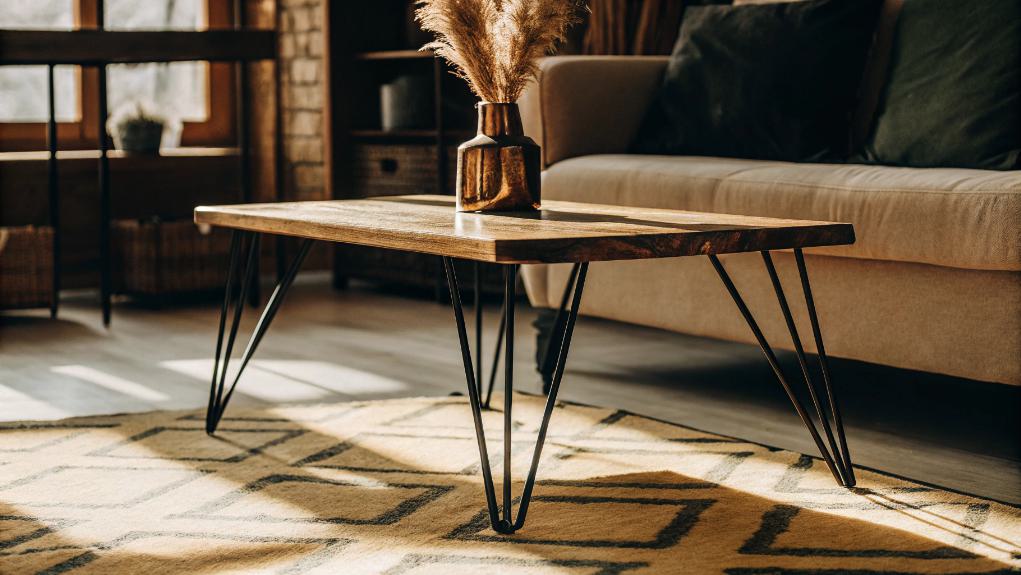
After revitalizing your leather furniture, let's move on to creating a stunning centerpiece for your living room. I'll show you how to build a sleek hairpin coffee table using a round pine board and modern metal legs. You'll need an 18", 24", or 36" laminated top, plus basic tools like a drill and screws. The three staining products – Weathered Oak, white wash pickling stain, and water-based polyurethane – create a durable, family-friendly finish. Trust me, it's easier than you think!
Under-Sofa Storage Solutions
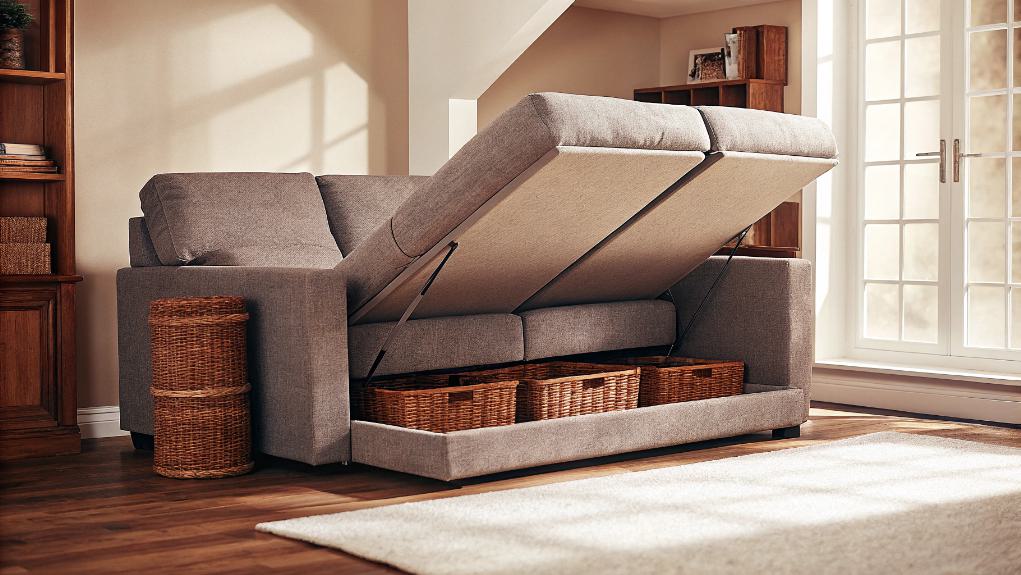
Maximizing space under your sofa can transform a cluttered living room into an organized oasis. I've found that clear vinyl bags and plastic bins with wheels are perfect for storing seasonal items, while canvas containers work great for everyday essentials. If you're feeling crafty, I'll let you in on a secret – repurposed old drawers with added wheels make stylish, personalized storage solutions. You can enhance visibility and organization by choosing containers with transparent panels that let you easily identify contents.
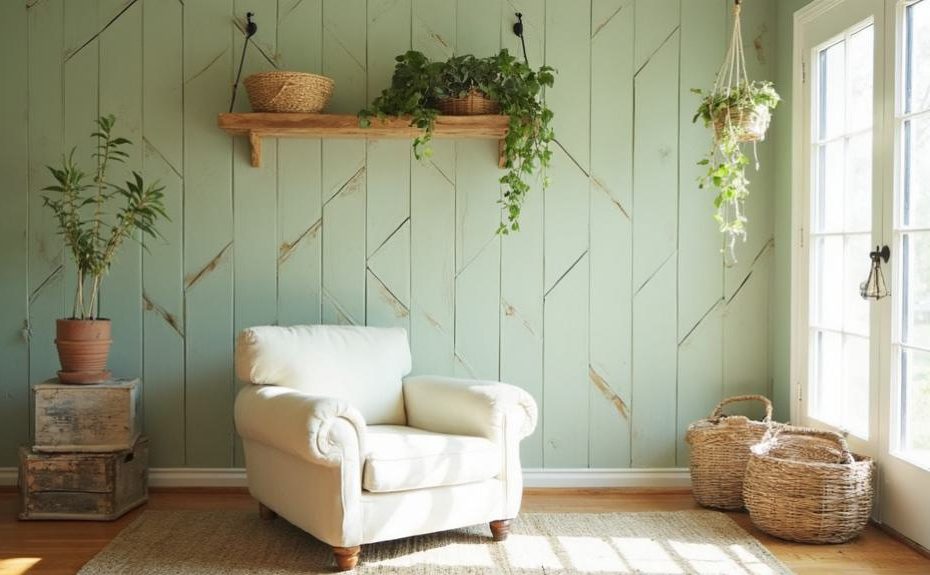
Plaid Wall Statement
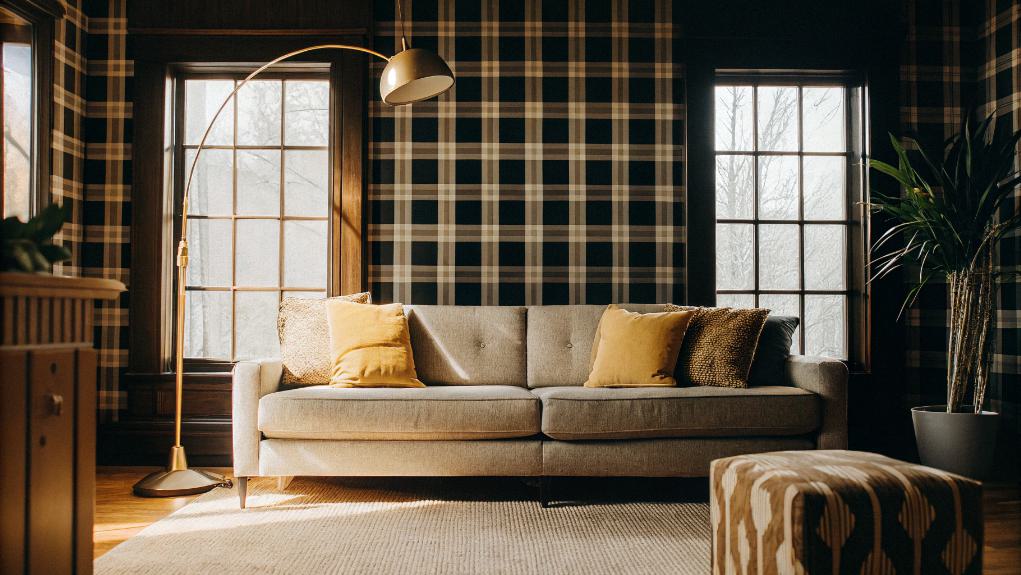
Creating a plaid wall statement can dramatically transform your living room from ordinary to extraordinary. I've found that the key is choosing the right pattern and color scheme. Whether you opt for a traditional tartan or a modern geometric plaid, I recommend balancing it with neutral furniture. For the best results, I suggest using peel-and-stick wallpaper—it's easier to install and adjust if needed. Popular options like Buffalo Plaid designs in classic black and white are available for just $45, making them an affordable way to achieve this look.
DIY Pineapple Pendant Lights
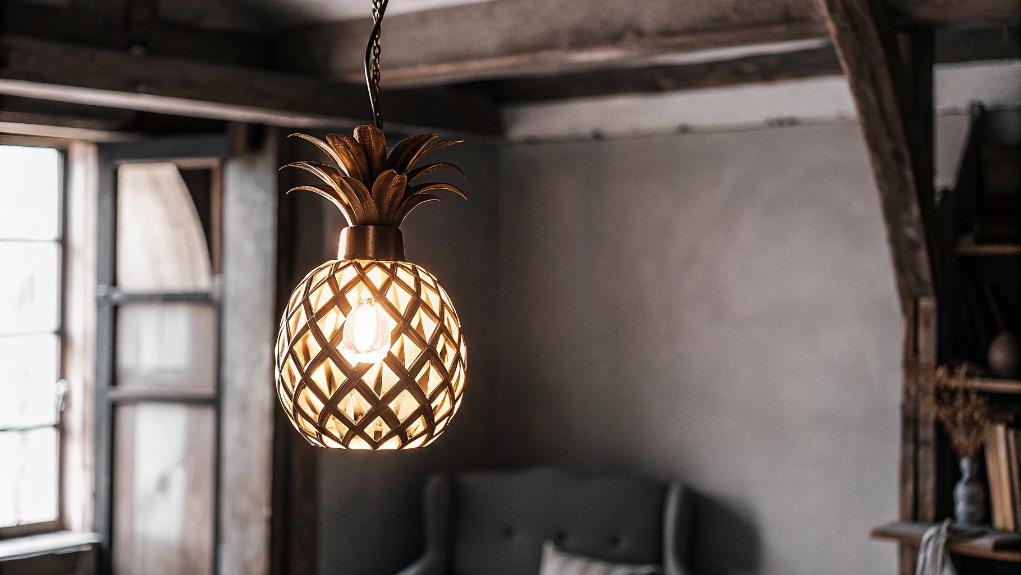
Your living room's lighting deserves as much attention as its walls, and I'm excited to share my favorite DIY project: pineapple pendant lights. I've found you can create stunning fixtures using everyday items like plastic bottles and spoons, or opt for commercial versions if you prefer. The visual elements complement the overall aesthetic appeal of these unique lighting fixtures. With options ranging from $179 to DIY versions under $20, you'll find the perfect tropical touch for your space.
Vintage Finds Makeover
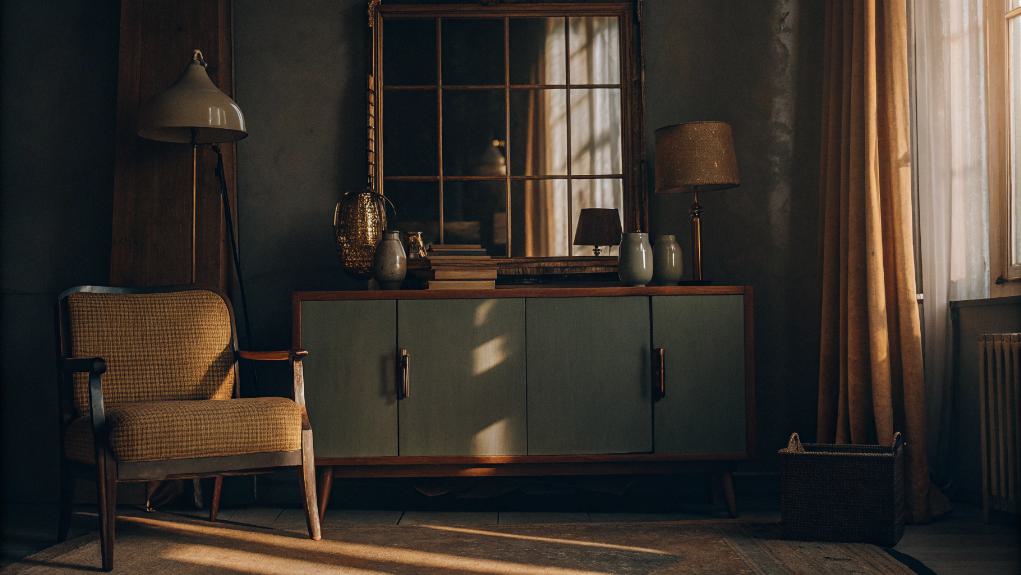
Every vintage find has a story waiting to be reimagined, and I've discovered that transforming these treasures doesn't require deep pockets or professional expertise. I love scouring flea markets and thrift stores for hidden gems that I can revamp. With some paint, new hardware, and creativity, I've turned weathered furniture into statement pieces and vintage textiles into stunning wall art.
Layered Rug Arrangement
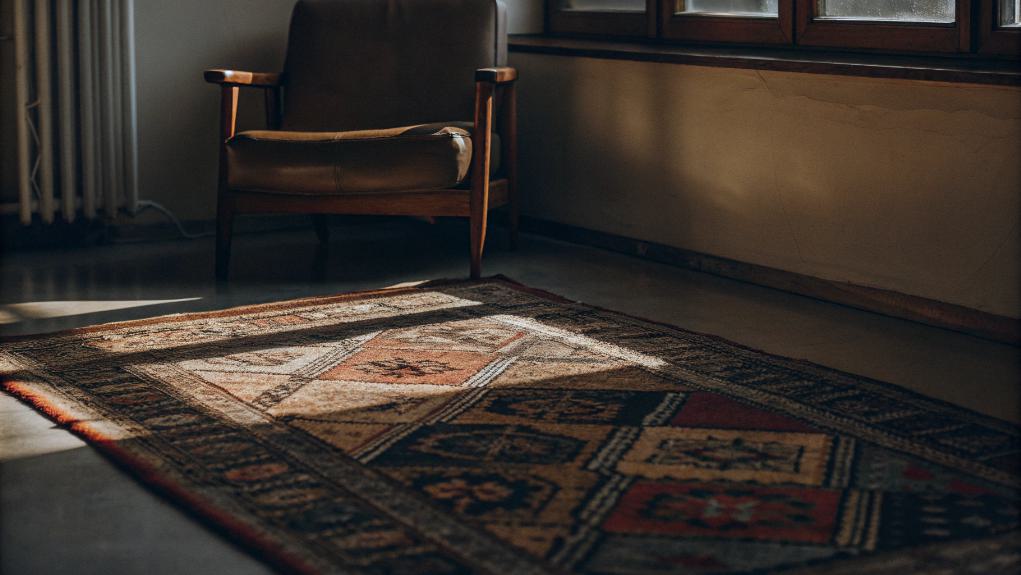
While breathing new life into vintage pieces brings character to a room, layered rugs can transform the entire foundation of your living space. I'll help you master this designer trick! Start with a large, neutral base rug – jute works beautifully – then add a smaller, statement piece on top. I love mixing textures, like pairing a flat-woven kilim with a plush shag.
Copper Plant Stand Display
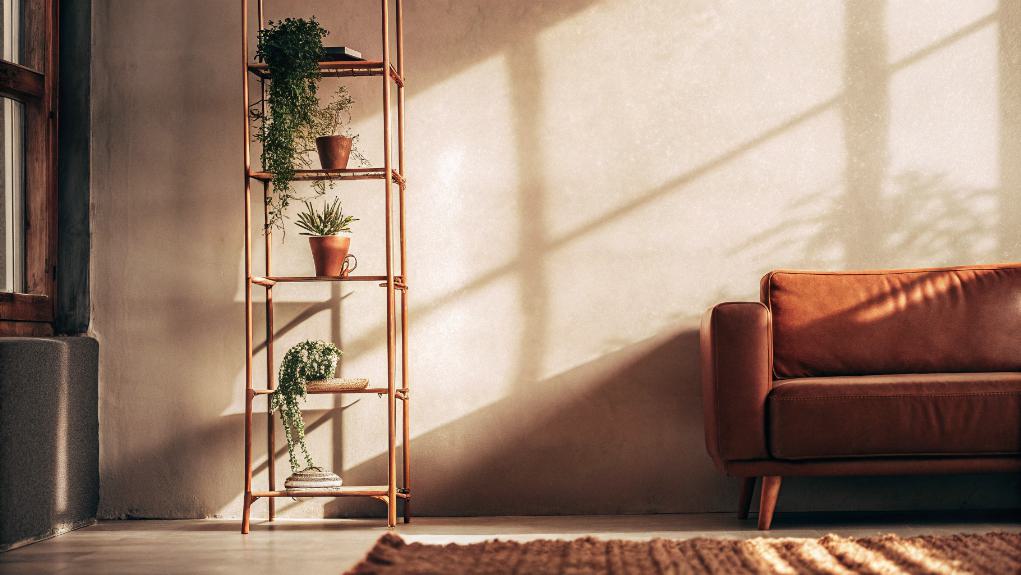
A copper plant stand display brings industrial elegance into your living space without sacrificing modern style. I'll show you how to create one using copper pipes, connectors, and a few basic tools. I love mixing different pipe lengths and angles to craft unique designs that catch the eye. Don't forget to add tube caps for a polished finish and test stability before adding your favorite plant.
Minimalist Candle Holders
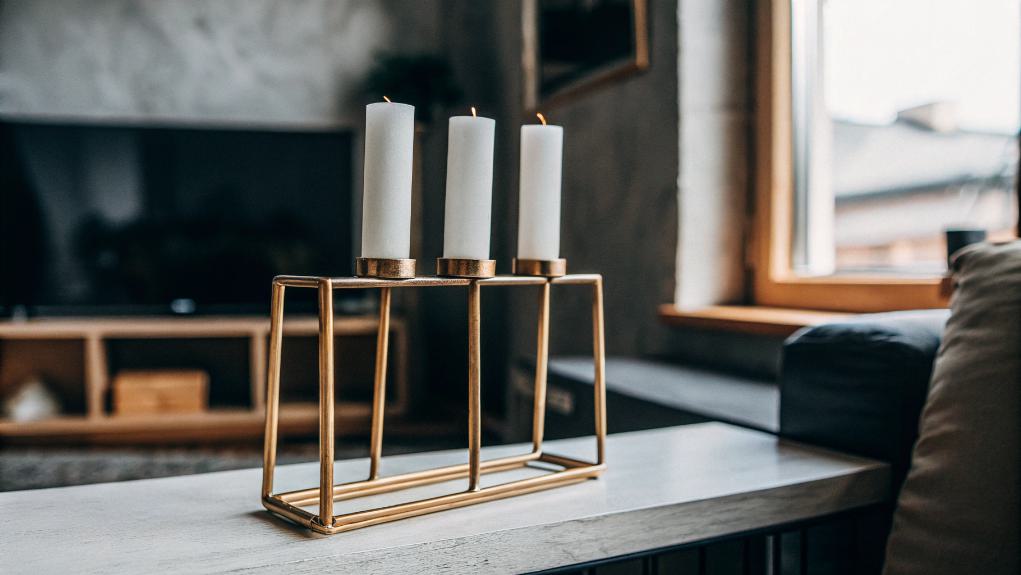
Create stunning minimalist candle holders using simple materials and clean designs that enhance your living room's modern aesthetic. I love using wooden blocks for a natural touch – just drill different-sized holes to fit various candles. If you're feeling creative, try copper pipes or painted finishes. Group holders of varying heights together, and don't forget to incorporate some metallic accents for extra elegance.
Ladder Shelf Construction
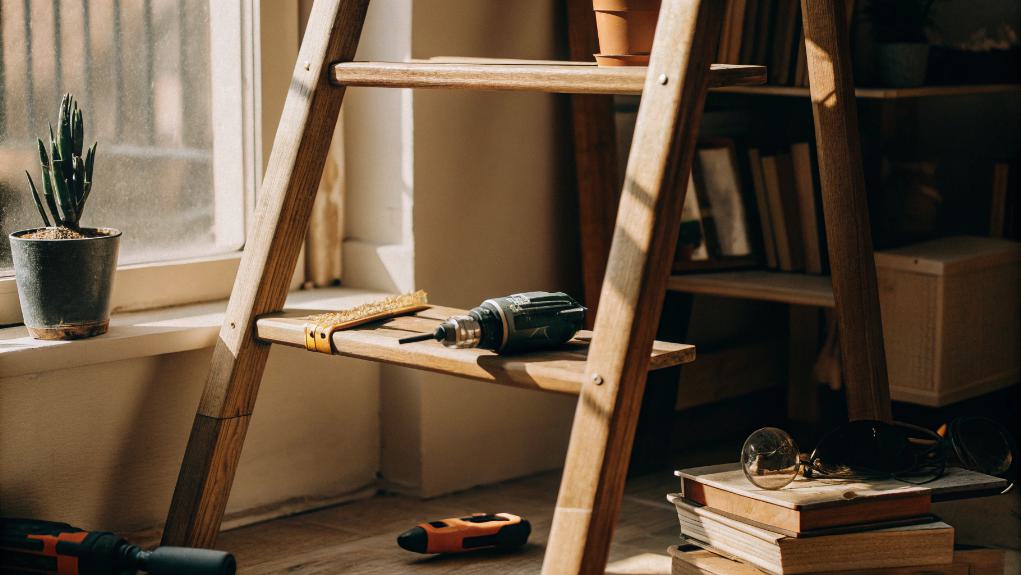
Building your own ladder shelf combines style with storage, transforming unused vertical space into an eye-catching display piece. I'll show you how to cut the pieces, including 1x2s for the frame and plywood for shelves. You'll assemble the sides with crosspieces first, then connect them using 1×4 supports. Don't have time? I've got a quick fix – mount an old ladder on your wall!
Handmade Color Block Pillows
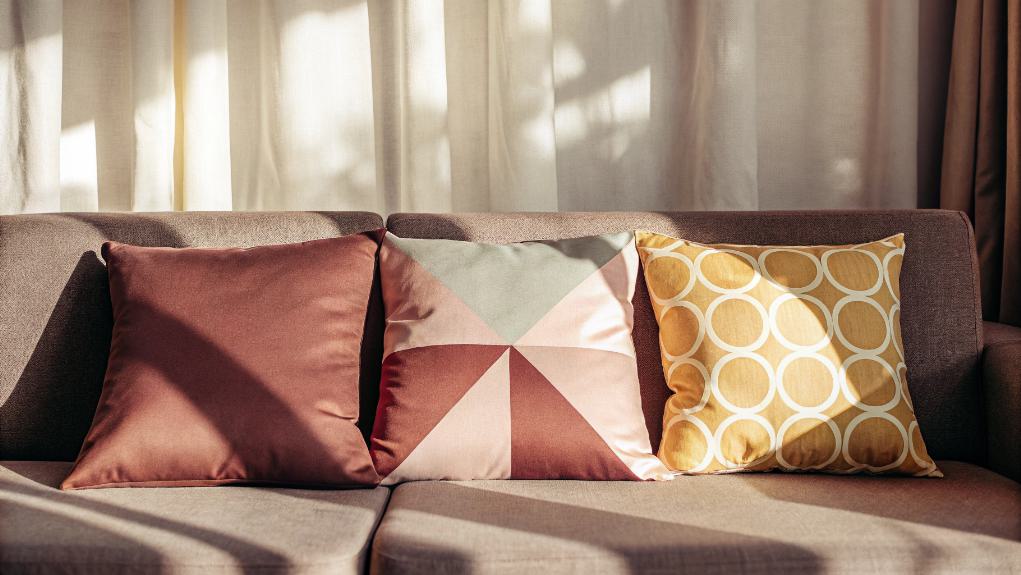
Every handmade color block pillow brings fresh personality to your living room while saving you money on designer versions. I'll show you how to create stunning pillows using just 1/2 yard each of coordinating fabrics. With gold piping for a luxe touch and careful color balancing, you'll craft pillows that look store-bought. Trust me, your guests won't believe you made these yourself!
Marble Effect Table Update
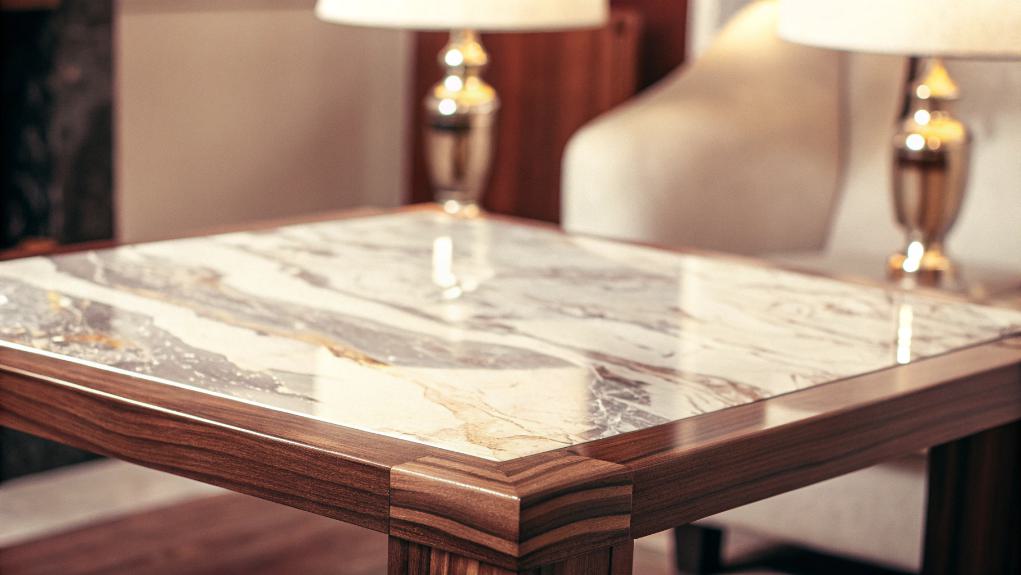
Transforming your tired coffee table into a luxurious marble showpiece doesn't require breaking the bank. I've found that using faux marble laminate or paint techniques can create stunning results in under an hour. Simply grab some contact cement, your chosen marble-effect material, and get creative! If you're feeling ambitious, try adding cast iron pedestal legs for that classic Parisian bistro look.
Scalloped Basket Planter
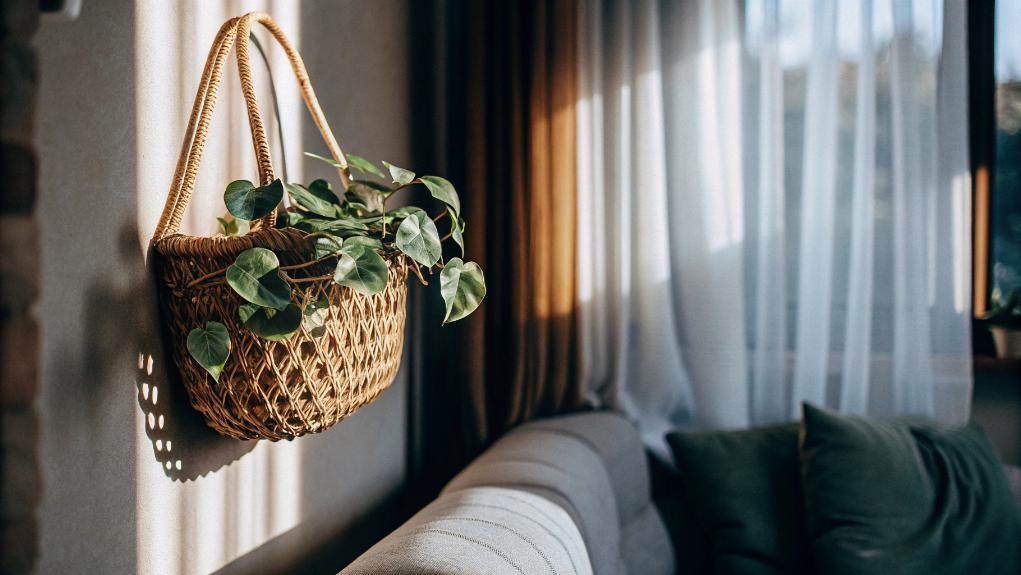
While marble effects add elegance to your tables, let's bring natural textures into your space with a scalloped basket planter. I've found that water hyacinth or rattan baskets work perfectly for this project. Start by lining your basket with plastic (don't forget drainage holes!), then add soil and your favorite plants. I love to paint-dip the edges for a modern twist.
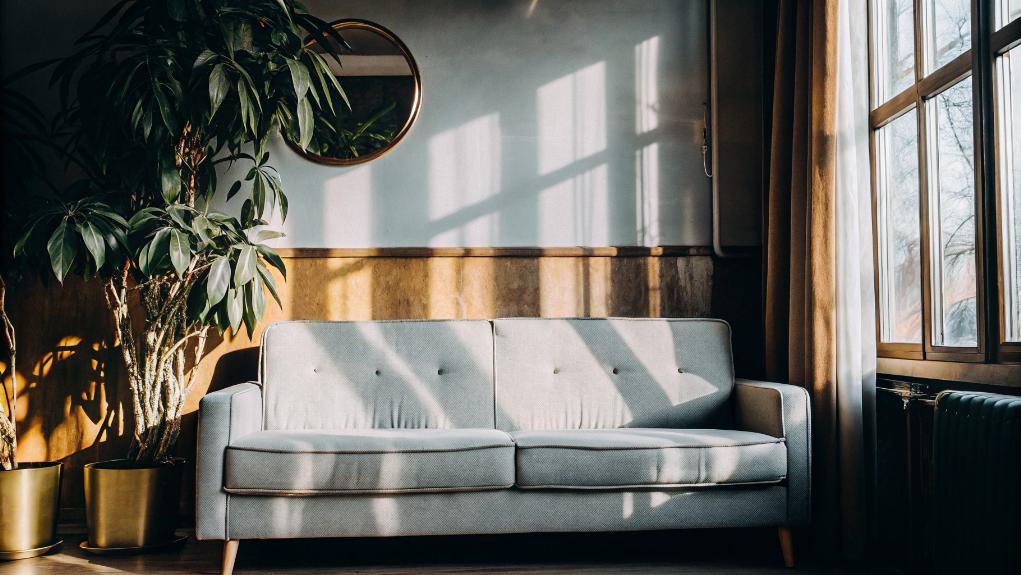
Sheepskin Couch Styling

A luxurious sheepskin throw can instantly elevate your sofa's style and comfort level. I love draping them over the back of my couch or layering multiple sheepskins for extra coziness. Whether you choose classic white or go bold with grey or black, they'll add amazing texture to your space. Don't be afraid to mix different sizes and colors – that's where the magic happens!
Wall Basket Gallery
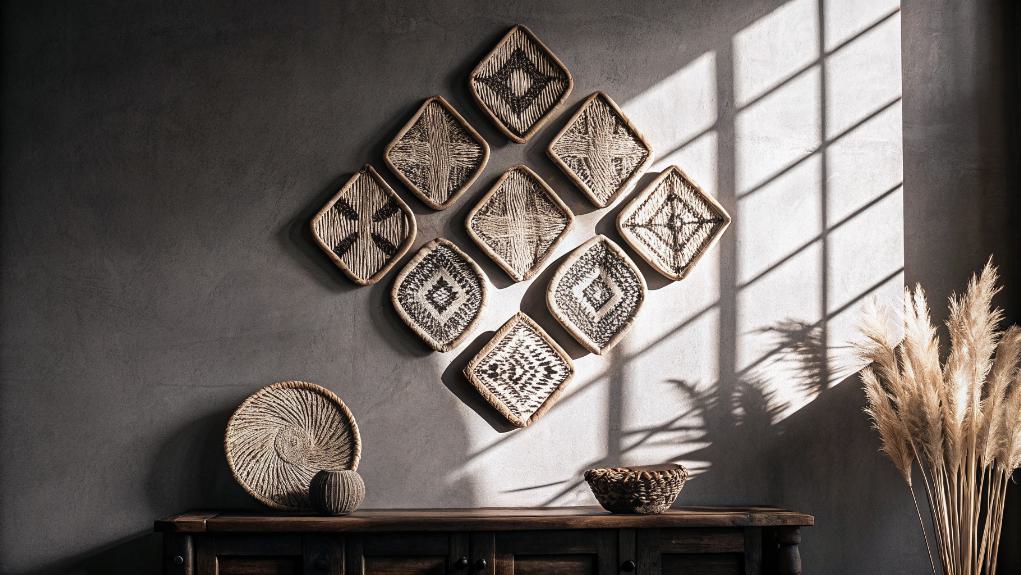
Rustic baskets transform bland walls into stunning bohemian galleries that tell your unique design story. I love mixing different sizes and textures to create visual interest – try combining woven, rattan, and wicker pieces for the best effect. I'll let you in on my favorite trick: arrange your baskets on the floor first, snap a quick photo, and use it as your hanging guide.
Two-Tone Accent Wall
Looking to make an even bolder statement than wall baskets? I love creating two-tone accent walls to transform a room instantly. You can go vertical to divide spaces, horizontal to make your ceiling appear higher, or even try an angled design for drama. I'll paint the lighter color first, use painter's tape for crisp lines, and remove it while wet for perfect results.
Tassel Blanket Creation
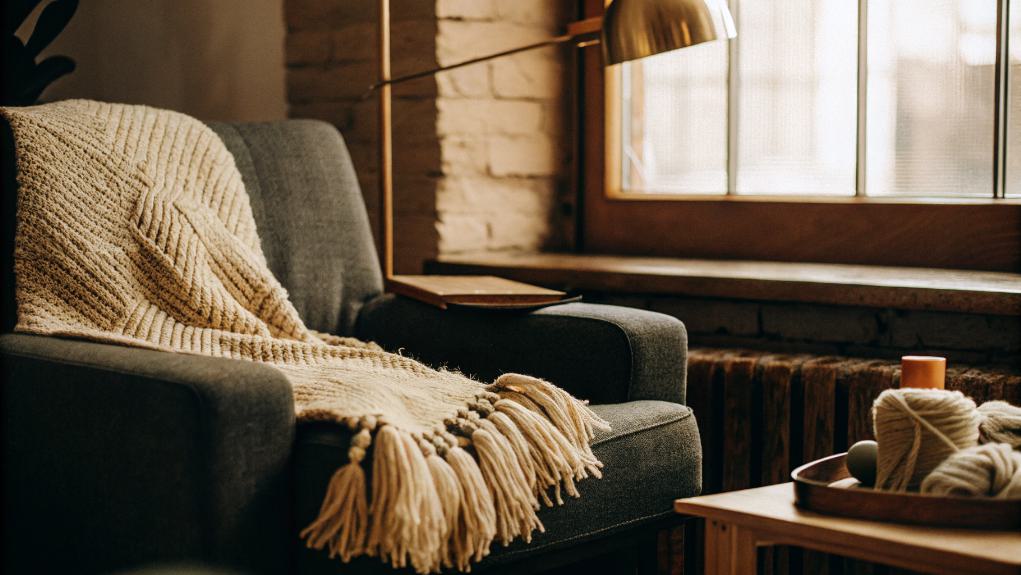
Creativity flows into every corner of your home, and a handmade tassel blanket adds both warmth and style to your living space. I'll show you how to create this cozy masterpiece using wool-blend fabric or fleece. To start, you'll wrap yarn around cardboard to make your tassels, securing them every 9-15 inches along your fabric's edge. Trust me, it's easier than it sounds!
Mid-Century Table Upgrade
Sleek lines and timeless design make mid-century modern tables a standout choice for living room transformation. I'll show you how to upgrade your existing table with trendy hairpin legs or classic tapered wooden ones. You can enhance the look with a glossy polyurethane finish and swap out old hardware for brass or geometric pulls. Don't forget to add a sculptural lamp for that perfect mid-century touch.
Bookcase Leg Enhancement
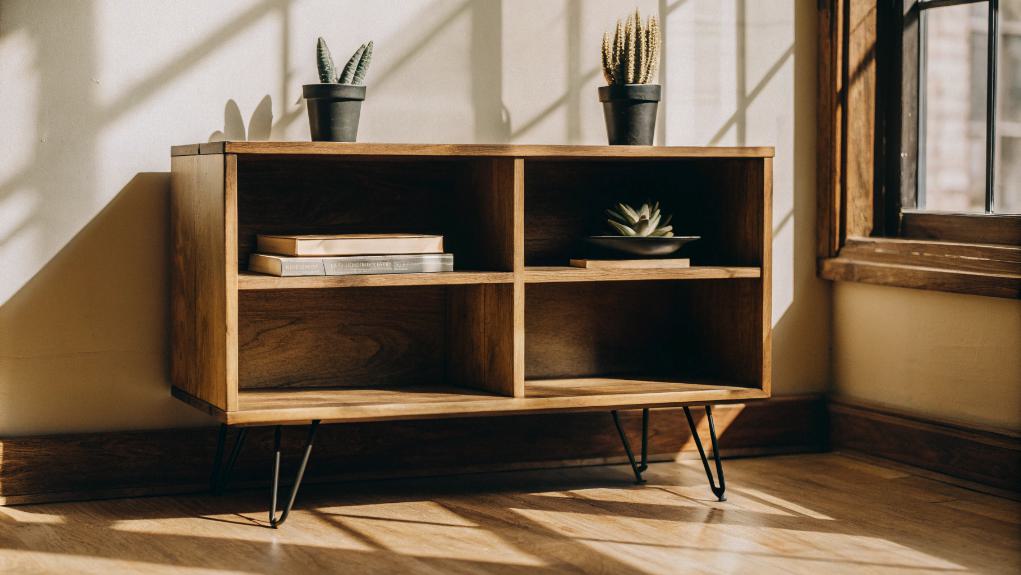
After enhancing your table, let's move on to another impactful furniture upgrade. I've found that adding custom legs to your bookcase can completely transform its appearance. I recommend choosing solid wood legs that match your existing molding, and using pocket holes for secure attachment. For a polished look, you can paint the legs to coordinate with your room's color theme.
Textile Wall Art
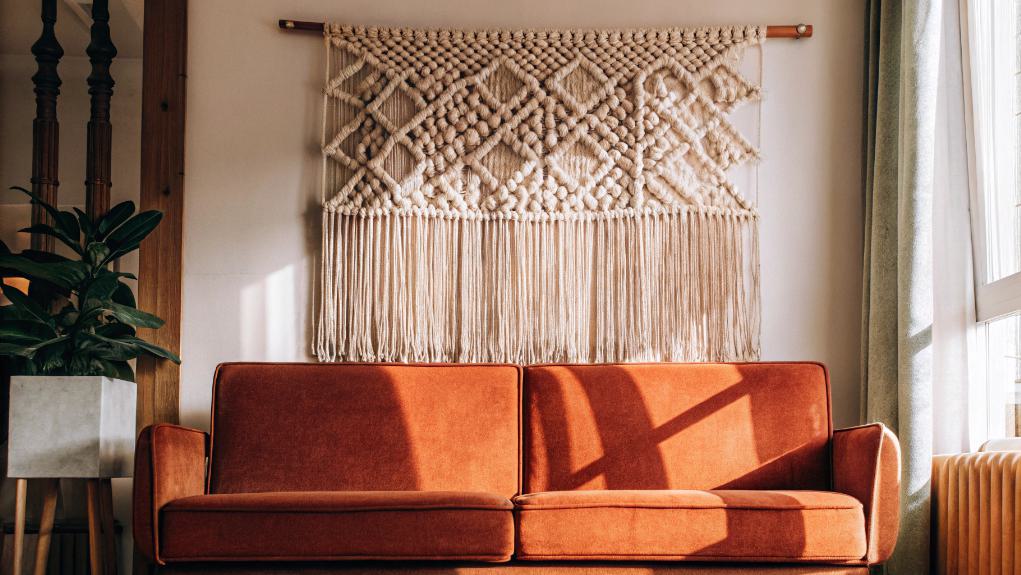
Through the art of textile wall displays, you can add warmth, texture, and personality to your living room without breaking the bank. I've found that framing vintage scarves, African mudcloth, or even beautiful old quilts creates stunning focal points. You'll want to hang your pieces at eye level when seated, and I always recommend using odd numbers in your arrangements – it's just more pleasing to look at.
Frequently Asked Questions
How Do I Coordinate Multiple DIY Projects Without Making the Room Look Cluttered?
I've discovered that coordinating multiple DIY projects starts with a solid plan. First, I map out my color scheme and style theme, then tackle one project at a time. I make sure each piece complements the others while maintaining visual balance. When I feel tempted to add more, I step back and assess if it truly enhances the space. Remember, less is often more!
What Tools Are Essential for Beginners Starting Their First DIY Home Projects?
I'd recommend starting with what I call the "essential six": a tape measure, hammer, screwdriver set (both Phillips and flathead), level, utility knife, and a basic drill. Don't forget safety gear – you'll definitely need safety glasses and work gloves. I learned the hard way that skipping eye protection isn't worth the risk! These tools will handle most beginner projects while keeping your wallet happy.
How Long Should I Wait Between Painting Projects in the Same Room?
I'd recommend waiting at least 24 hours between painting projects in the same room when using latex paint, or up to 48 hours for oil-based paints. I know it's tempting to rush things along, but patience really pays off here! Keep in mind that humidity and temperature play essential roles – if your room feels like a sauna, you'll need to wait longer. Poor ventilation can also make your paint take its sweet time to dry.
Which DIY Projects Are Safe to Do With Kids Helping?
I'd recommend starting with painting projects where kids can help stir paint and handle low areas with non-toxic paints. They're great at organizing, too – sorting supplies and decluttering spaces. For crafty projects, try making throw pillows or decorative banners together. Just remember to provide proper safety gear, maintain close supervision, and keep tasks age-appropriate. Planting and gardening projects are also wonderful, hands-on activities kids love.
How Do I Protect My Floors While Working on Furniture Renovation Projects?
I always start by laying down thick cardboard or canvas drop cloths to create a protective base layer. For extra security, I'll add Masonite boards on top, especially when I'm working with heavy pieces. Don't forget to put felt pads under furniture legs – they're a lifesaver! When I'm moving pieces around, I use furniture sliders to prevent scratches, and I make sure to tape down any covering edges to avoid tripping hazards.
