I've gathered some amazing DIY wall decor ideas that'll make your home look stunning without emptying your wallet. Transform old windows into art pieces, create a vintage frame gallery from thrift store finds, or hang botanical prints you've downloaded for free. I love how you can mix different frame sizes and styles for a dynamic look, or try something unique like a woven basket display. You can even turn natural elements like branches and pressed flowers into beautiful wall hangings. These creative ideas are just the start of what you can do to make your walls truly special.
Vintage Frame Gallery Wall
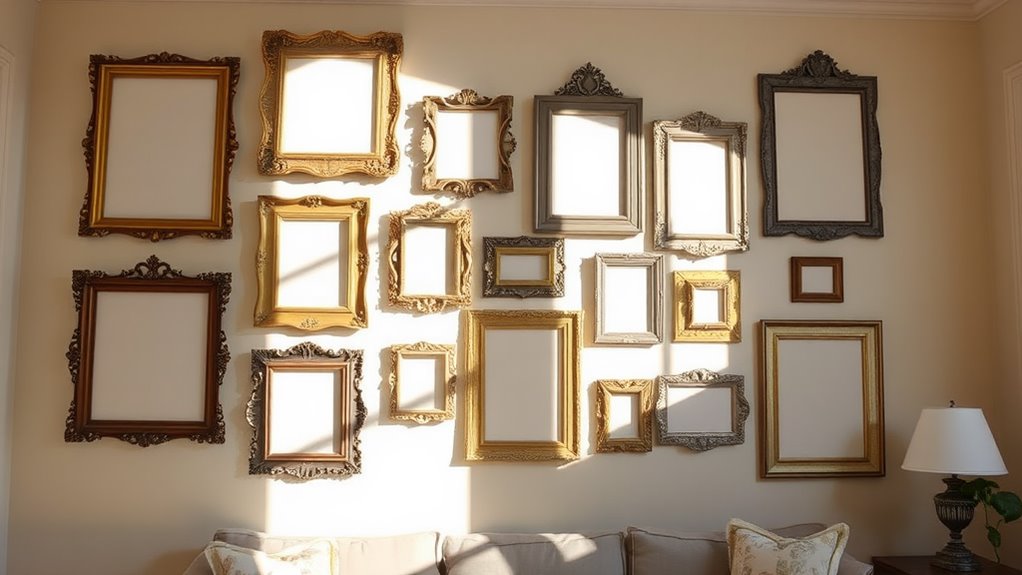
A vintage frame gallery wall can transform any blank space into a sophisticated focal point that tells your unique story.
I'll help you create one! Start by collecting diverse frames from thrift stores, then clean and paint them in your chosen colors.
Select a mix of artwork, from vintage prints to personal photos. When you're ready to hang them, map out your layout first and use a level for perfect alignment. Consider visiting Habitat ReStores for affordable frame options.
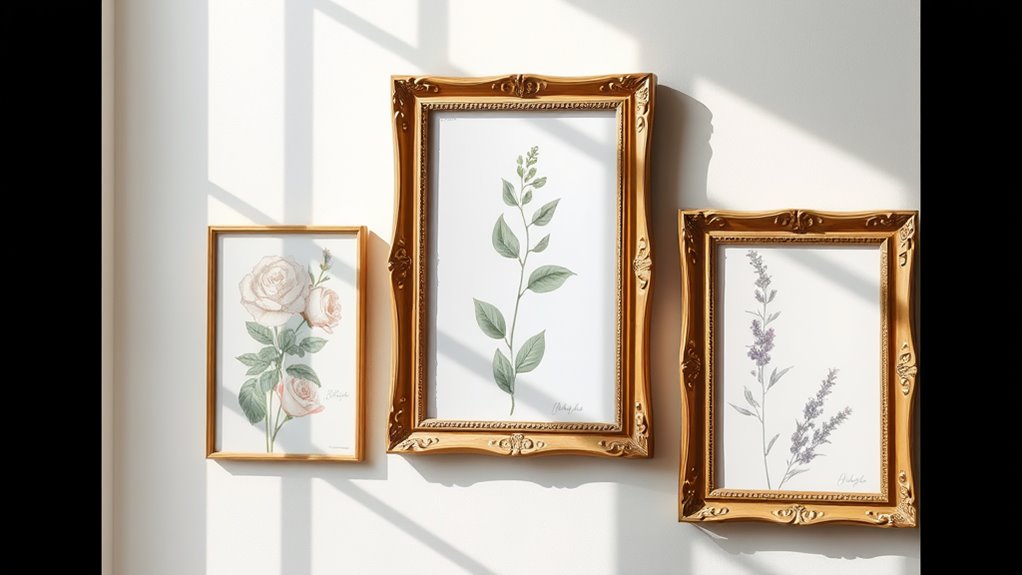
Botanical Print Collection
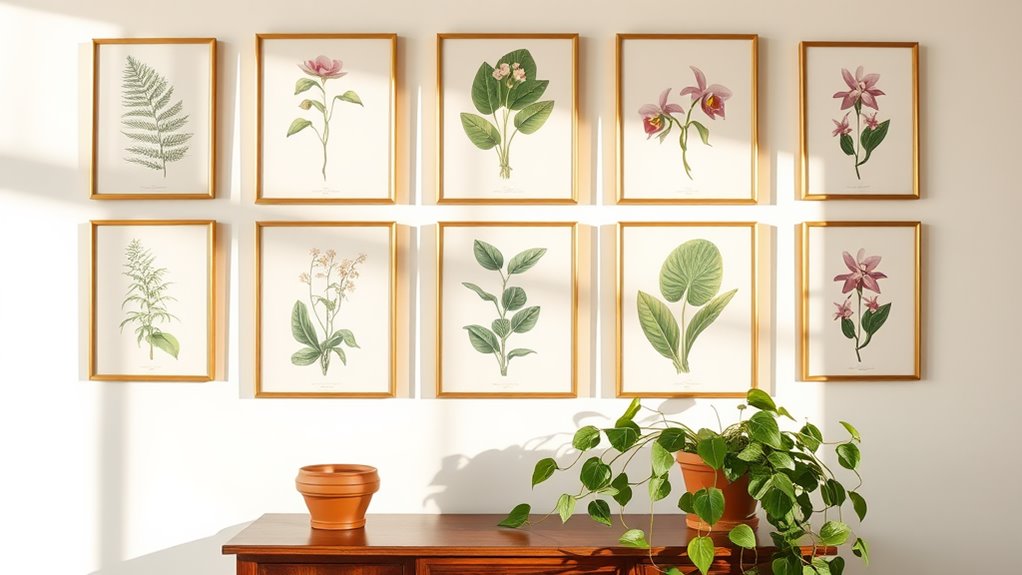
From simple wildflower illustrations to intricate vintage plant drawings, botanical prints offer timeless beauty for your walls.
I'll show you how to find free prints online and edit them easily on your computer. You can get them printed at local shops like Walmart or FedEx, then frame them in affordable options from Michaels or thrift stores.
I love using magnetic hangers for easy swaps. The 16 x 20 size works perfectly for most wall spaces.
Woven Basket Display
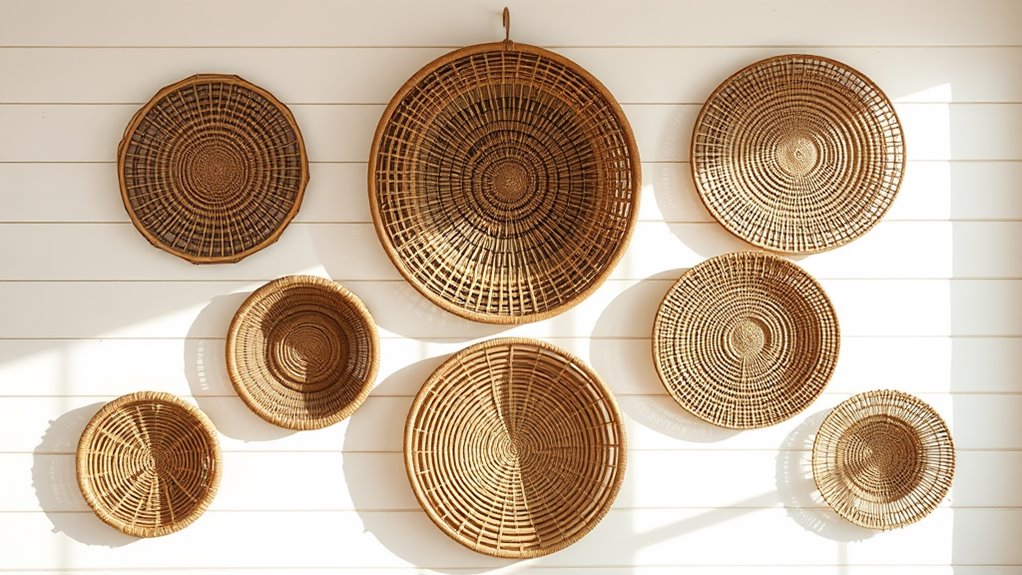
Three stylish woven baskets can transform a blank wall into an eye-catching focal point.
I'll let you in on a secret: you don't need to spend much to create this look. Check out your local thrift stores for unique finds, and arrange them on the floor first before hanging. These baskets can be paired by size and color to create visual harmony.
I love using clear command hooks to create a cascading effect that'll wow your guests.
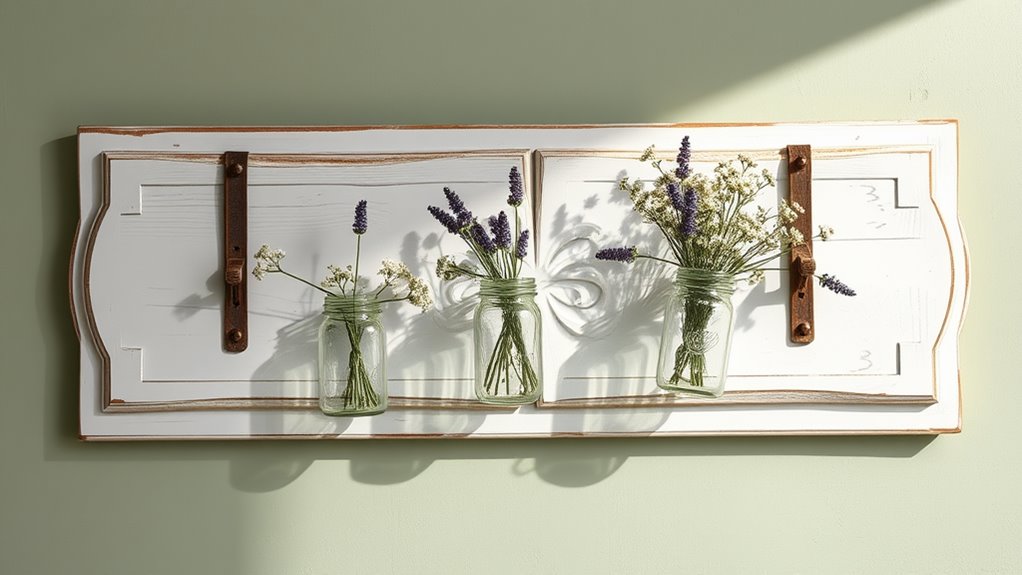
Upcycled Window Art
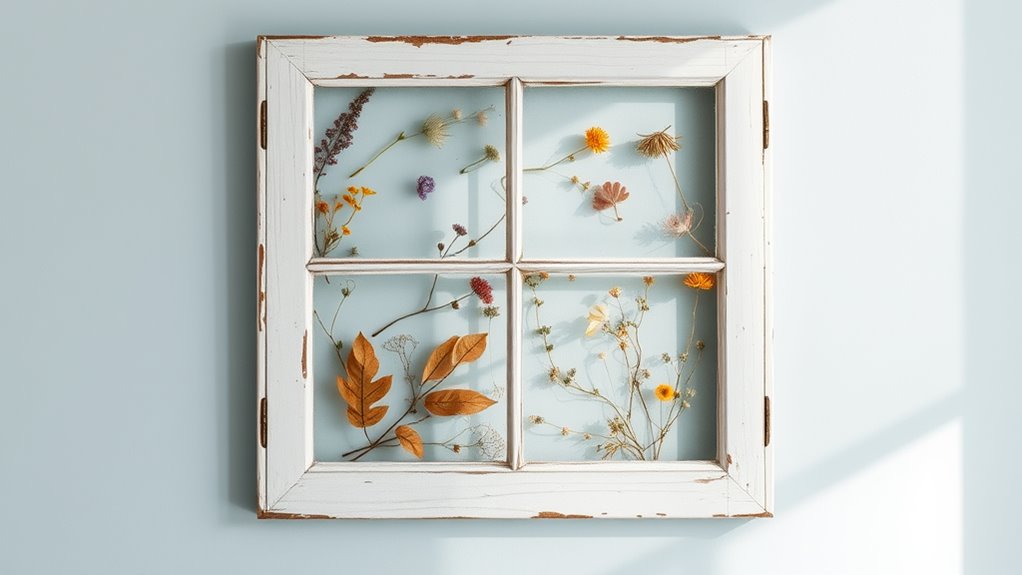
Speaking of transforming walls, old windows offer endless creative possibilities for stunning wall art.
I love turning these forgotten gems into beautiful displays! You'll want to start by thoroughly cleaning your window, then decide on your artistic approach.
Whether you choose to create a stained glass effect, apply chalkboard paint, or use decoupage, you'll end up with a unique conversation piece.
Paper Cut Shadow Boxes
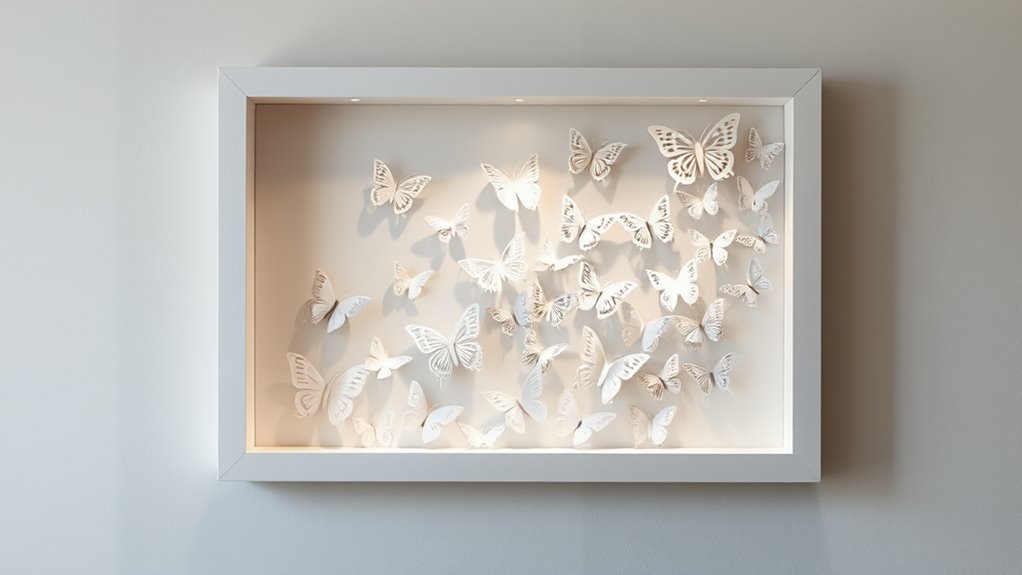
Looking to create enchanting wall art that captures depth and dimension?
I'll show you how to make stunning paper cut shadow boxes. Using layers of white cardstock, you'll create a magical 3D scene that comes alive with LED lighting.
Simply cut your designs, space them with cardboard strips, and frame them.
I love how the light filters through, creating a dreamy glow.
Mixed Media Textile Installation
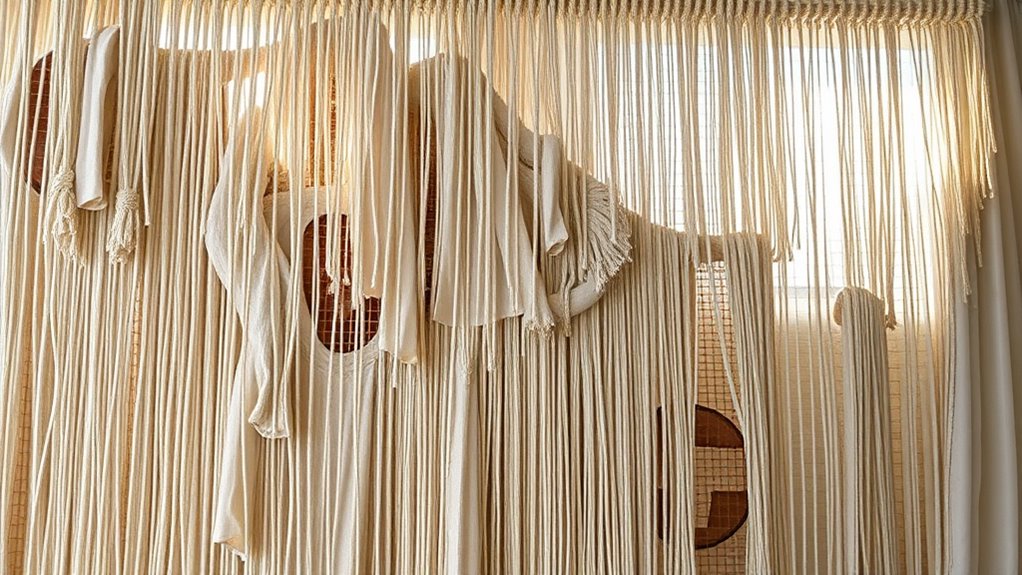
Transform any wall into a tactile masterpiece with a mixed media textile installation.
I'll show you how to layer fabrics like cotton and organza with found objects, creating depth and visual interest. You'll need fabric paints, dyes, and basic adhesives.
Start by planning your composition, then combine hand stitching, felting, and embellishments.
Don't forget to reflect on your lighting and display space.
Floating Shelf Stories

Along empty walls, floating shelves offer endless possibilities for displaying your cherished items and creating visual stories.
I love using construction lumber to build mine – it's affordable and easy to find.
When styling your shelves, try grouping items in odd numbers and mix different heights.
Don't forget to lean some artwork against the wall for added dimension and interest.
Antique Plate Arrangements
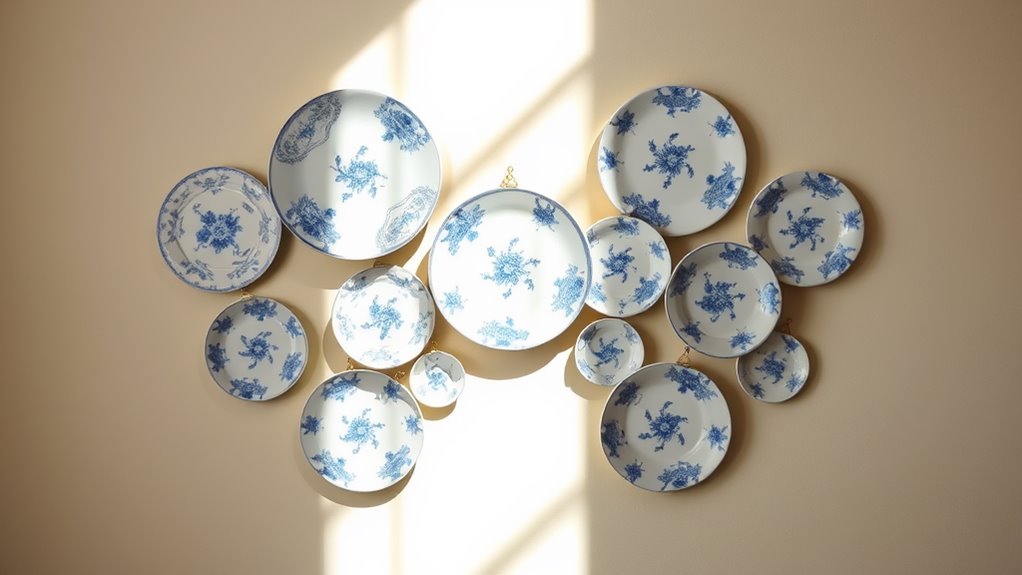
While floating shelves showcase treasured items horizontally, antique plate arrangements let you turn vertical wall space into a striking gallery.
I'll help you create your own display by starting with paper templates to plan your layout. Choose plates with similar colors or patterns, and use a large piece as your focal point.
Don't worry if you need to adjust – that's part of the fun!
Book Page Wall Art
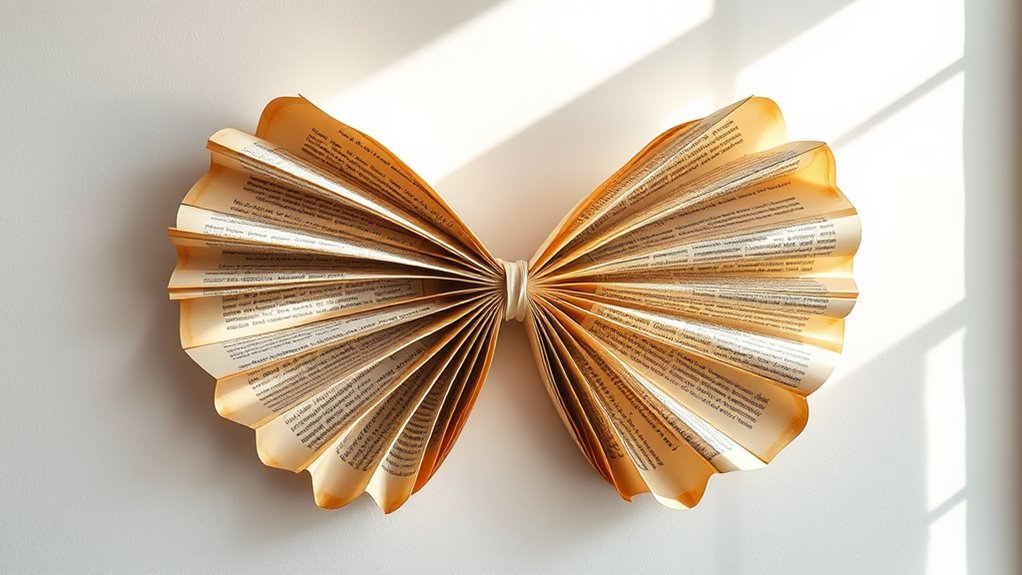
Creativity flows through vintage book pages transformed into stunning wall art.
I'll show you how to create this charming decor piece. Start by gathering old books and carefully removing their pages.
I like to mix different types – from chapter titles to maps.
Then, secure a hardboard base to your wall and start layering those pages with glue sticks, creating an eye-catching pattern.
Embroidery Hoop Garden

Transform your walls into a whimsical garden sanctuary using embroidery hoops as your canvas.
I'll show you how to combine different-sized hoops with floral fabrics and stenciled designs to create stunning wall art.
Mix and match seasonal patterns, add twine or ribbons, and layer your designs for depth.
You can even incorporate LED lights to make your garden glow.
Sandpaper Coastal Scenes
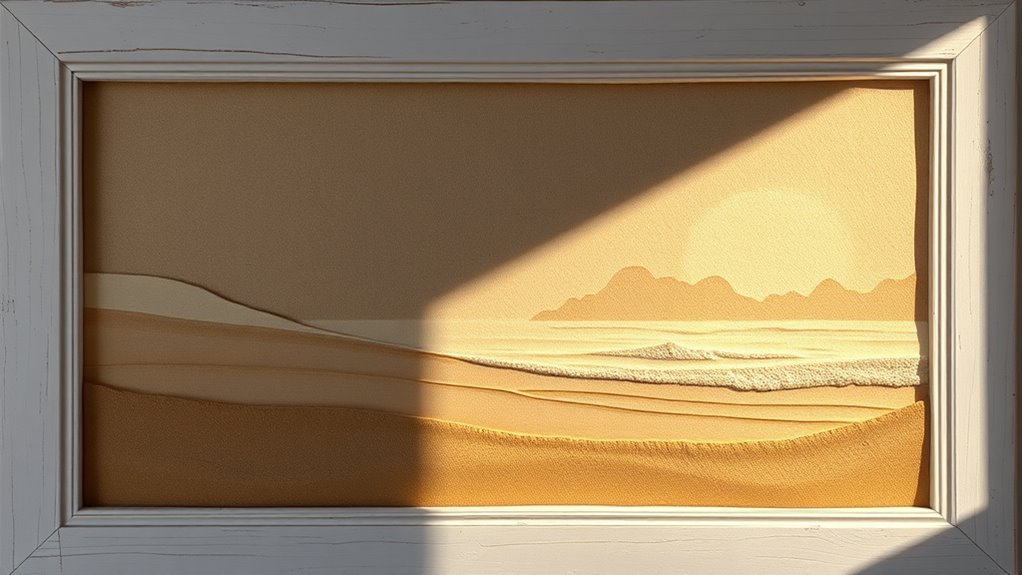
Every coastal scene starts with texture, and I'll show you how to create stunning beach artwork using an unexpected tool: sandpaper.
Mix actual sand with paint for authentic beach textures, then layer on dimensional elements like shells and small rocks.
I love using a hot glue gun to secure heavier items, while modeling paste creates perfect wave effects when blended with white paint.
Farmhouse Sign Making
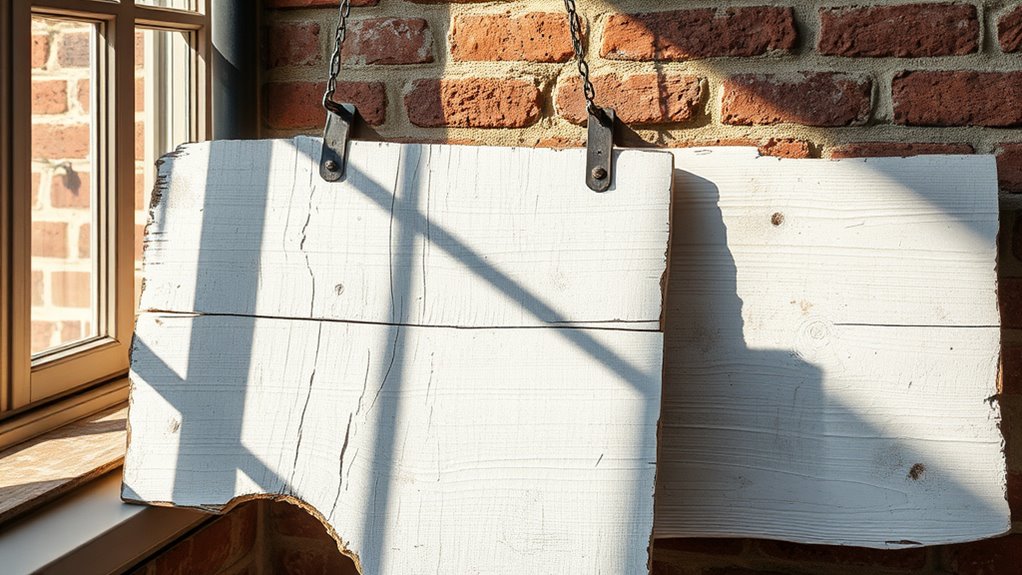
Moving from coastal textures to rustic charm, let's explore the art of farmhouse sign making.
I'll show you how to transform simple plywood into a beautiful statement piece. Start by cutting your plywood to size and building a frame with furring strips.
You can use transfer methods like vinyl cutouts or carbon paper to add your design, then finish with paint or stain.
Mirror Mosaic Display
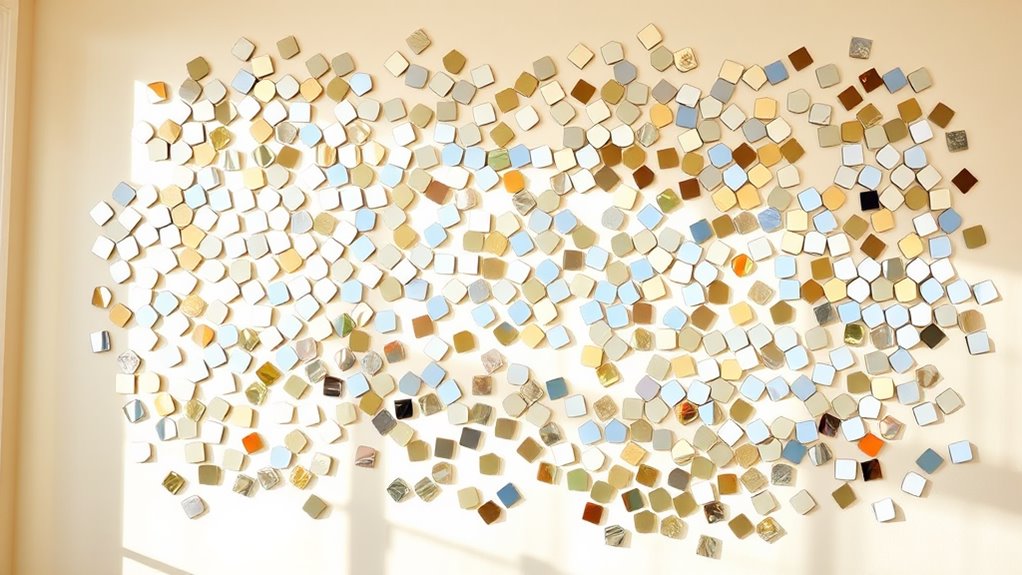
Creating a mirror mosaic display adds sparkle and dimension to any room.
I'll show you how to transform broken mirror pieces into stunning wall art.
Start by safely breaking your mirror while it's wrapped in a towel – don't forget your safety glasses!
Arrange the pieces like a puzzle, glue them down, and fill the gaps with grout.
You'll love how it catches the light!
Repurposed Door Panels
Transform old door panels into stunning wall decor with these five creative approaches that blend vintage charm with modern style.
I love turning doors into picture frames by adding your favorite photos where glass panes used to be.
You can also create a beautiful coat rack, attach a mirror for functionality, mount shelves for display, or paint it with chalkboard paint for a message center.
Salvaged Wood Art
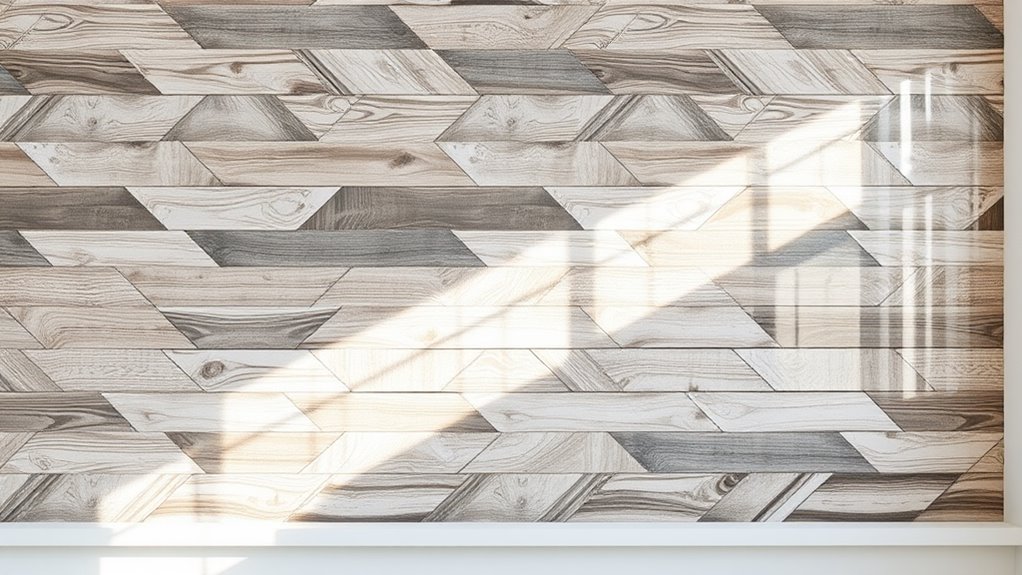
Salvaged wood art brings endless possibilities for turning discarded lumber into enchanting wall pieces.
I'll help you create stunning artwork using pieces of reclaimed wood, a canvas base, and some basic tools.
You can experiment with chevron patterns or mosaics, adding paint or stain for color.
Don't forget to protect your masterpiece with a clear coat when you're done!
Wallpaper Sample Frames
Wallpaper sample frames offer a budget-friendly way to add personality to your walls while recycling leftover materials.
I've found that selecting samples with smaller patterns works best, as they'll fit nicely within any frame size.
You'll want to start by removing the original mat, then carefully attach your chosen wallpaper using spray adhesive.
Don't worry if the edges aren't perfect – your frame will hide them!
Thrifted Clock Collection
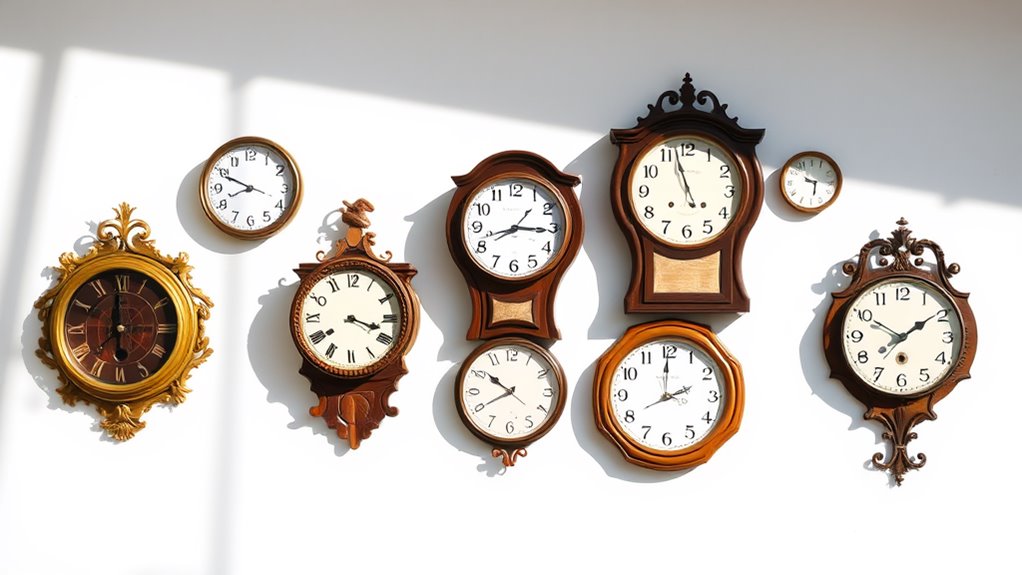
Creating a stunning wall display with thrifted clocks brings character and dimension to any room.
I love transforming old timepieces using chalk paint and clear wax to achieve that perfect distressed look. You can replace clock faces with vintage images or add butterflies and greenery for extra charm.
Don't let broken clocks discourage you – they're perfect for turning into unique wall art with paint and stencils.
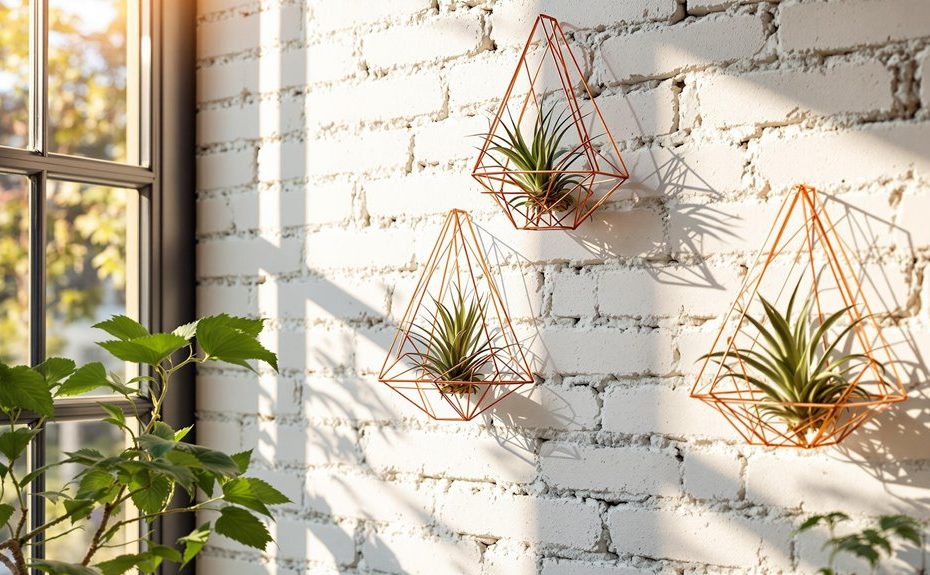
Hanging Basket Garden
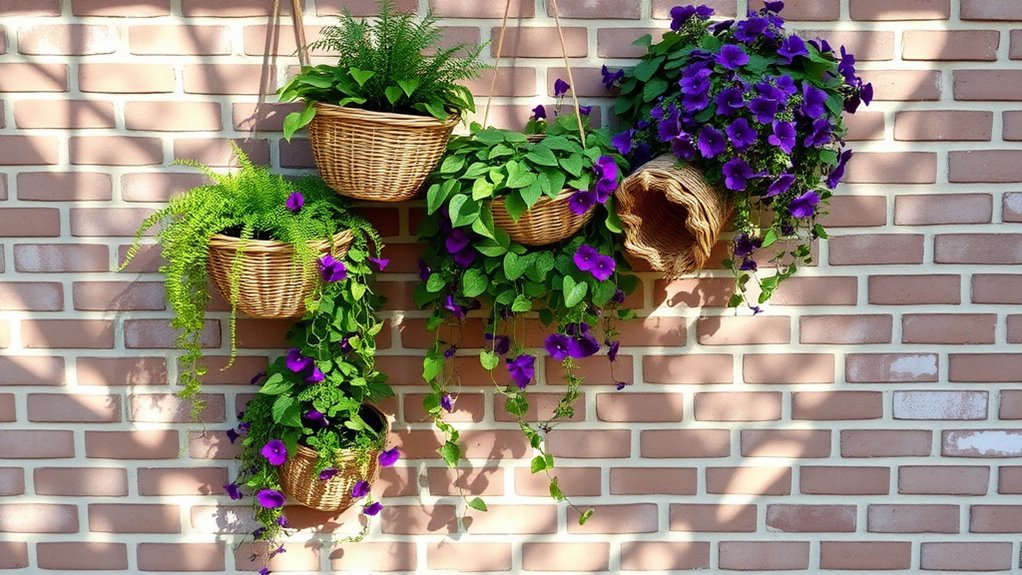
A charming hanging basket garden can transform any blank wall into an enchanting focal point.
I love mixing different basket sizes and materials – from wrought iron to woven fibers – to create depth and visual interest.
Start with your largest basket in the center, then work outward.
You'll find great options at thrift stores, and I suggest using command hooks or picture hanging kits for secure installation.
Monogram Letter Display
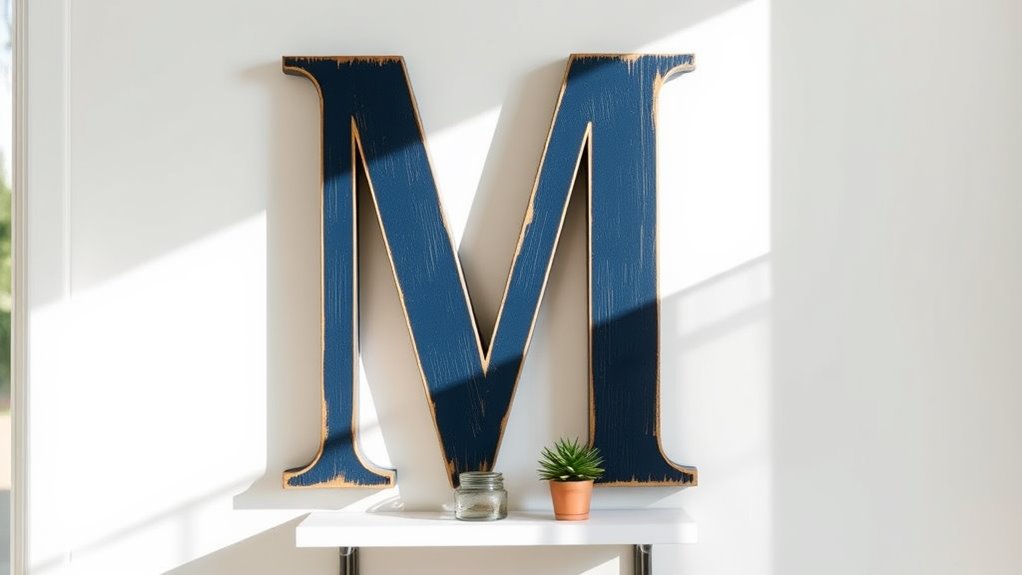
Personalized monogram displays offer endless creative possibilities for adding sophisticated charm to any wall space.
I'll show you how to create your own monogram art using either computer software or a simple cut-and-paste method. You can customize your display with acrylic paint, decorative paper, or even burlap.
Choose metal, wood, or paper mache letters, then mount them on a painted wood base.
Mixed Frame Arrangements
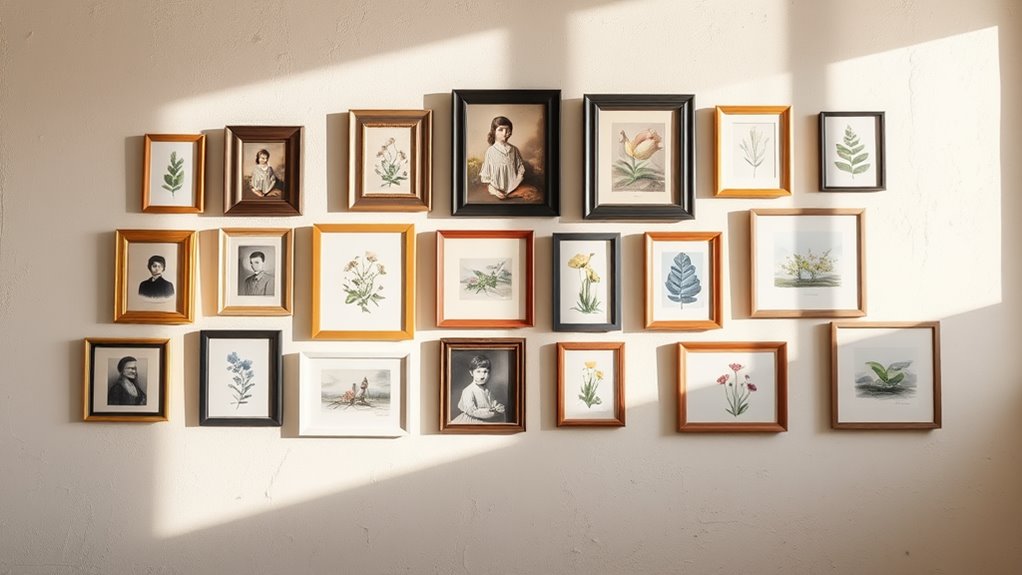
Mixed frame arrangements transform blank walls into enchanting visual stories.
I'll help you create your own gallery wall masterpiece. Start by measuring your space and laying out frames on the floor to experiment with different arrangements.
I find it helpful to mix frame styles, sizes, and materials while keeping them 2-4 inches apart.
Don't forget to snap a photo of your layout before hanging.
Frequently Asked Questions
How Do I Protect Wall Decor From Humidity and Moisture Damage?
Like a shield against rain, I protect my wall decor by maintaining good ventilation, using dehumidifiers, keeping items away from windows, and applying moisture-resistant coatings to prevent humidity damage.
What's the Best Lighting Setup to Highlight DIY Wall Arrangements?
I recommend installing LED light strips around your wall arrangement's perimeter, using battery-operated dewdrop lights for accents, and adding a timer for automated control and consistent illumination.
How Much Weight Can Drywall Anchors Safely Hold for Wall Decor?
I recommend using drywall anchors that support 25-75% less than their rated capacity. Toggle bolts can hold up to 200 pounds, while plastic anchors work for lighter items under 25 pounds.
Should Wall Decor Match Existing Furniture Colors or Contrast With Them?
Want to know my secret for perfect wall decor? I recommend mixing both matching and contrasting elements. I'll match 60% with furniture colors and contrast 40% to create visual interest.
How High Should Wall Decor Be Hung Above Furniture Pieces?
I recommend hanging your wall decor 4-8 inches above furniture, with the piece's center at eye level (around 57-60 inches from the floor) for ideal viewing height.
