Creating your own DIY bird bath is easier than you might think! Start by choosing a shady spot near trees or shrubs, about three feet off the ground. You’ll need a shallow terra cotta saucer or ceramic dish for the basin, keeping the water depth at 1-2 inches for bird safety. Add some small stones or pebbles for better grip, and secure everything with outdoor adhesive. Remember to clean it 2-3 times weekly with a water-bleach solution (9:1 ratio) to prevent algae growth. With these simple steps, you’re on your way to attracting beautiful feathered friends to your garden. There’s so much more to discover about making your bird bath a perfect wildlife haven.
Choosing Your Perfect Location
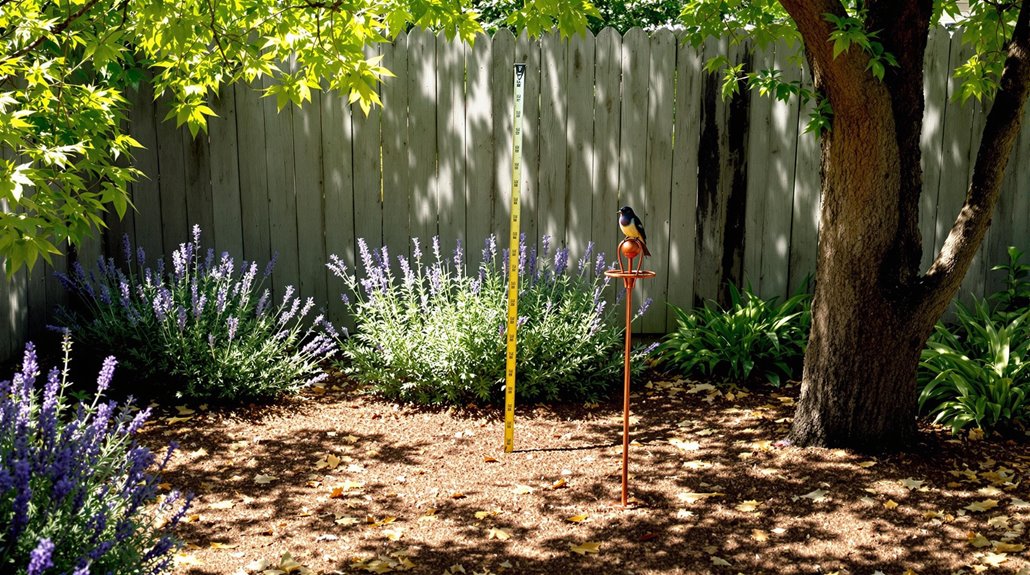
When creating a DIY bird bath, selecting the ideal location is essential for attracting birds while ensuring their safety. For best bird bath placement, choose a spot with partial shade near shrubs or trees that offers quick escape routes. You’ll want to keep it away from noisy areas and windows, but close enough to your feeders to attract birds. Make sure it sits on level ground with clear visibility. Birds need a water depth of 2-3 inches to bathe safely and comfortably.
Essential Materials and Tools
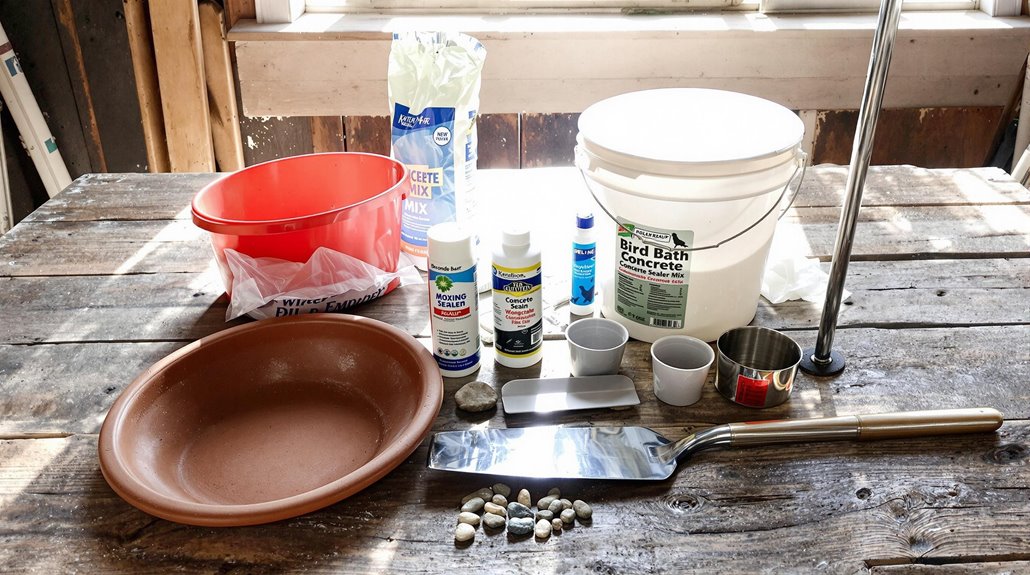
Creating a DIY bird bath requires a specific set of materials and tools to guarantee both durability and safety for your feathered visitors. You’ll need basic bird bath materials like terra cotta saucers, shallow pans, or ceramic dishes for the basin. Don’t forget your essential tools: wire cutters, outdoor paint, sealants, and protective gear. For added stability, consider using plant stands or concrete blocks as bases. Many DIY enthusiasts opt for the tomato cage method when creating their first bird bath due to its beginner-friendly approach.
Building Your Bird Bath
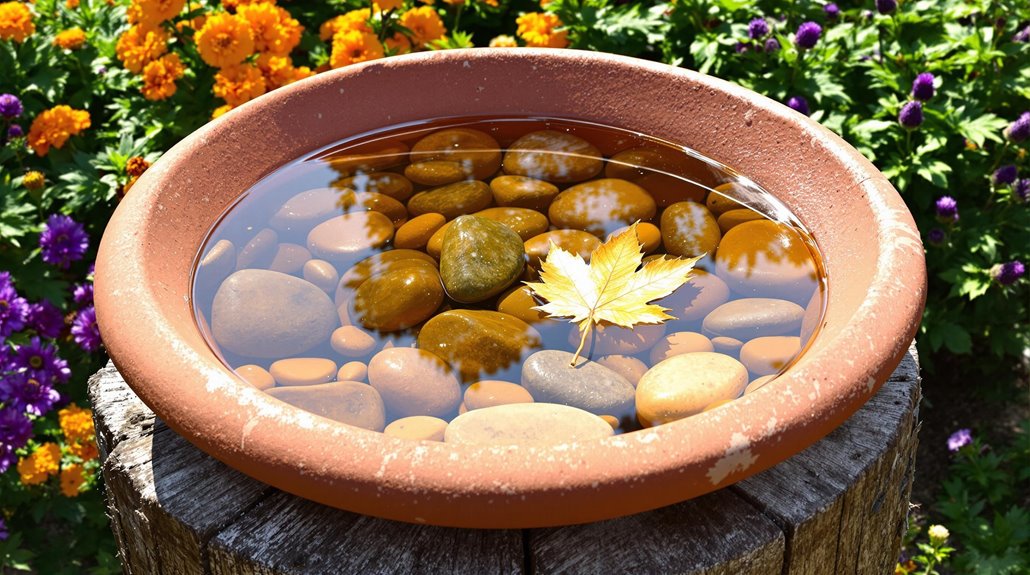
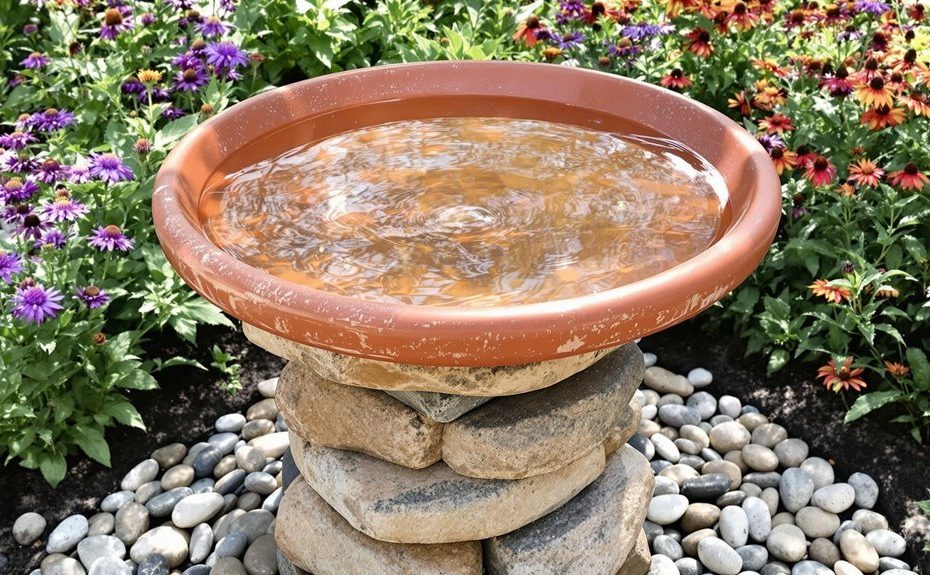
The assembly of a functional bird bath requires careful attention to both location and construction details. Your bird bath’s success depends on selecting an open, flat area and elevating it about three feet off the ground. Regular water access will help sustain local bee populations in your garden. Various design variations can accommodate different bird species, from using terracotta pots and saucers to adding textured surfaces. Remember to secure your bath with outdoor adhesive and include perching stones.
Design Tips for Bird Safety
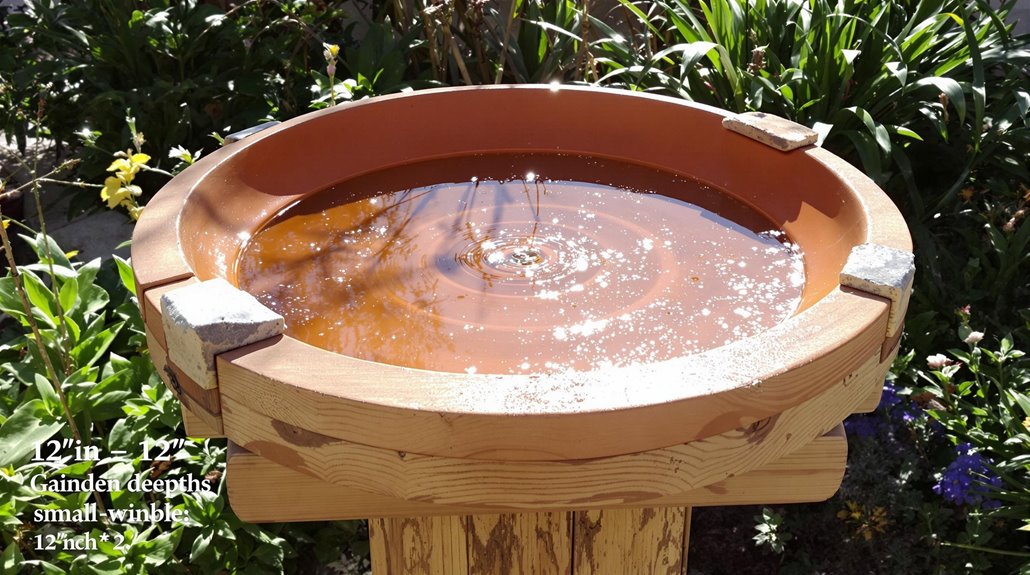
For ideal bird safety, designing your bird bath requires careful consideration of multiple factors that protect visiting birds from common hazards. When planning your bird bath, focus on understanding bird behavior and incorporating essential safety features. Keep the depth shallow at 1-2 inches, add textured surfaces for better grip, and place it in an open area near protective cover.
Maintenance and Cleaning Guidelines
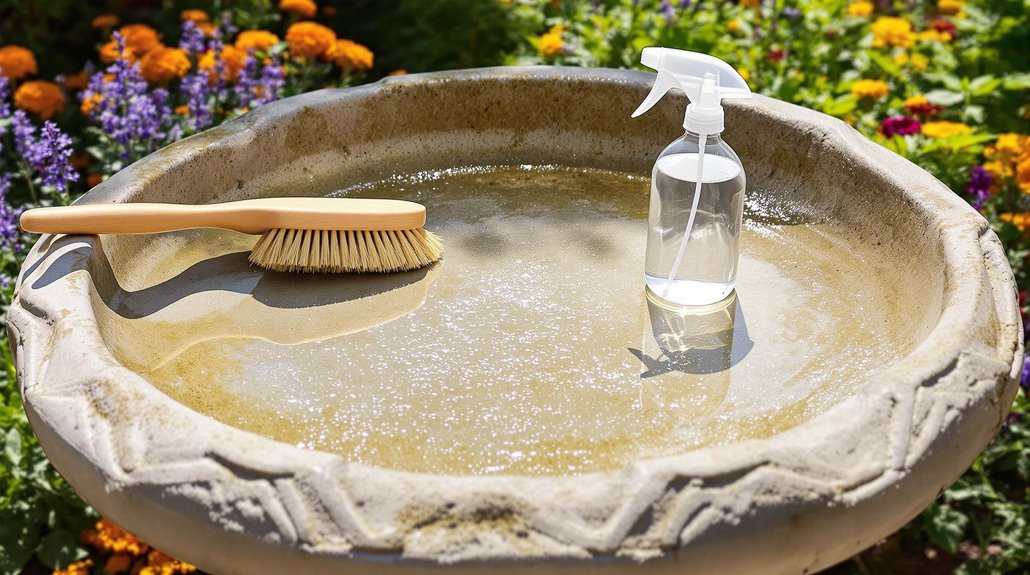
Regular maintenance and cleaning of your bird bath is essential for the health and safety of visiting birds. You’ll want to clean your bath 2-3 times weekly, depending on usage. Keep an eye on water quality by changing it every few days to prevent algae growth. Use a simple solution of nine parts water to one part bleach or vinegar, scrub thoroughly, and rinse well before refilling.
Frequently Asked Questions
How Long Does Concrete Need to Cure Before Adding Water?
For best results, allow your concrete to cure for at least 7 days before adding water. During this curing time, keep the surface moist through regular spraying or by using a curing compound to guarantee proper moisture retention. While you can technically add water after 24-48 hours, waiting a full week allows the concrete to develop better strength and durability for long-term use.
Can I Use Recycled Glass or Mirrors in My Birdbath Design?
A local gardener created a stunning birdbath using an old glass serving bowl mounted on a recycled ceramic vase, proving that creative upcycling can yield beautiful results. While recycled glass can be safely incorporated into your birdbath design, mirrors should be avoided as they can confuse and disorient birds. When using recycled materials, guarantee all edges are smooth, and the glass is securely mounted. This approach enhances design aesthetics while being eco-friendly.
Will Painting the Basin Surface Affect Birds’ Health?
Paint toxicity can seriously affect bird safety, so you’ll want to be extra careful with your choice of paint. Stick to lead-free enamel paints or water-based options specifically made for bird baths. Regular paints can leach harmful chemicals into the water when they break down. Masonry paint and bitumen-based paints are safe alternatives, though they may need more frequent touch-ups. Avoid any paints containing toxic metals or harsh chemicals.
How Deep Should Support Rods Be Buried for Optimal Stability?
Did you know that 75% of birdbath stability issues stem from insufficient support rod depth? For peak stability, your support rods should be buried at least 12 inches deep in firm clay soil, and up to 18 inches in sandy soil. Consider your local soil type and weather conditions when determining depth. The heavier your basin and the more water it holds, the deeper you’ll want those rods anchored for maximum stability.
Should I Add Chemicals or Algaecides to Keep the Water Clean?
No, you should never use chemicals or algaecides in your bird bath as they can be toxic to birds. Instead, opt for natural cleaning alternatives like a vinegar solution (one part vinegar to nine parts water) or a mixture of hydrogen peroxide and water. Regular maintenance, including daily water changes and weekly scrubbing with these natural solutions, will keep your bird bath clean and safe for your feathered friends.
