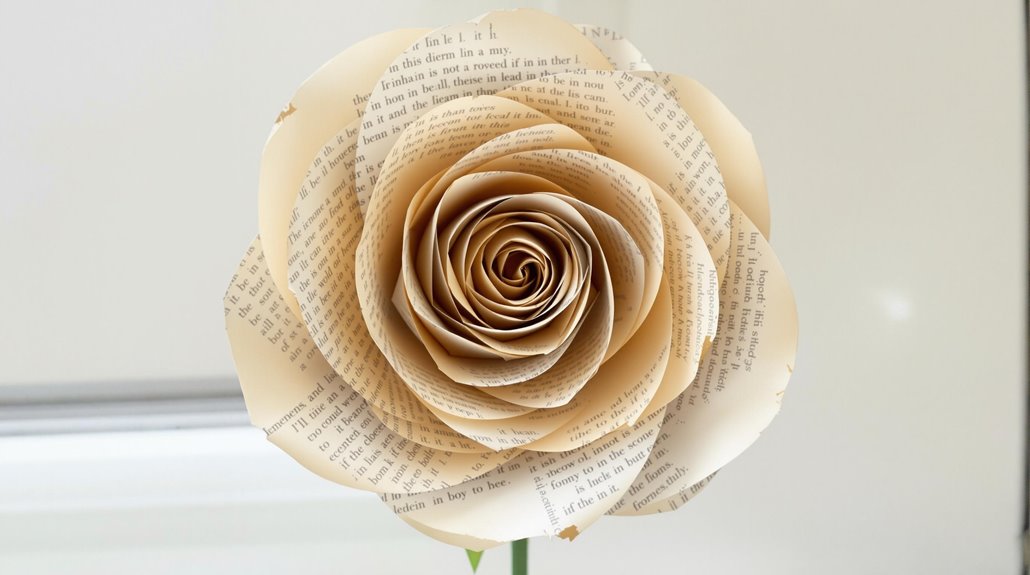
Creating book page roses transforms mundane paper into elegant works of art, offering both beginners and experienced crafters endless possibilities for unique floral designs. From simple spiral patterns to intricate geometric formations, these paper blooms can enhance home décor, wedding centerpieces, or thoughtful handmade gifts. While traditional roses require meticulous gardening and constant care, these literary blooms preserve their beauty indefinitely, carrying the subtle charm of vintage pages and printed words. The following techniques reveal how ordinary books can yield extraordinary results, each method adding a distinctive touch to your creative repertoire.
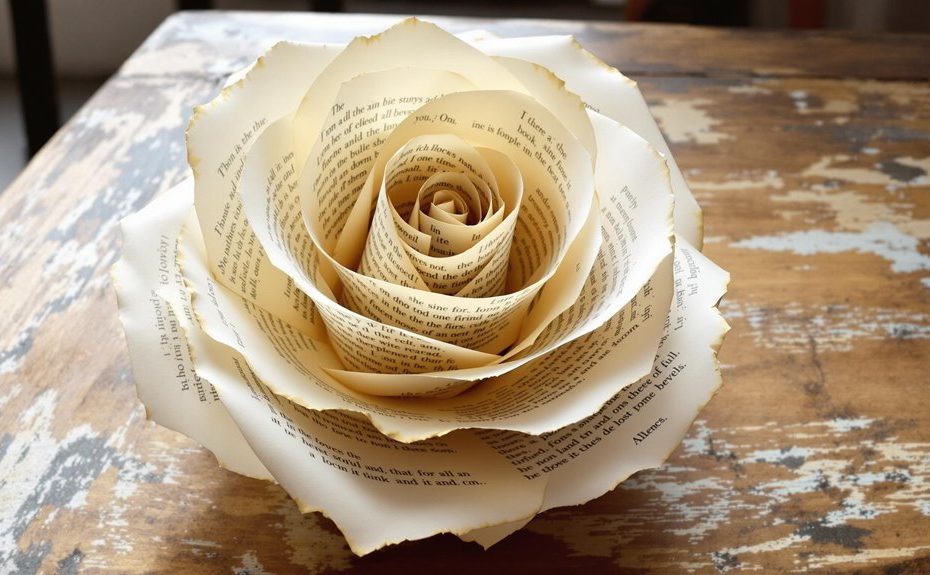
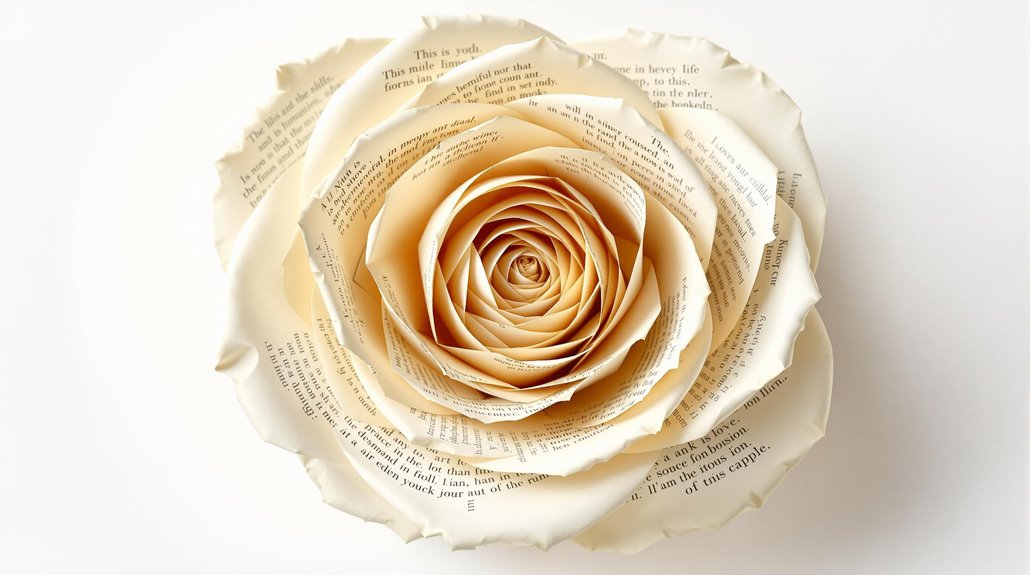
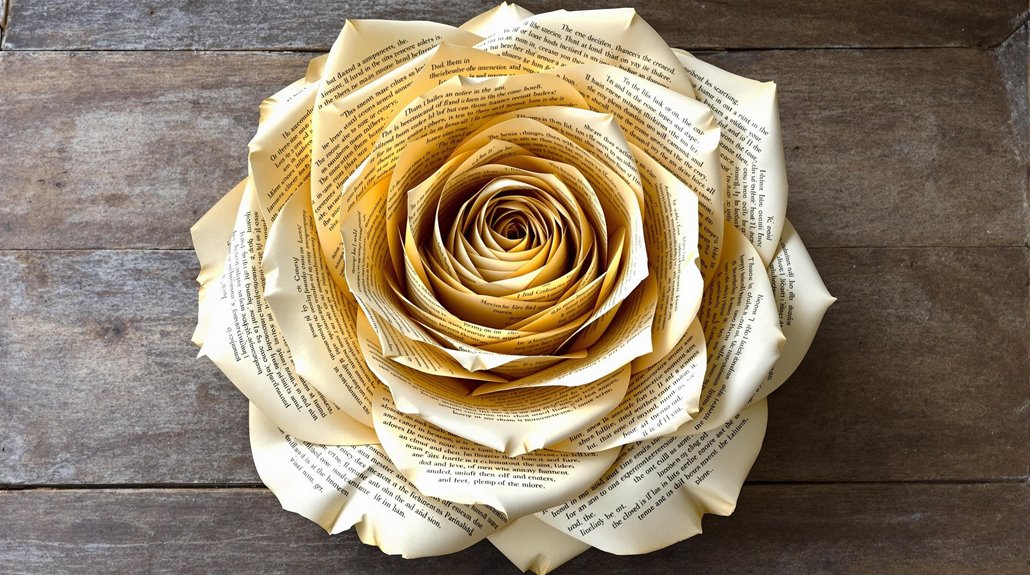
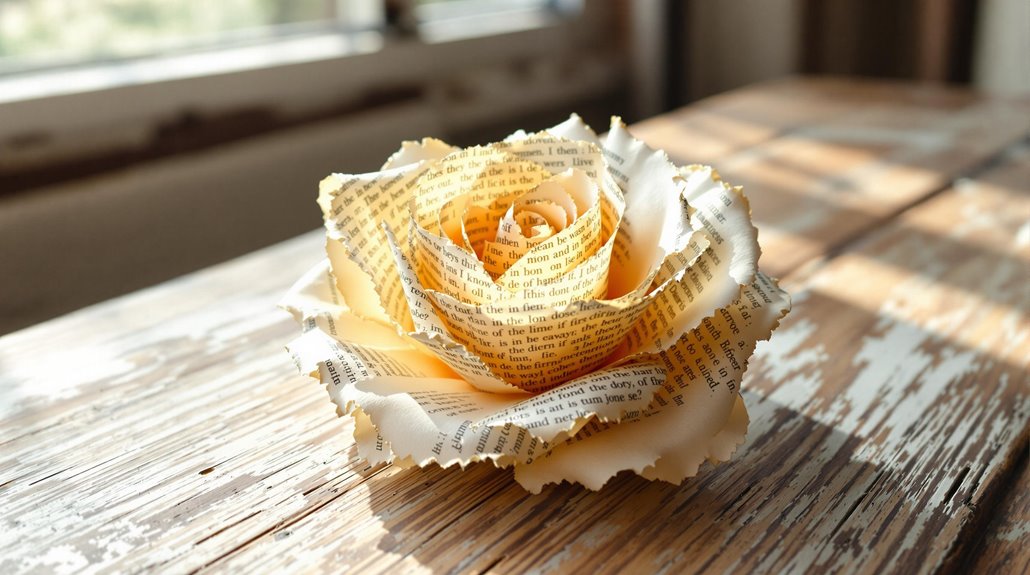
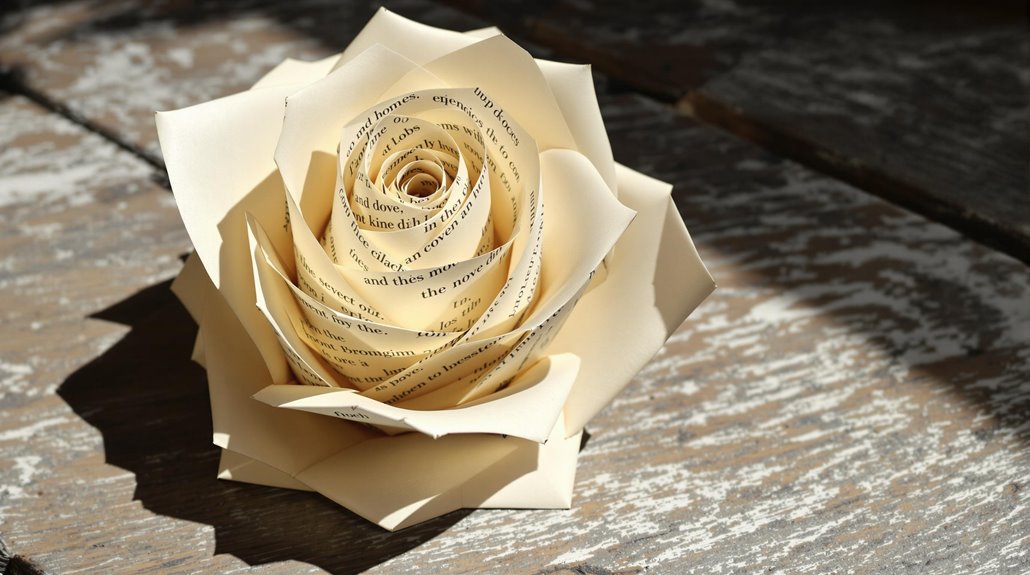
Classic Single Spiral Rose
Ever wondered how to transform ordinary book pages into delicate paper roses?
Creating a classic single spiral rose is easier than you might think. Start by cutting a circle from a book page, then snip it into a continuous spiral.
Beginning from the outer edge, roll the spiral inward, keeping it tight. When you reach the center, secure the base with glue.
Accordion Fold Paper Petals
While the spiral technique produces elegant roses, the accordion fold method offers a unique dimensional quality to your book page flowers.
Start by folding a book page back and forth in tight, even accordion pleats.
Then, fold this strip in half and secure the center with glue.
Fan out both sides, shaping the pleats into petals.
Finally, glue the base to create a lovely dimensional rose.
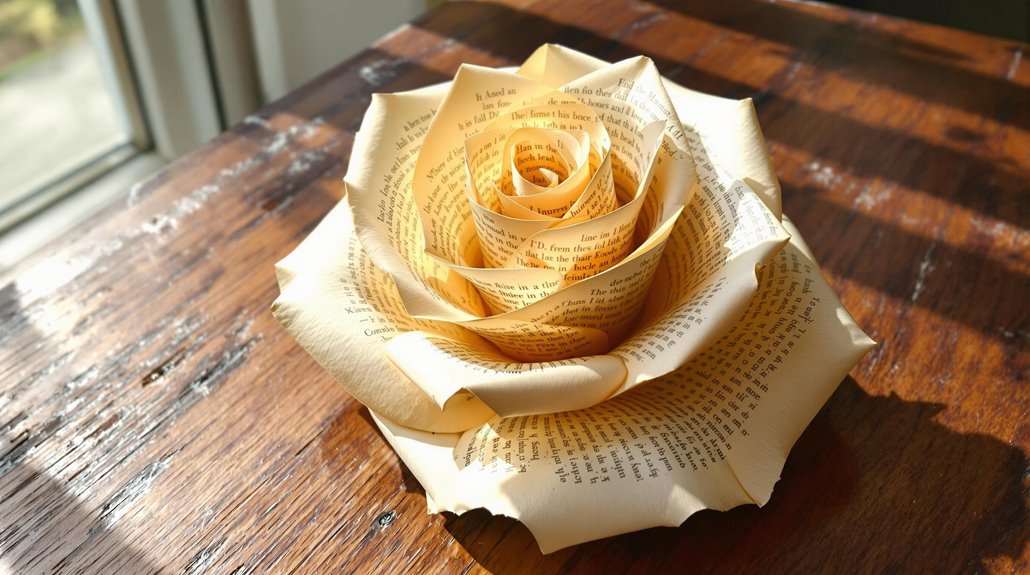
Rolled Edge Book Page Flowers
Creating rolled edge book page flowers adds an elegant, free-flowing dimension to paper crafting.
To make these beautiful blooms, gently roll the edges of your book pages outward using a pencil or skewer. You’ll want to work with 5-7 petals per flower, curling each edge carefully.
Stack your petals from largest to smallest, securing them with glue as you build your rose.
Layered Petal Design
The layered petal design technique transforms ordinary book pages into intricate, dimensional roses through careful stacking and positioning of petals.
You’ll start by cutting different-sized teardrop shapes, then arrange them from largest to smallest. Each petal gets a gentle curl at the edges before you layer them around a center point.
With practice, you’ll create beautifully realistic paper roses.
Origami Style Book Roses
Book page origami roses offer a more structured, geometric approach compared to layered designs.
You’ll fold crisp lines to create angular petals that spiral outward from a central point.
Start with a square piece of book paper and follow basic origami folds – valley, mountain, and pinch – to form each petal.
Once you master the technique, you can make roses in various sizes.
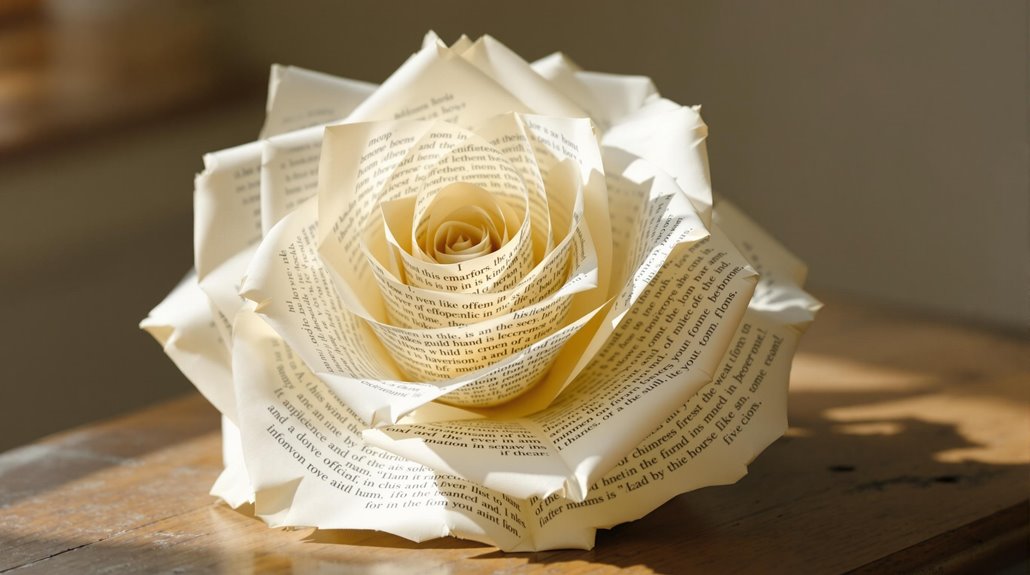
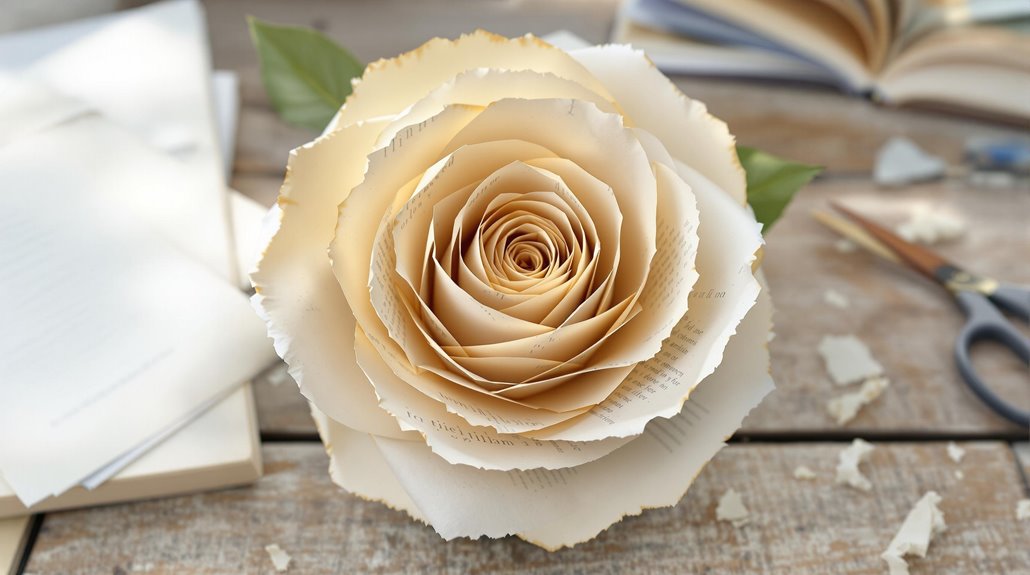
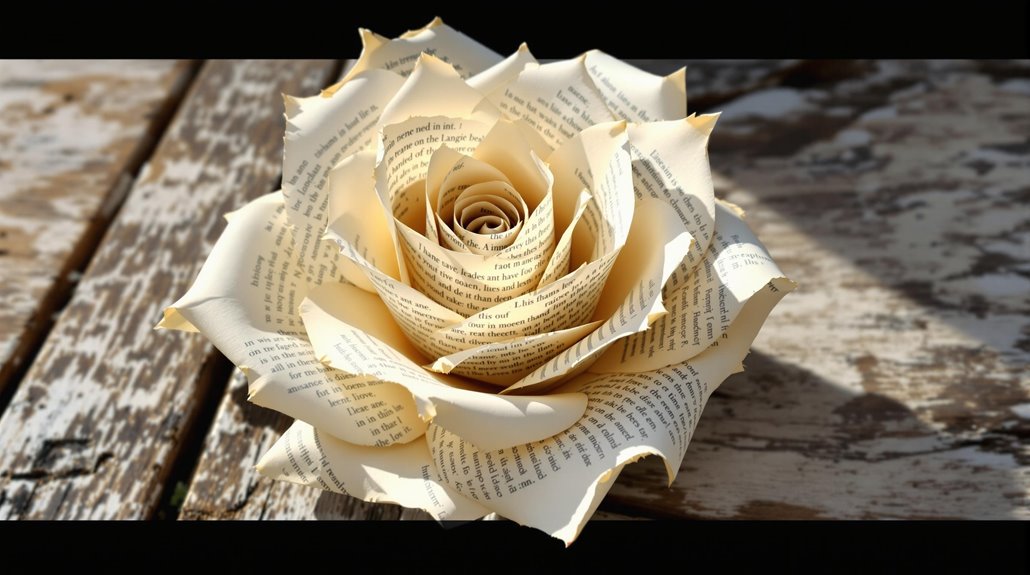
Sculpted Paper Rose Blooms
Sculpted paper rose blooms stand out among DIY paper flowers for their naturalistic, three-dimensional appearance.
You’ll create lifelike petals by gently curling and shaping each book page piece with your fingers. Start from the center and work outward, layering the petals in a spiral pattern.
Add depth by pinching the base of each petal and slightly cupping the edges for that realistic rose look.
Oversized Statement Roses
Dramatic and eye-catching, oversized statement roses transform ordinary book pages into stunning wall art or centerpieces.
To create these impressive flowers, you’ll need about 30-40 pages per rose. Cut larger petals than usual – around 6-8 inches wide – and layer them carefully.
The bigger size means every fold and curl becomes more prominent, making these roses perfect for weddings, special events, or bold home decor.
Mini Book Page Buds
Dainty and delightful, mini book page buds offer a charming alternative to their larger counterparts.
These tiny treasures are perfect for creating smaller arrangements or adding sweet accents to your crafting projects.
You’ll need just a few 2-inch squares of book pages to craft these petite blooms.
Roll them tightly around a toothpick, secure with glue, and watch your miniature garden grow.
Curled Edge Technique

The curled edge technique elevates book page roses with a more natural, organic appearance.
As you create each petal, gently curl the edges outward using your fingers or a pencil. Start at the corners and work your way around, giving each petal a slight wave.
This simple step makes your roses look more realistic and adds beautiful dimension to your paper flower crafts.
Stacked Paper Flower Method
Creating book page roses with the stacked paper flower method yields stunning multi-layered blooms through a series of precisely arranged petals.
To start, cut 15-20 circles of different sizes from your book pages.
Stack them from largest to smallest, offsetting each layer slightly. Scrunch the center gently and secure with glue.
Then, carefully curl each layer upward to create depth. Your stacked paper rose will look delicate and dimensional.
Twisted Petal Rose Design
Crafting twisted petal roses offers a unique approach that emphasizes elegant spiral formations.
Take your book pages and cut them into teardrop shapes, then gently twist each petal from base to tip.
Layer these twisted petals around a central point, securing them with glue as you go.
You’ll see your rose take shape as each new petal adds depth and dimension to your creation.
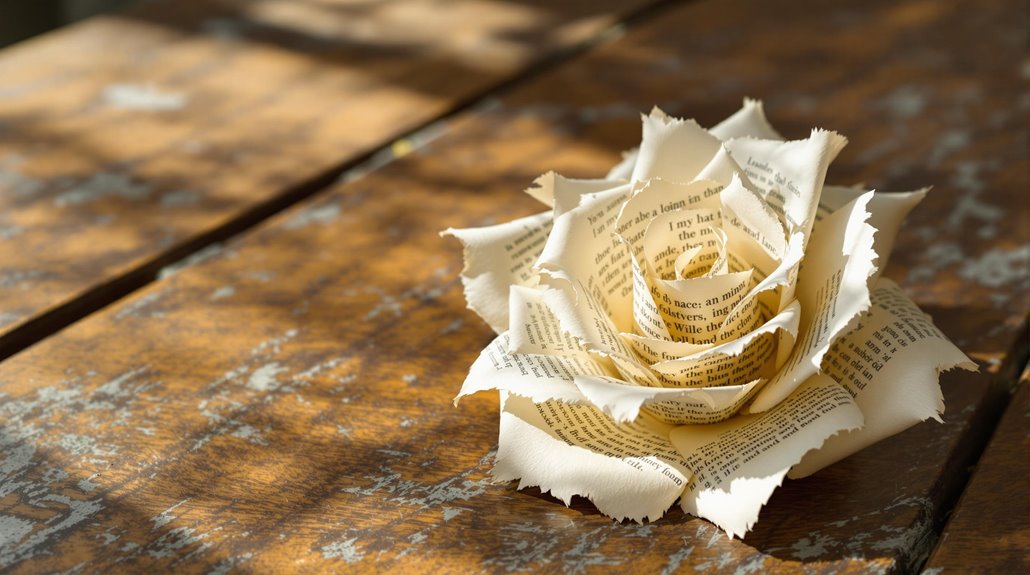
Rustic Torn Edge Roses

Rustic charm emerges when book pages are deliberately torn rather than cut, resulting in naturally textured edges that give these roses an organic, weathered appearance.
You’ll love how these imperfect edges create a vintage, shabby-chic look that’s perfect for weddings and home decor.
Simply tear your pages into petal shapes, gently crinkle them for added texture, and assemble them loosely for that perfectly imperfect look.
Rounded Petal Formations
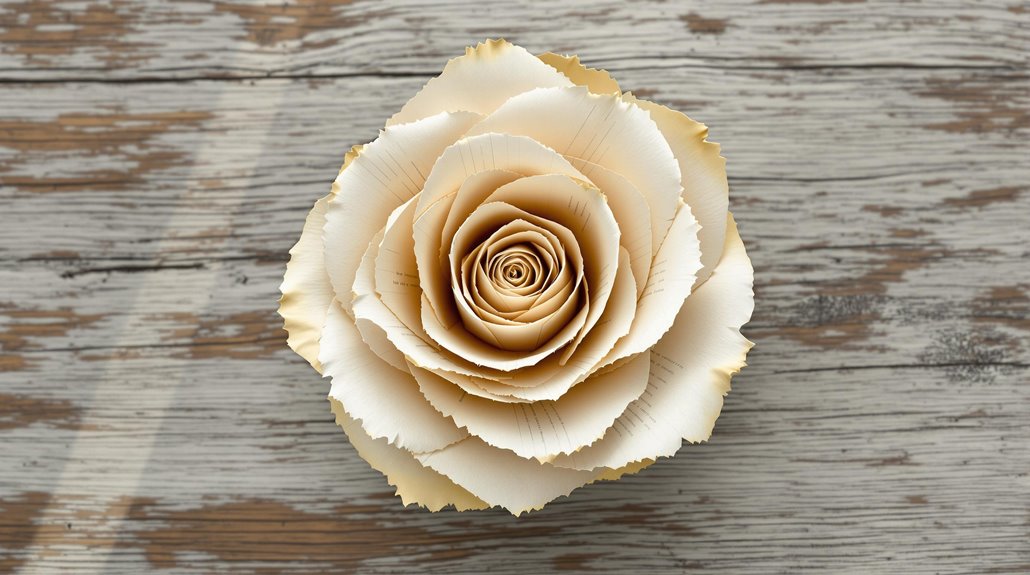
These elegant rounded petal formations offer a more polished and traditional approach to book page roses.
To create this style, you’ll want to cut perfect circles of varying sizes from your book pages. Start with larger circles for the outer petals and gradually decrease the size as you work inward.
Shape each circle into a cone, and layer them carefully around your center point.
Geometric Paper Rose Pattern
A modern take on book page roses involves creating geometric patterns that offer sharp, defined edges instead of soft, rounded forms.
You’ll love how these angular petals create a striking, contemporary look. Start by folding your book pages into triangular shapes, then layer them in a spiral pattern.
This technique gives your roses a bold, origami-inspired appearance that’s sure to catch everyone’s eye.
Free-Form Book Page Blooms
Natural elegance emerges when crafting free-form book page blooms, which offer a more relaxed alternative to structured patterns.
You’ll love how each flower takes on its own unique personality as you loosely roll and shape the pages.
Simply start from the center, gently curl each page outward, and let your creativity guide you.
No two blooms will look exactly alike.
Frequently Asked Questions
How Long Will Book Page Roses Last Before Turning Yellow?
Book page roses can last many years if properly cared for.
To prevent yellowing, you’ll want to store them away from direct sunlight and excessive humidity. You can also spray them with UV-protective clear acrylic sealer, which helps maintain their color.
Some crafters even use coffee or tea to pre-stain the pages, giving them an intentionally aged look that won’t change much over time.
Can I Spray Paint or Dye Book Page Roses Different Colors?
Yes, you can absolutely paint or dye your book page roses!
Spray paint works wonderfully and gives you endless color options. For a subtle tint, try dipping the pages in tea or coffee before crafting.
You can also use food coloring, watercolors, or fabric dye for different effects.
Just make sure the pages are completely dry before shaping them to prevent tearing, and apply color evenly for the best results.
Which Types of Books Work Best for Making Paper Roses?
Old paperback novels and dictionaries work best for making paper roses since their pages are thin and pliable.
Look for books with slightly yellowed pages for a vintage look, or choose books with cream-colored paper for an elegant appearance.
Avoid glossy pages, textbooks, or magazines as they’re too stiff.
Children’s paperbacks are also great since their pages are usually soft and easy to fold.
Are There Specific Tools Needed to Prevent Paper From Tearing?
To prevent paper from tearing while crafting, you’ll need a few essential tools.
A bone folder helps create clean creases without damaging the paper. Sharp scissors with micro-tip blades give precise cuts, while craft tweezers provide better control for delicate handling.
Working on a clean, smooth surface and keeping your hands free from oils and moisture also helps maintain paper integrity. Light sprays of starch can strengthen fragile pages.
How Can I Preserve Book Page Roses From Dust and Damage?
While your delicate paper roses deserve to stay pristine, dust and damage don’t have to be their destiny.
You can protect your creations by applying a light coat of clear acrylic spray sealer, which creates an invisible shield.
Display them in glass domes or shadow boxes to keep dust at bay.
For extra protection, you can also brush on Mod Podge – it dries clear and adds stiffness to prevent wilting or tearing.
