Building a backyard fire pit is easier than you might think! Start by gathering basic masonry tools and materials like bricks, mortar, and gravel. Choose a level spot at least 10 feet from any structures, then mark out a circle about 3-4 feet wide. After checking local permits, dig down 6 inches and add a solid gravel foundation. Layer your bricks in a circle, using mortar between each row and staggering the joints for strength. Don’t forget to install a metal ring to protect the bricks from heat damage. With proper planning and safety measures, you’ll be roasting marshmallows in no time – let’s explore the details of creating your perfect outdoor retreat.
Required Tools and Materials
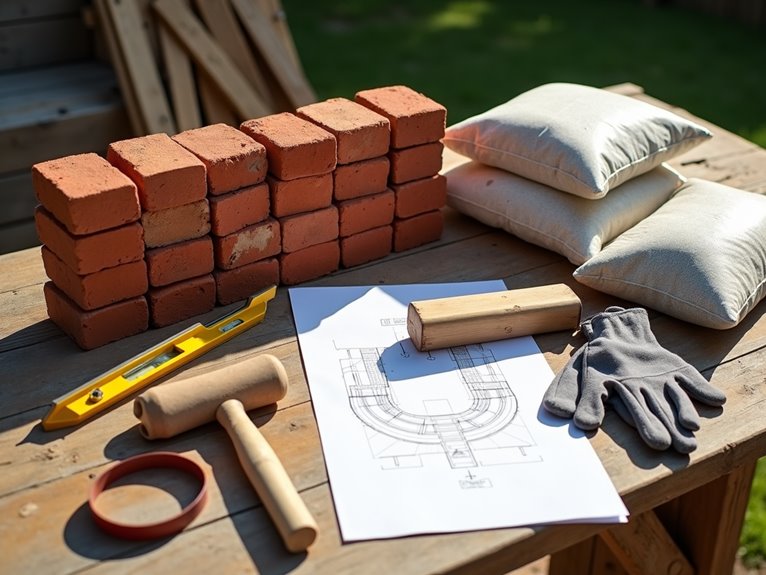
Building a brick fire pit requires several essential tools and materials to guarantee proper construction and safety. You’ll need basic masonry tools like a trowel, level, tape measure, and hammer. For materials, gather fire bricks, regular bricks, gravel, construction adhesive, and mortar mix. Don’t forget your safety gear – work gloves, safety glasses, and a sturdy wheelbarrow for hauling materials.
Planning Your Fire Pit Location
Choosing your fire pit’s location is a critical first step that impacts both safety and functionality. When selecting your spot, keep these essential requirements in mind:
- Place at least 10 feet from any structures, trees, or flammable objects
- Check local building codes and obtain necessary permits
- Pick a level area with good drainage
- Guarantee the spot is protected from strong winds
Safety Considerations and Permits

Safety stands at the forefront of any fire pit construction project. Before you grab those bricks, check with your local authorities about required permits and fire codes. You’ll need to confirm minimum distance requirements from structures and property lines. Many cities require permits for permanent fire features, and some neighborhoods have specific regulations about outdoor fires.
Marking and Excavating the Site
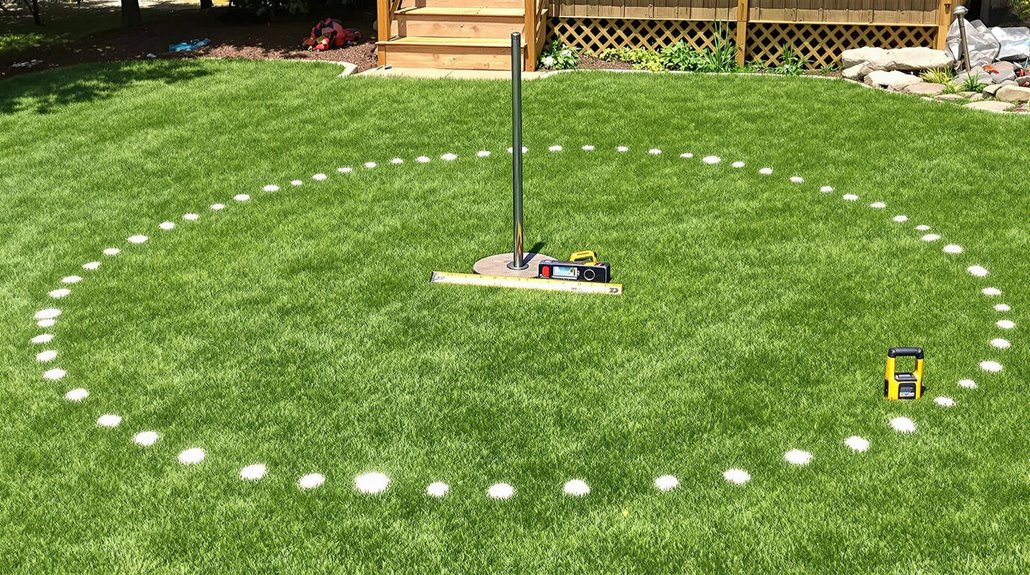
With careful planning in mind, the first step of constructing your fire pit involves marking and preparing the ground. Choose a level spot away from structures and overhanging trees, then follow these steps:
- Mark your fire pit’s circle using spray paint or string, typically 3-4 feet in diameter
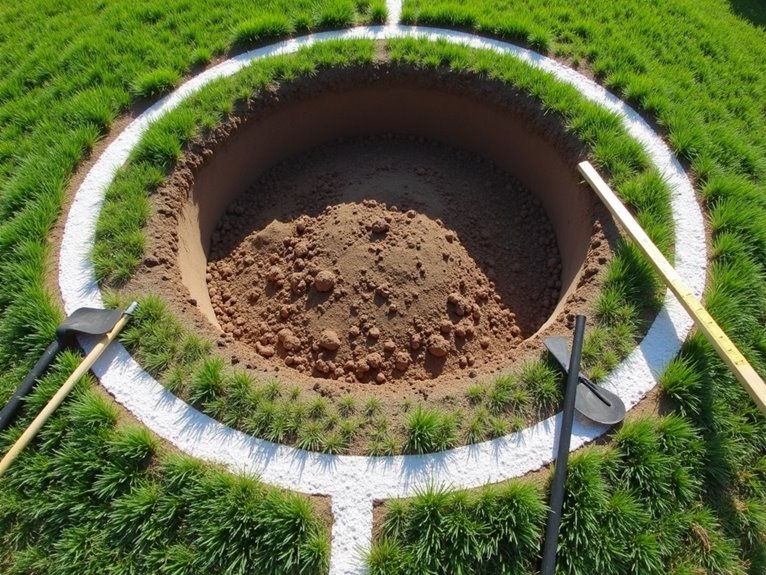
- Remove grass and topsoil within your marked area
- Dig about 6 inches deep
- Level the bottom with gravel or sand
Creating the Gravel Foundation
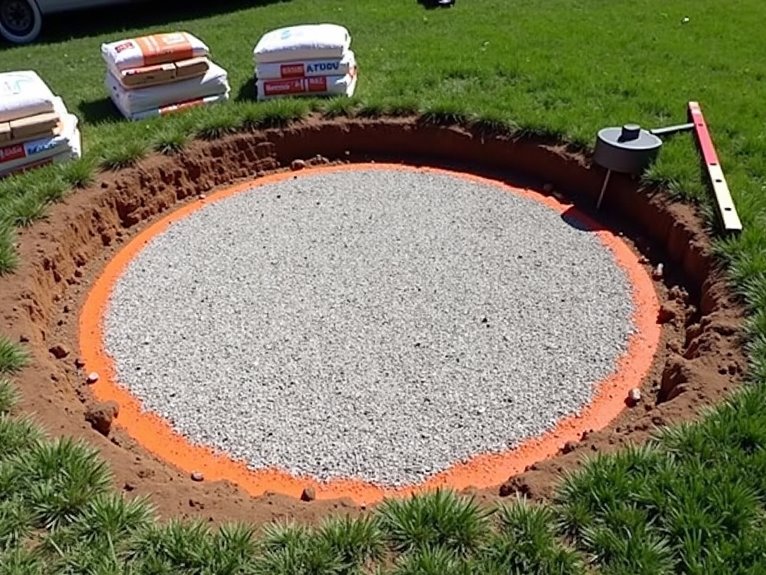
A solid gravel foundation serves as the critical base layer for your brick fire pit, ensuring proper drainage and structural stability. Pour a 2-inch layer of crushed gravel into your excavated area, then use your tamper to compact it firmly. Add another 2 inches and repeat the process. You’ll want about 4-6 inches total of well-compacted gravel before moving on to the next step.
Laying the First Brick Layer

The first layer of bricks forms the foundation of your fire pit’s walls and must be perfectly level to secure structural integrity. Follow these essential steps to lay your first course of bricks:
- Place bricks around your marked circle, spacing them evenly
- Check each brick with a level as you go
- Add or remove mortar to adjust height
- Confirm bricks are firmly pressed into the mortar bed
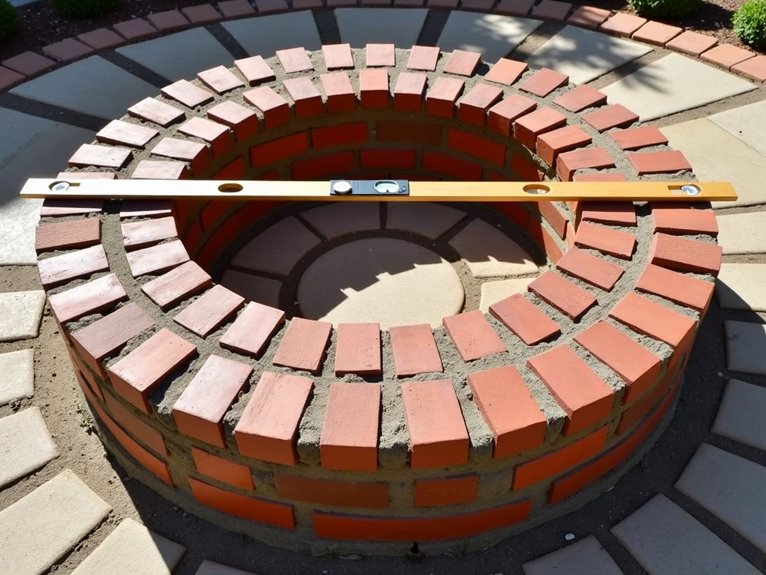
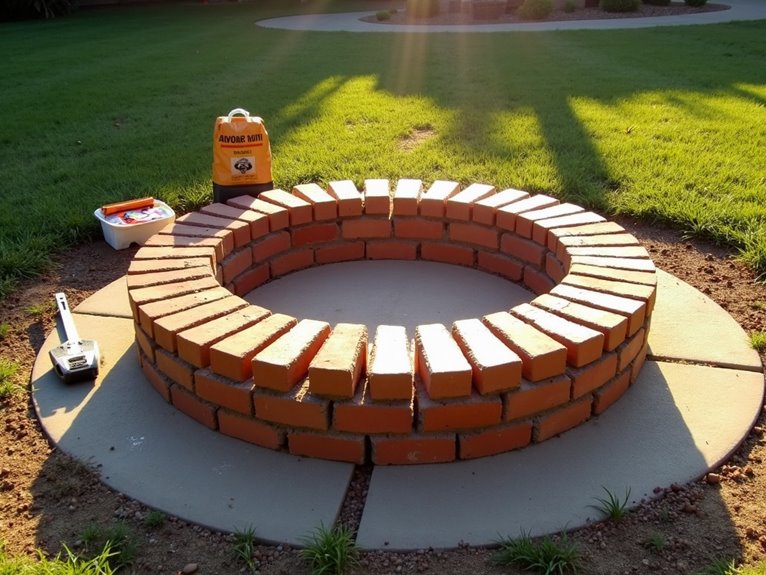
Building Additional Brick Rows

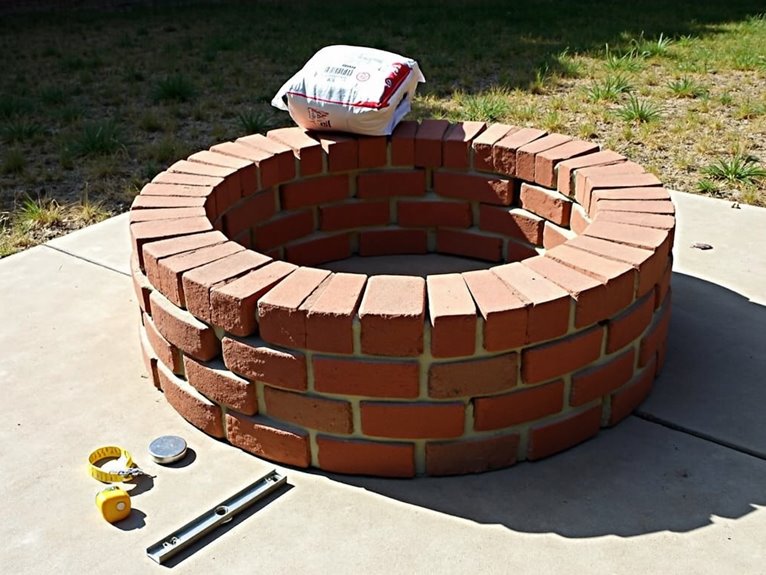
Once your first layer of bricks is properly set and leveled, construction advances upward to create your fire pit’s walls. Continue laying bricks in a circular pattern, staggering each joint for stability. Apply mortar between each brick and check for level as you go. Make sure each new row overlaps the joints of the row below, creating a strong interlocking pattern that will withstand heat and weather.
Installing the Metal Ring
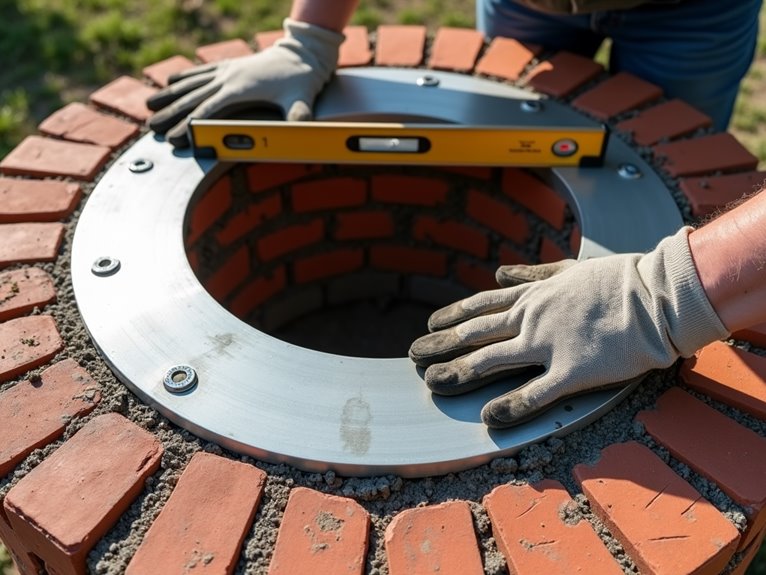
Installing a metal ring marks a critical phase in your fire pit construction, as this component helps protect the bricks from direct heat exposure while extending the structure’s lifespan. Follow these simple steps for proper installation:
- Center the ring carefully on top of your last brick layer
- Mark the position with chalk for alignment
- Apply heat-resistant masonry adhesive around the base
- Press firmly and hold for 30 seconds
Adding the Final Decorative Layer
Adding a decorative layer of bricks around the top edge transforms your fire pit from functional to eye-catching. Choose bricks that complement your patio or garden design, then lay them flat in a circular pattern on top of your existing structure. Use masonry adhesive to secure each brick, ensuring they’re level and evenly spaced. Once dry, your stunning fire pit is ready for your next outdoor gathering.
Curing and Heat Testing
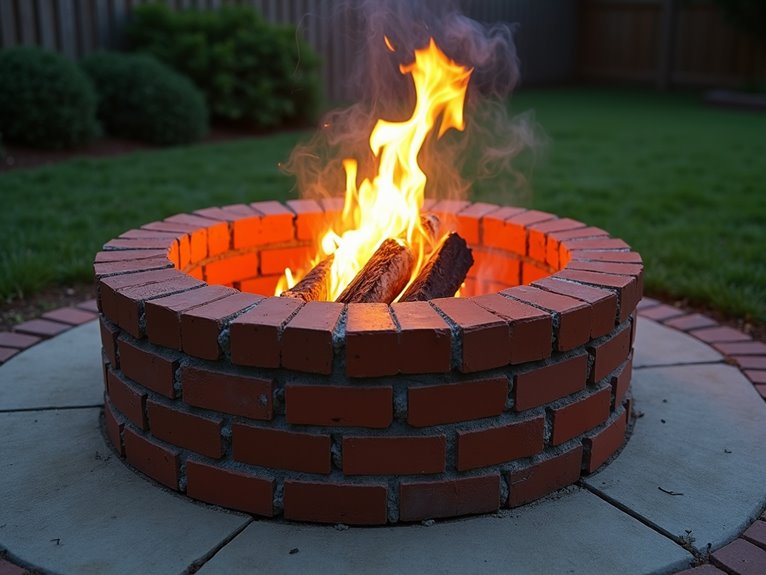
Your fire pit’s masonry work needs proper curing time before its first use to guarantee structural integrity and longevity. Follow these essential steps for a safe and successful curing process:
- Let the mortar cure for at least 48 hours without any moisture exposure
- Start with small fires for the first week
- Monitor for any cracking during initial burns
- Gradually increase fire size over 3-4 uses
Fire Pit Maintenance Tips
After properly curing and testing your brick fire pit, regular maintenance becomes the key to preserving its beauty and functionality for years to come. Keep your pit covered when not in use, remove ashes after each use, and brush off debris regularly. Check for loose bricks or cracked mortar annually. If you spot any damage, repair it promptly to prevent bigger issues.
Frequently Asked Questions
Can I Build a Fire Pit on a Sloped Yard?
Yes, you can build a fire pit on a sloped yard, but you’ll need to create a level surface first. The best approach is to dig into the slope and build a retaining wall on the downhill side. Make certain to add proper drainage beneath the pit and maintain a safe distance from structures. For steeper slopes, consider terracing the area or hiring a professional to guarantee stability and safety.
How Long Should I Wait Before My First Fire After Construction?
After building your fire pit, you should wait at least 48 hours for the mortar to cure completely before lighting your first fire. For extra safety, consider waiting 72 hours, especially in humid conditions. Start with a small fire and gradually increase its size over your first few uses. This gentle approach helps prevent any thermal shock to the newly constructed materials.
Will Extreme Weather Conditions Affect My Brick Fire Pit’s Lifespan?
Weather conditions can definitely impact your brick fire pit’s durability. Freezing temperatures can cause moisture trapped in the bricks to expand and crack, while intense heat from the sun can lead to fading and deterioration. Heavy rain and snow can also weaken the mortar joints over time. To protect your fire pit, consider covering it when not in use and applying a waterproof sealant annually.
What Type of Wood Is Best to Burn in a Brick Fire Pit?
For your brick fire pit, hardwoods like oak, maple, and hickory are your best choices. They burn longer, produce more heat, and create less smoke than softer woods. Cedar and cherry also work well and add pleasant aromas. Avoid burning pressure-treated lumber, painted wood, or pine, as they can release harmful chemicals and create excess smoke. Always make sure your firewood is properly seasoned and dry.
Can I Cook or Grill Food Directly on My Brick Fire Pit?
Perfectly possible and pleasantly practical! You can cook on your brick fire pit, but you’ll need the right setup. Consider adding a sturdy grill grate across the top for direct grilling. Without a grate, avoid placing food directly on the bricks, as they may contain chemicals or debris. For safer cooking, use cast-iron cookware or install permanent cooking grates. Always verify your fire pit is food-safe and clean before cooking.
