Building your own Murphy bed is a rewarding DIY project that can transform any room into a multi-functional space. Start by carefully planning your measurements and gathering essential tools like a power drill, screwdrivers, and saws.
You’ll need a Murphy bed hardware kit, lumber, and plywood for the basic construction. The process involves building a sturdy cabinet frame, installing the necessary hardware and springs, and adding face panels for a polished look.
While it might seem complex, breaking the project into smaller tasks makes it manageable. With proper safety measures and attention to detail, you’ll discover how achievable this space-saving solution can be.
Planning Your Murphy Bed Project
A successful Murphy bed project begins with thorough planning and careful consideration of your space. Start by measuring your room carefully, noting ceiling height, wall type, and stud locations.
You’ll need to check for windows, outlets, and doors that might affect placement. Remember to think about how the bed will open and close – you don’t want it hitting any fixtures or furniture. The project requires multiple work sessions spread across evenings and weekends for the best results.
Required Tools and Materials
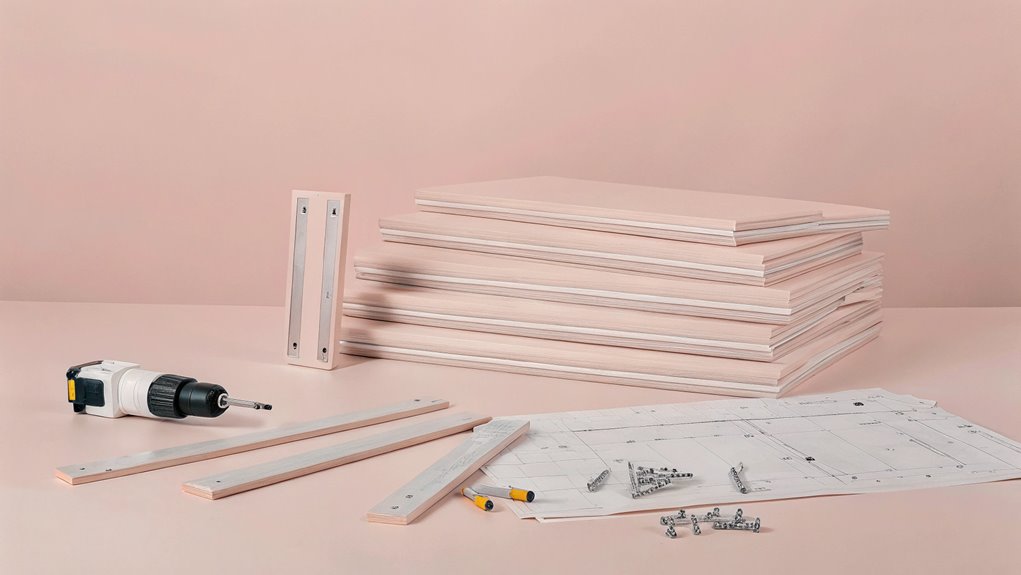
Building a Murphy bed requires an extensive set of tools and materials to guarantee successful completion. You’ll need basic tools like a power drill, various screwdrivers, and saws for cutting lumber. Don’t forget essential materials including a Murphy bed kit, lumber pieces, and plywood.
For safety, make sure you have goggles, gloves, and a face mask before starting your project. Instead of expensive traditional hardware, consider using boat seat swivels as a cost-effective alternative mechanism.
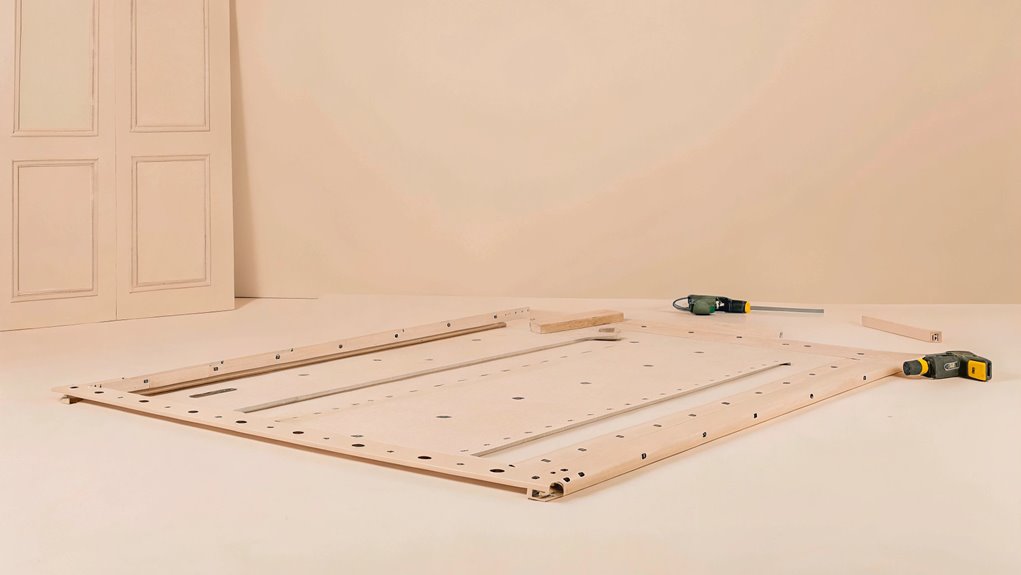
Preparing the Frame Components
Once your tools and materials are ready, the frame preparation marks the true beginning of your Murphy bed construction. Start by cutting your 1×2 lumber pieces according to your kit’s dimensions – these will become your struts.
Each strut needs two pieces that you’ll glue together in an L shape. Use your miter saw for precise cuts, and don’t forget to measure twice before cutting! The Create-a-Bed kit instructions provide detailed guidance for precise plywood cuts.
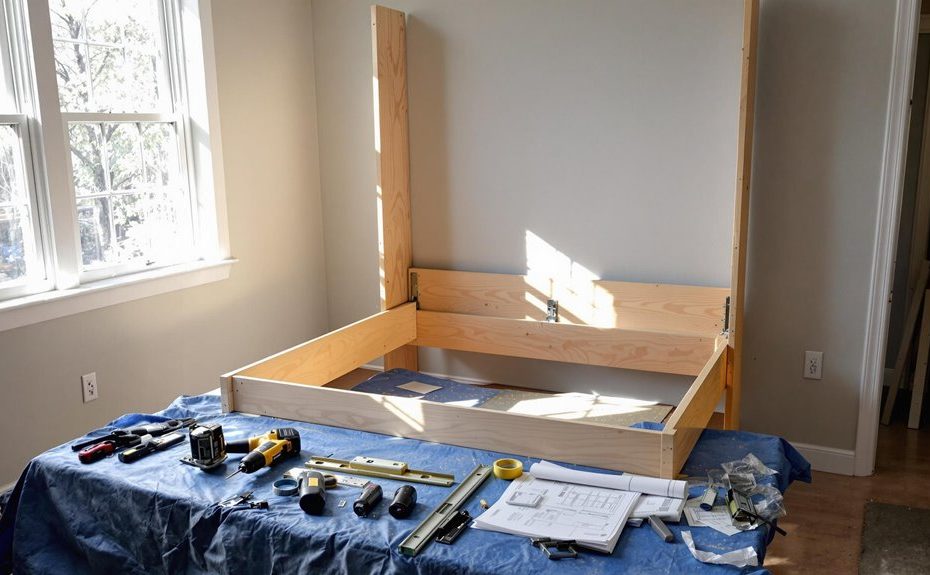
Building the Bed Cabinet
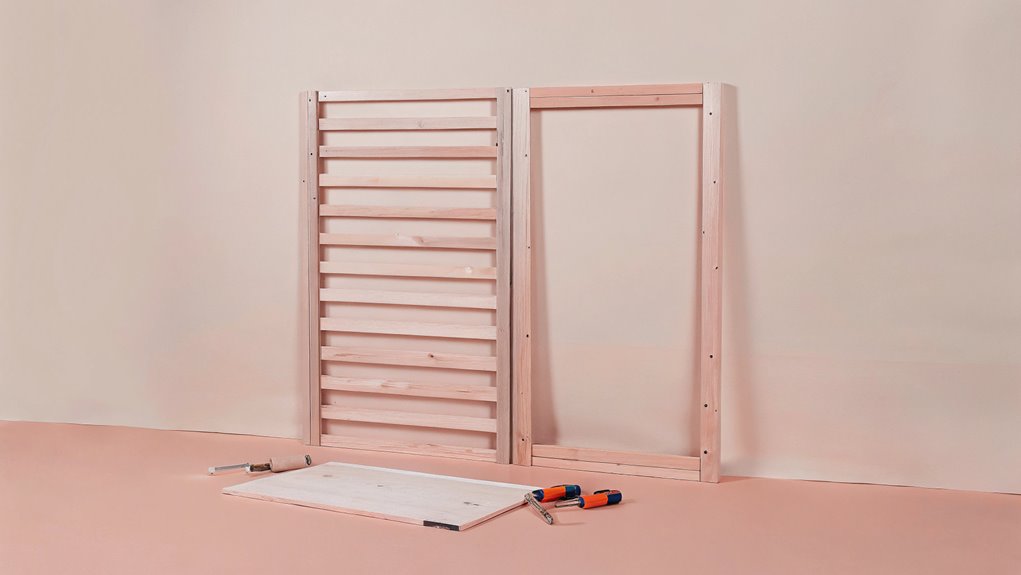
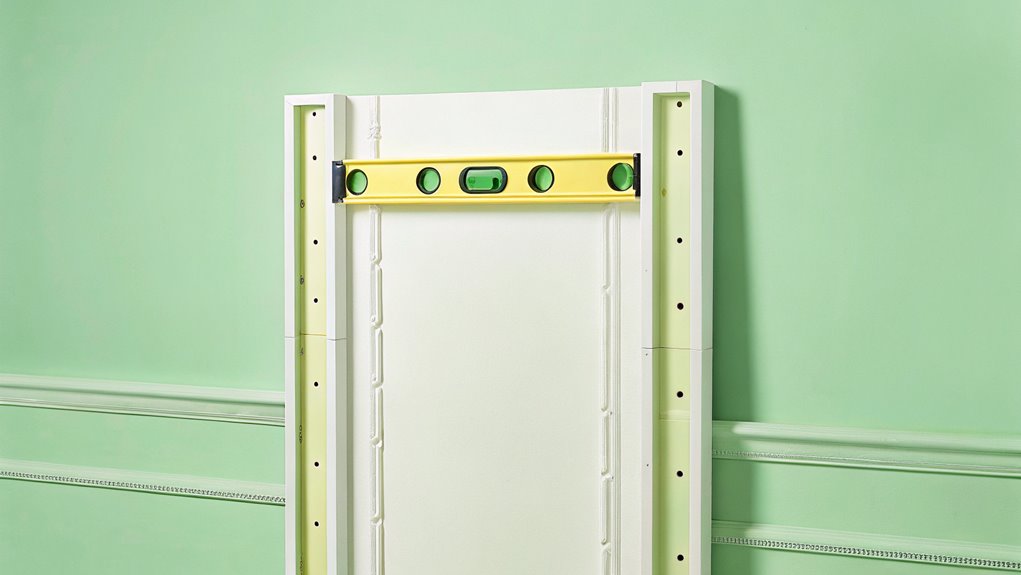
The bed cabinet serves as the cornerstone of your Murphy bed project, requiring careful planning and precise construction. Start by building a sturdy frame using solid wood pieces, making sure your measurements match your bed size.
Then, attach furniture-grade plywood panels to create the cabinet body. For optimal results, ensure your cabinet is squared and level during assembly. Add support beams for stability, and finish by securing the back panel and decorative trim.
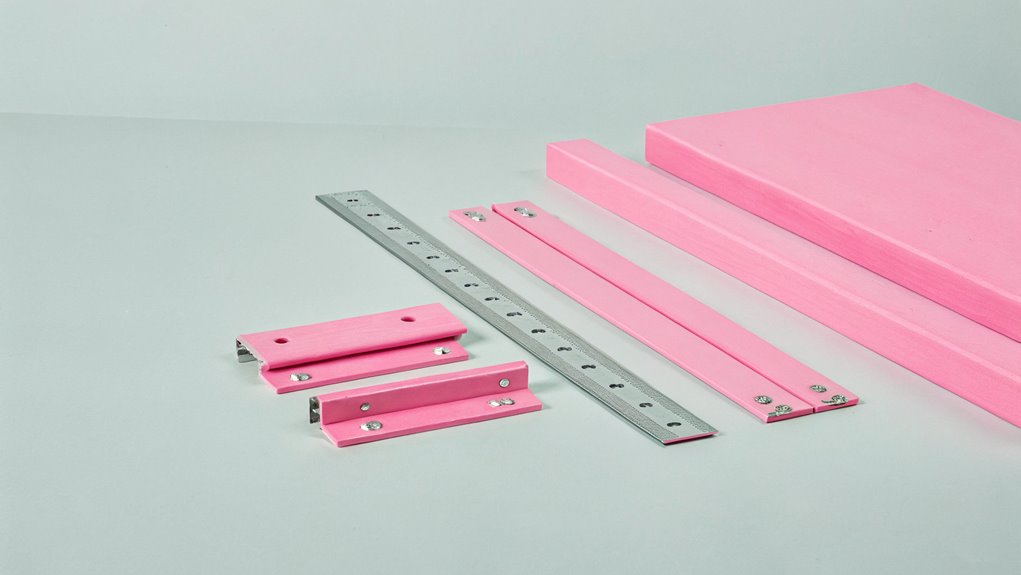
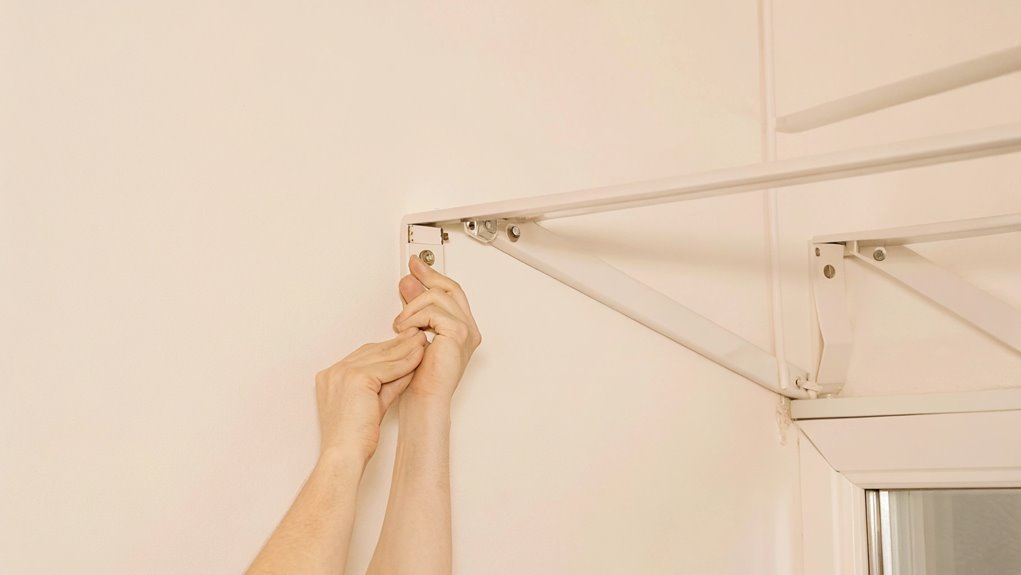
Installing Hardware and Springs

Proper installation of hardware and springs marks a critical phase in your Murphy bed construction, requiring careful attention to detail and precise alignment. Start by attaching the hardware to your cabinet sides and rails, then move on to installing the springs.
Make sure you securely connect all components, checking spring tension and alignment as you go. Using a quality hardware kit brand will ensure reliable operation for years to come. Test everything thoroughly before proceeding to final assembly.
Adding Face Panels
Building attractive and durable face panels represents a crucial step in creating your Murphy bed’s finished appearance. Start by cutting your furniture-grade plywood to size, making sure you have a 1/4-inch overlap with the bed frame.
Apply wood glue to the edges, then secure the panels using pre-drilled holes and 1 1/4-inch screws. Add edge banding and trim for a polished look.
Safety Testing and Securing
Safety testing and securing your Murphy bed represents a critical phase that should never be overlooked. Before you rest easy, make sure your bed meets ISO 10131 standards. Check that each wall anchor can hold 630 Newtons, and don’t skip professional installation if you’re unsure. Remember to test the locking mechanisms, inspect for pinch points, and verify your ceiling height is at least 83 inches.
Frequently Asked Questions
How Much Weight Can a DIY Murphy Bed Typically Support?
When it comes to bearing weight, DIY Murphy beds are no lightweight contenders. Typically, these beds can support between 600 to 2,000 pounds, depending on the size and materials used. Twin sizes handle 250-400 pounds, while queen and king versions can hold up to 1,000-2,500 pounds. Your choice of frame material matters too – solid wood and metal frames offer more support than particle board.
Can a Memory Foam Mattress Be Used With a Murphy Bed?
Memory foam mattresses are excellent choices for Murphy beds, as they’re typically lightweight and maintain their shape well when stored vertically. You’ll want to guarantee your mattress meets the weight limits (usually 50-85 pounds for Queen size) and thickness requirements (8-12 inches) of your specific Murphy bed model. Memory foam’s durability and resistance to deformation make it particularly suitable compared to hybrid mattresses.
How Long Does a Murphy Bed Mechanism Typically Last?
Like a well-oiled machine in a Swiss watch, a Murphy bed mechanism‘s lifespan varies based on several factors. With proper care, pistons typically last 15-20 years, while springs might need replacement after 5-10 years. The bed frame itself can last 50-100 years! Your usage frequency, maintenance routine, and component quality play key roles – daily use will naturally wear things down faster than occasional use.
What’s the Minimum Ceiling Height Needed for a Murphy Bed?
For vertical Murphy beds, you’ll need at least 87 1/8 inches of ceiling height for a queen size, though 8 feet (96 inches) is recommended for comfortable installation. If you’re dealing with lower ceilings, consider a horizontal Murphy bed instead. Remember to factor in any ceiling fixtures like fans or lights, and don’t forget to account for crown molding if you have it.
Can I Add LED Lighting or Outlets to My Murphy Bed?
Illuminate your sleeping space like a starlit sky by adding LED lighting to your Murphy bed! You can definitely enhance your bed with both lights and outlets. For best results, plan the wiring layout before installation, use proper clips to secure LED strips, and verify all electrical components meet safety codes. Consider hiring a professional electrician for outlet installation, but LED strips are typically DIY-friendly with basic tools and careful planning.
