Building your own bike storage rack is easier than you might think! Start by gathering basic tools like a power drill, level, and measuring tape. Choose between a wall-mounted or freestanding design based on your space, then pick up some 2×4 lumber, screws, and mounting brackets. Measure your space carefully and mark your wall studs if you’re going for a wall mount. Be sure to account for your bikes’ sizes when planning the layout. Add some protective padding where the bikes touch the rack, and always mount into wall studs for safety. There’s plenty more to discover about creating the perfect storage solution for your two-wheeled treasures.
Required Tools and Materials
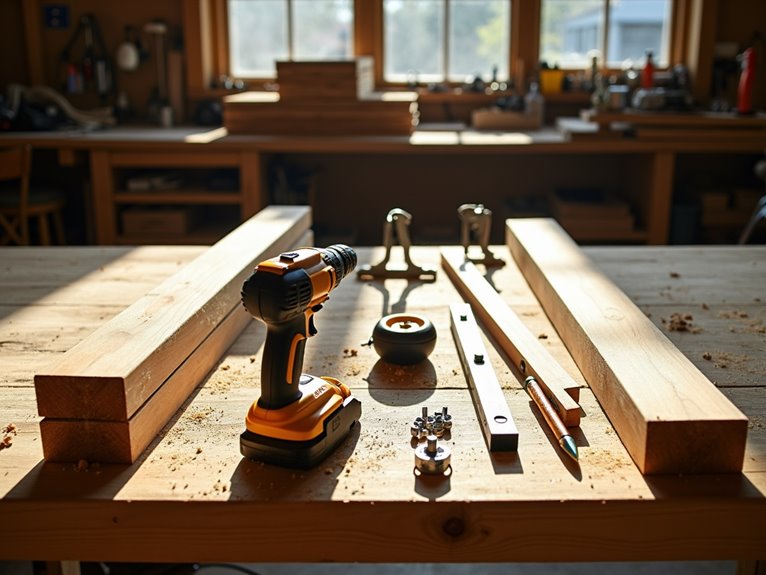
Before beginning construction of your bike storage rack, gather all the necessary tools and materials to guarantee a smooth building process. You’ll need a power drill, measuring tape, level, pencil, and screwdriver. For materials, gather 2×4 lumber pieces, wood screws, wall anchors, and mounting brackets. Don’t forget safety gear like work gloves and protective eyewear.
Planning Your Storage Space
Selecting the right location for your bike storage rack requires careful consideration of available space and accessibility. Before you start building, measure the width of your handlebars and pedals to determine the minimum space needed. Make sure you leave enough room to maneuver bikes in and out easily. You’ll want a spot that’s protected from weather and doesn’t block pathways or doorways.
Choosing the Right Design
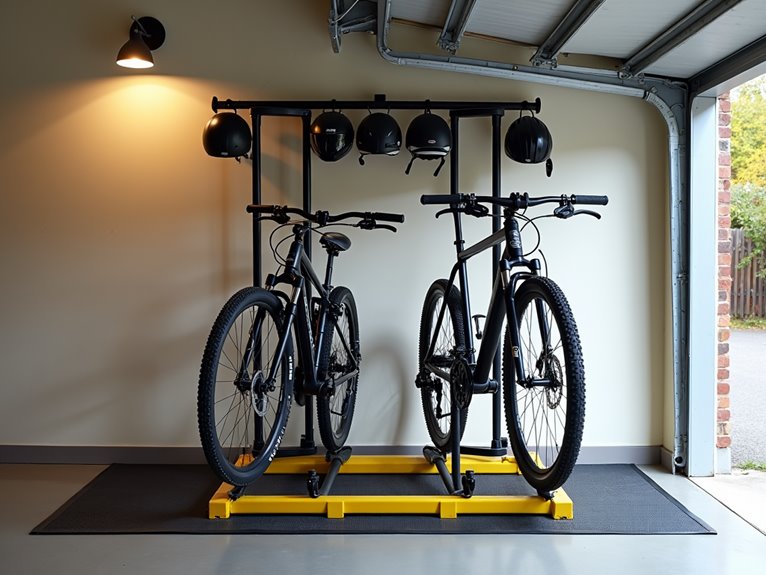
Design decisions for your bike storage rack will depend on several key factors: the number of bikes you need to store, available wall or floor space, and your budget.
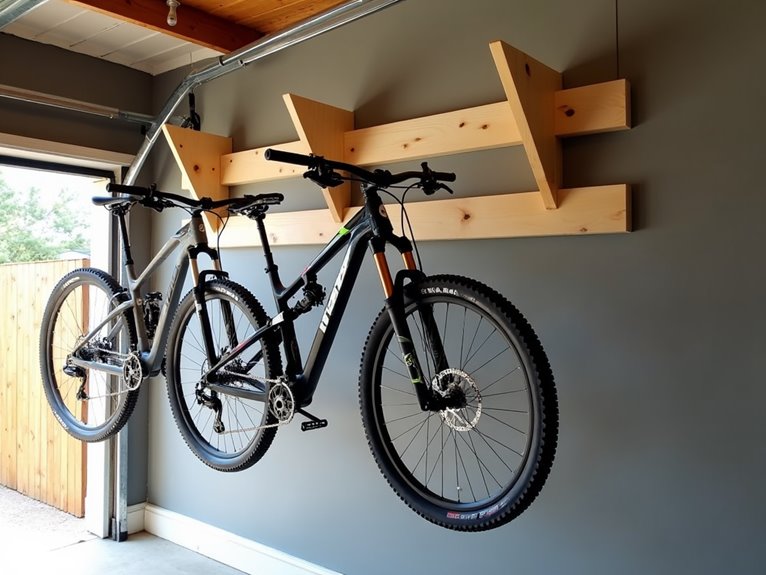
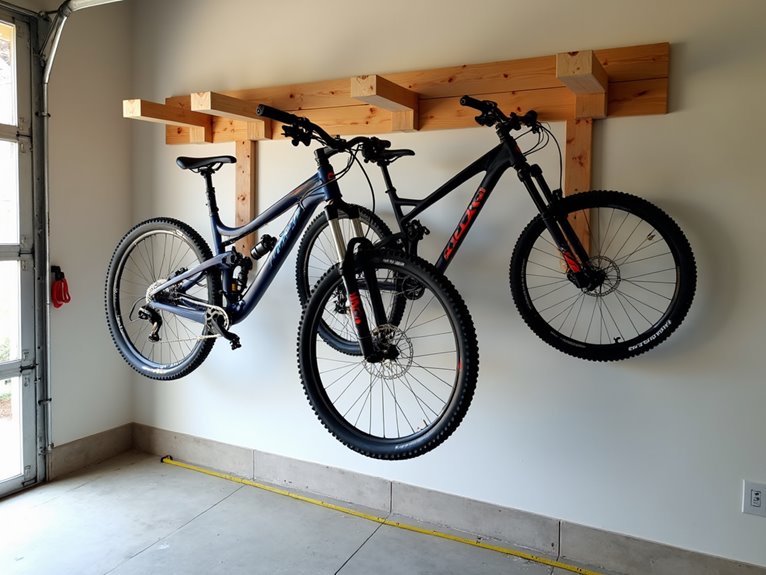
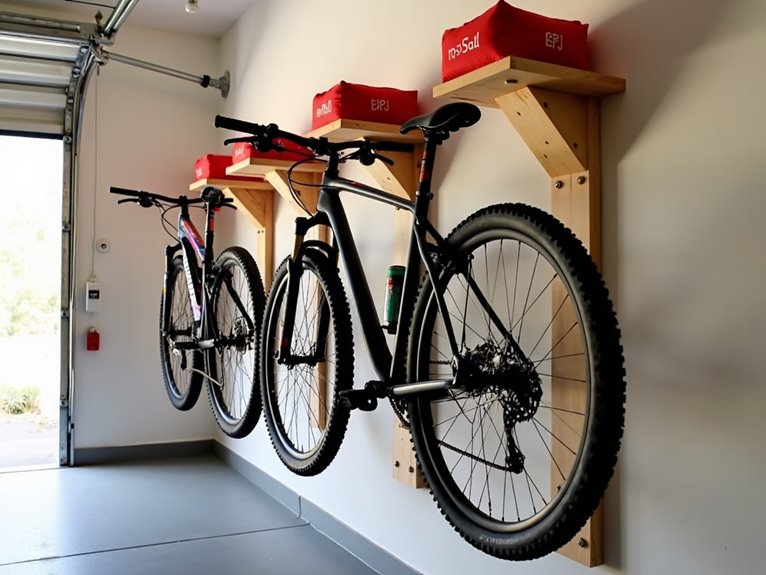
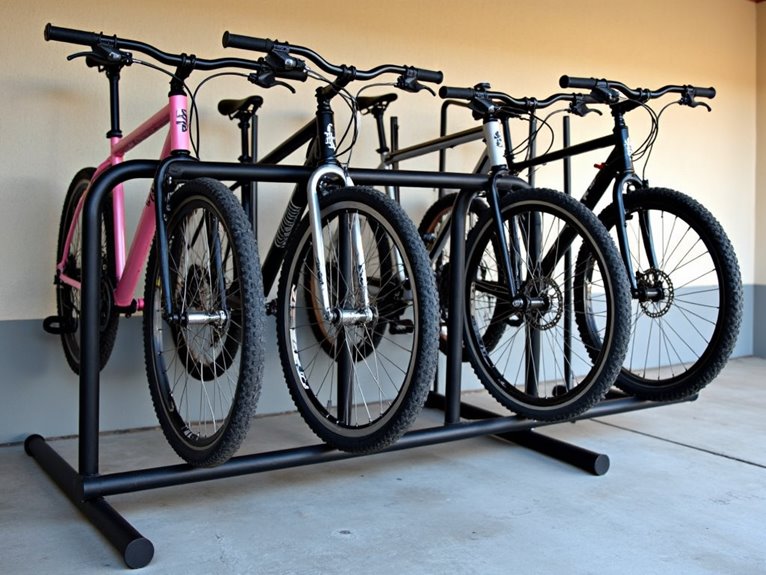
You can choose between vertical or horizontal racks, with vertical designs saving more floor space. Wall-mounted options work great for garages, while freestanding racks offer flexibility. Consider whether you want your bikes stored at an angle or straight, and if you need adjustable hooks for different bike sizes.
Safety Considerations
With any DIY storage solution, safety must be the top priority when building a bike storage rack. Make sure your rack is mounted securely to wall studs or solid support beams, not just drywall. Always check weight limits and use appropriate mounting hardware rated for your bikes’ weight.
Test the stability of your rack before loading bikes, and regularly inspect for any loose parts or wear.
Measuring and Marking
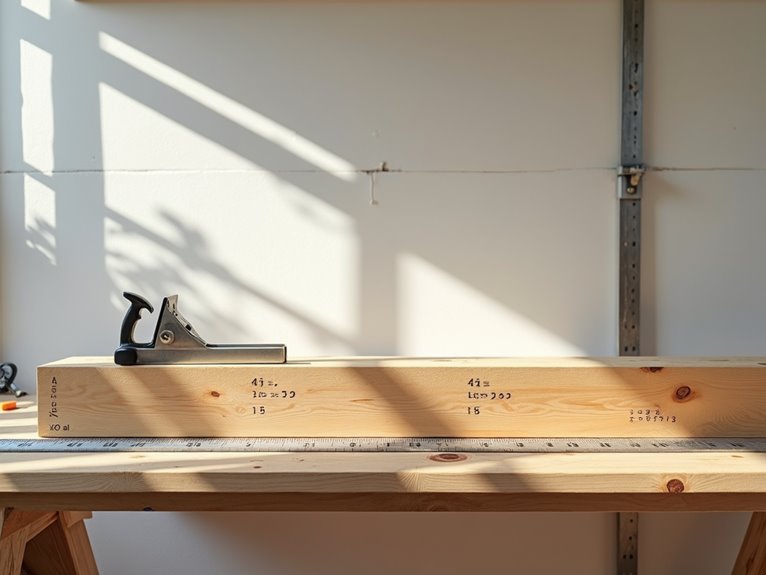
After establishing proper safety protocols, precise measurements become the foundation of a successful bike storage rack installation. Start by measuring your available wall space and the dimensions of your bikes. You’ll need to mark stud locations with a pencil and level. Remember to account for handlebar width and pedal clearance when spacing your mounting points – this will prevent any bike-bumping frustrations later.
Cutting the Materials
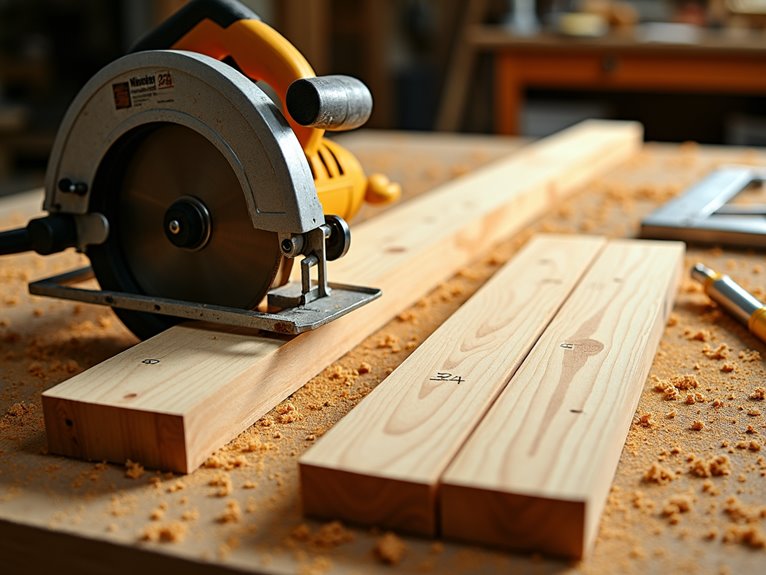
Proper cutting of materials requires careful attention to your measurements and marked guidelines. Using your saw, cut along the marked lines with steady, controlled movements. Remember to wear safety goggles and work gloves to protect yourself. For cleaner cuts, clamp your wood pieces securely to your workbench. Double-check each piece against your measurements before moving to the next cut.
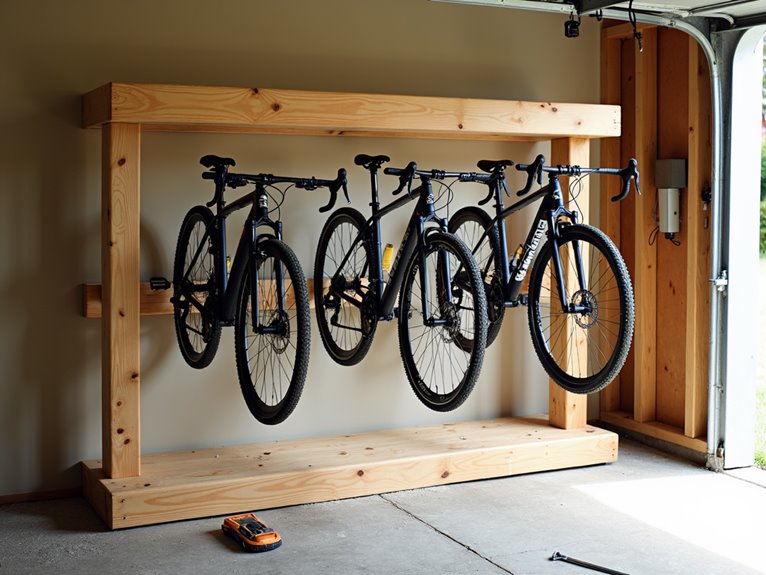
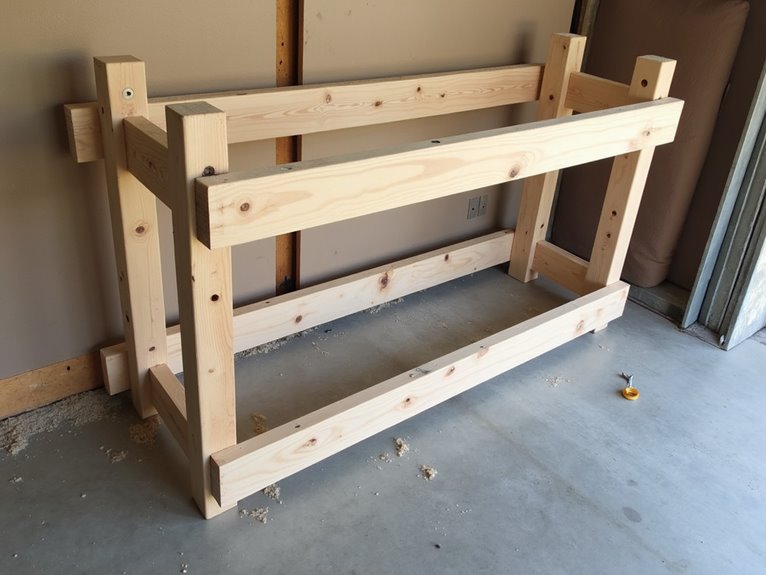
Assembly Instructions
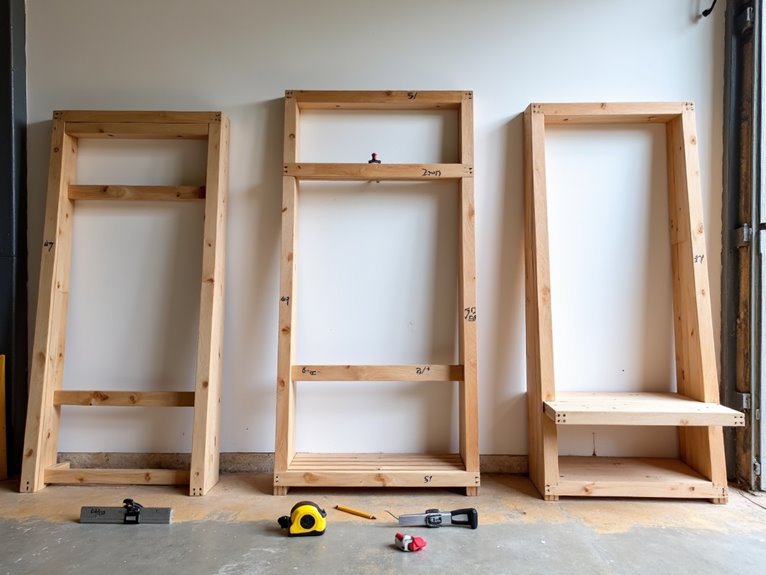
Before beginning the assembly process, lay out all your cut pieces on a clean, flat surface and arrange them according to your plans. Start by connecting the vertical supports to the base, making sure they’re perfectly straight. Next, attach the horizontal bike hooks, spacing them evenly. Finally, secure all joints with screws and check that everything is tight and stable.
Mounting the Rack
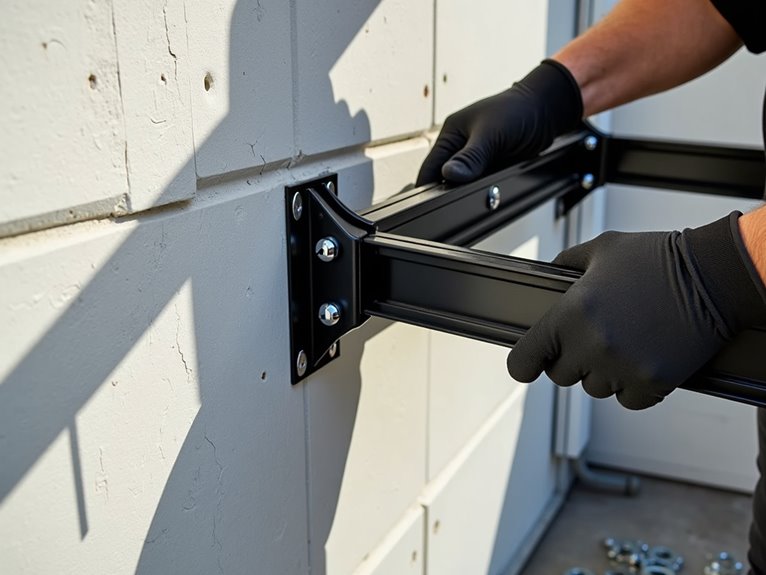
Getting the rack mounted securely is critical for both safety and functionality. You’ll want to locate wall studs using a stud finder and mark them clearly with a pencil. Once you’ve found your studs, hold the rack against the wall at your desired height and use a level to verify it’s perfectly straight. Secure it firmly with heavy-duty lag screws.
Testing Weight Capacity
Testing your newly mounted rack’s weight capacity is an essential safety step before storing bikes. Start by applying gentle pressure to each mounting point, then gradually increase weight by hanging one bike at a time. Listen for any concerning sounds and watch for signs of strain. For most DIY racks, it’s best to limit the load to two or three bikes maximum.
Adding Protective Features
Once your bike rack’s structural integrity is confirmed, protective features should be added to prevent damage to both the bikes and the rack itself. Add rubber padding or foam strips where bikes make contact with the frame. You can also install plastic end caps on exposed metal edges and paint the rack with rust-resistant coating for outdoor use.
Maintenance Tips
Regular maintenance of your bike storage rack will guarantee its longevity and continued safe operation. To keep your rack in top shape, follow these simple steps:
- Check all bolts and screws monthly, tightening any loose connections
- Clean the rack surface with mild soap and water quarterly
- Inspect wood for splinters or metal for rust every season
- Apply protective coating or sealant annually
Common Installation Mistakes
When installing a bike storage rack, even experienced DIYers can make critical errors that compromise safety and functionality. You’ll want to avoid mounting the rack on weak drywall without finding studs, using incorrect mounting hardware, or failing to level the unit properly. Also, don’t forget to account for your bike’s size and weight – a common oversight that can lead to storage problems later.
Storage Layout Options
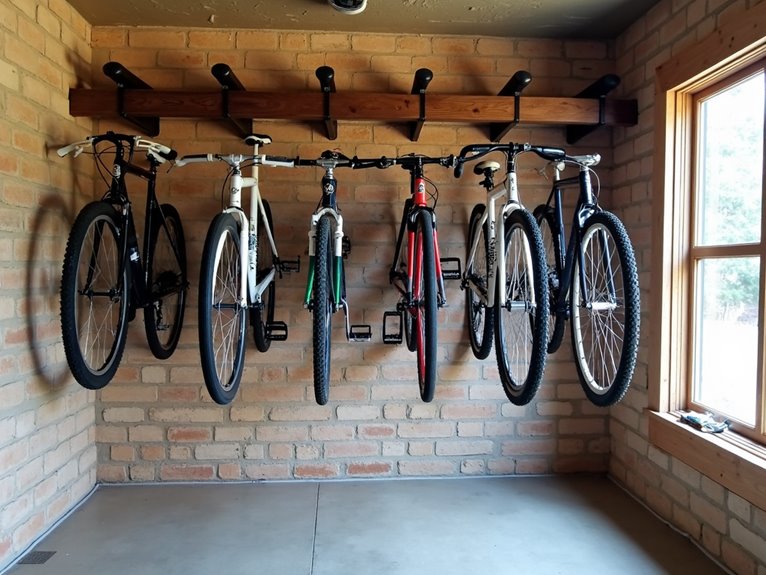
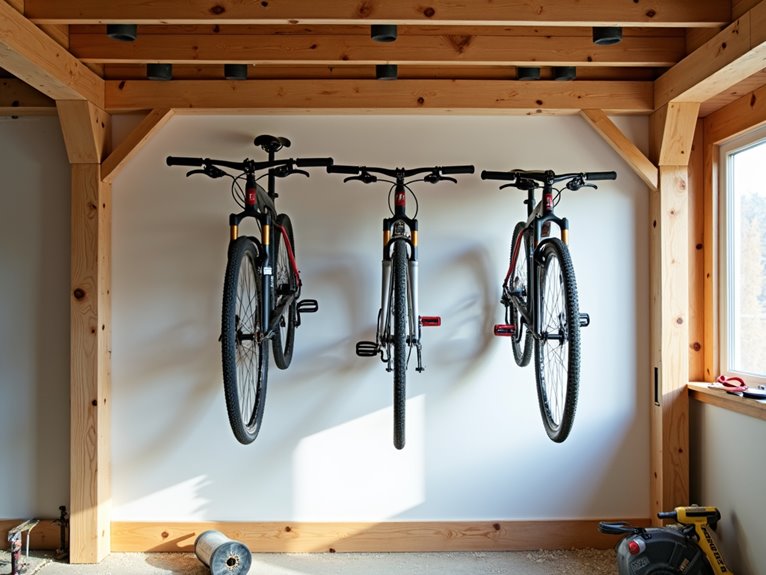
The right storage layout can maximize your available space while keeping bikes easily accessible. Consider these proven arrangements for your storage rack:
- Vertical wall mount – Bikes hang straight up and down
- Angled wall mount – Bikes tilt at 45 degrees for tighter spaces
- Alternating height setup – Bikes stack in a high-low pattern
- Horizontal side-by-side – Bikes line up parallel to the wall
Frequently Asked Questions
Can I Build a Bike Storage Rack on a Rented Property?
Building a bike rack on a rental property requires checking your lease agreement and getting written permission from your landlord first. While it’s possible, you’ll want to contemplate temporary solutions that won’t damage the property. Options like freestanding racks, tension-mounted systems, or portable storage units are great alternatives that won’t risk your security deposit and can move with you when your lease ends.
How Much Money Can I Save Compared to Buying a Ready-Made Rack?
Building your own bike rack can save you anywhere from $50 to $200, depending on the materials you choose and the design complexity. A basic DIY rack using PVC pipes might cost around $30-40 in materials, while comparable commercial racks start at $80-100. If you’re planning a wall-mounted wooden rack, your materials might run $40-60, versus pre-made options that typically cost $150-250.
Will Temperature Changes Affect the Stability of My DIY Bike Rack?
Temperature changes can affect your DIY bike rack, but proper building techniques will minimize any issues. Wood racks may expand and contract with humidity, while metal ones can rust in damp conditions. You can protect your rack by using weather-resistant materials, adding protective coatings, and placing it in a covered area. Regular checks for loose bolts or joints will help maintain stability year-round.
Does Homeowner’s Insurance Cover Damage Caused by a Failed Bike Rack?
Ever wondered what happens when DIY projects go wrong? While homeowner’s insurance typically covers sudden and accidental damage to your property, coverage for a failed bike rack depends on your specific policy and what caused the failure. Most policies cover damage if the rack falls due to covered perils like storms, but they might deny claims if the damage results from poor construction or maintenance. It’s best to check with your insurance provider for clarity.
Can I Modify the Rack Later to Accommodate Different Bike Sizes?
Most bike racks can be easily modified to fit different bike sizes. You can adjust the spacing between hooks or supports, add extensions, or relocate mounting brackets to accommodate everything from kids’ bikes to mountain bikes. Just make sure any modifications maintain the rack’s structural integrity and weight capacity. Consider using adjustable straps or moveable pegs that let you quickly adapt the setup without permanent changes.
