
Creating a budget-friendly kitchen island doesn’t require breaking the bank. You can transform old dressers, cabinets, or sideboards into functional kitchen islands with some basic tools and creativity. Start by sanding down surfaces, applying fresh paint, and adding a durable countertop. For extra mobility, consider installing wheels, or keep it stationary by upcycling storage cabinets. Don’t forget to add essential features like electrical outlets and adequate counter space for food prep. Whether you choose reclaimed materials or repurposed furniture, your new kitchen island can combine style and function while keeping costs low. Let’s explore your options for bringing this project to life.
Repurpose Old Furniture
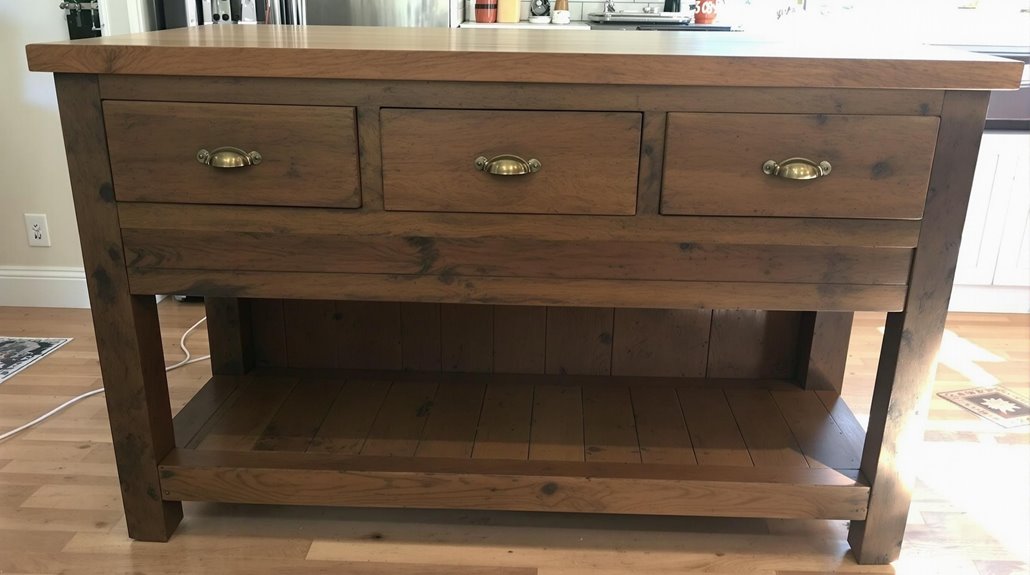
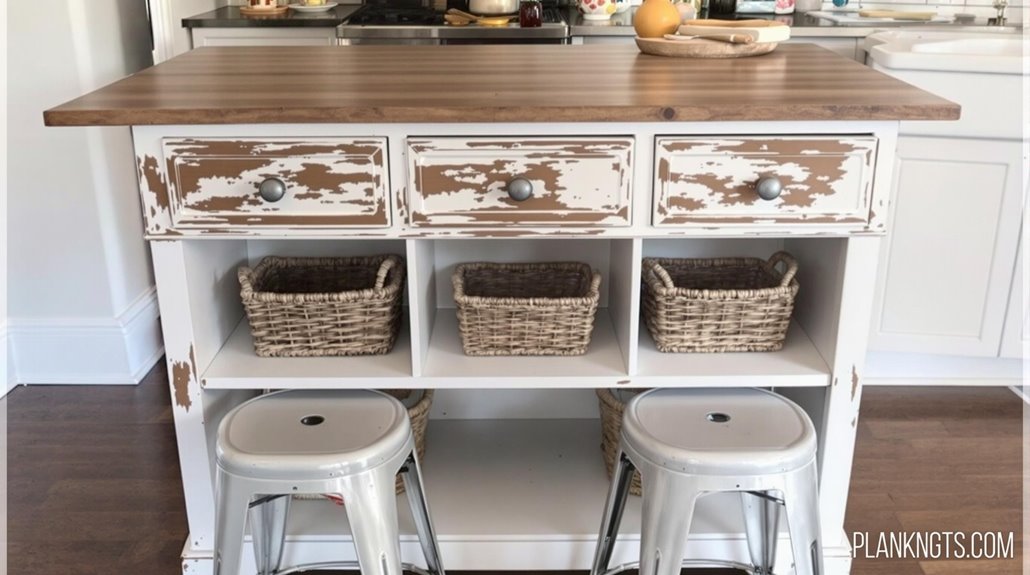
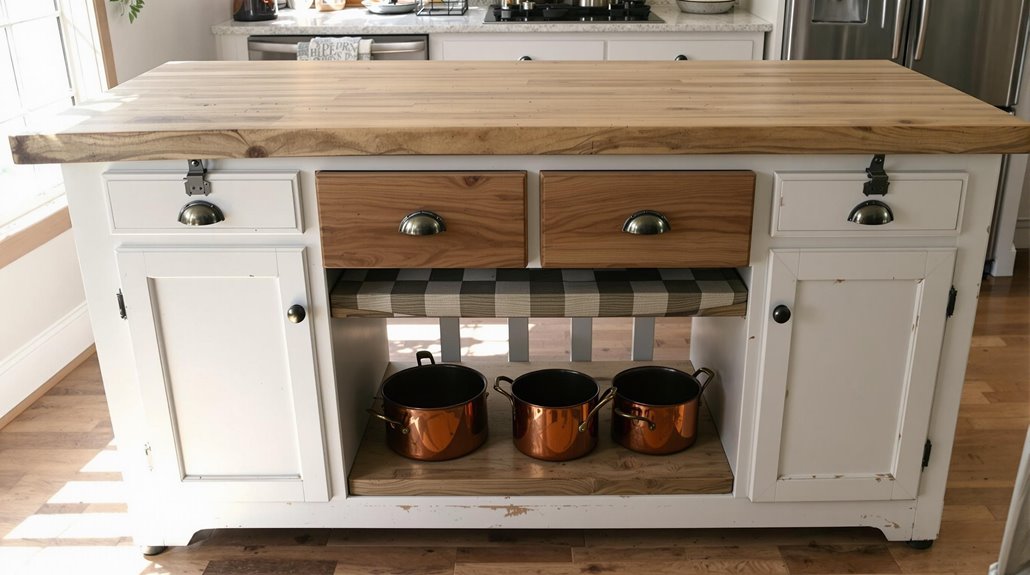
An old dresser, cabinet, or sideboard can be transformed into a stylish kitchen island with minimal investment. You’ll just need to sand it down, add a fresh coat of paint, and attach a durable countertop. Consider adding wheels for mobility, and don’t forget to seal wooden surfaces for water resistance. You can even keep the original drawers for extra storage space.
DIY Rolling Cart Options
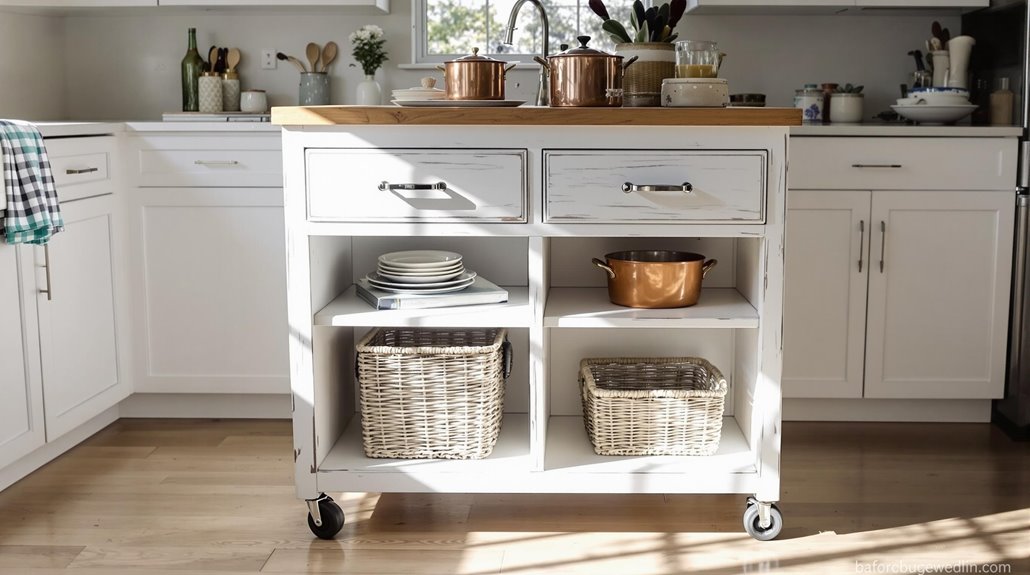
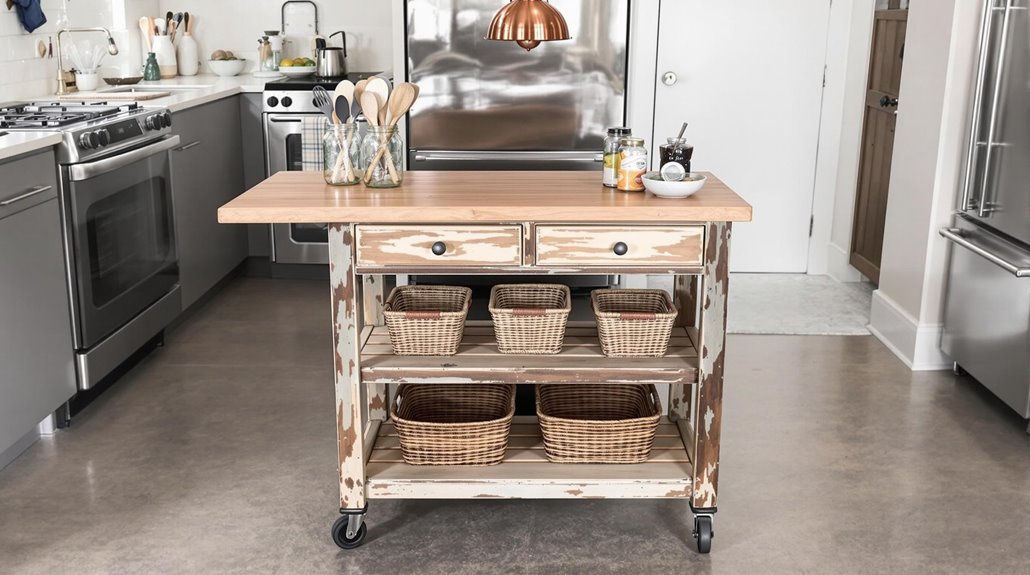
Several budget-friendly rolling cart options can transform your kitchen workspace while maximizing mobility. You can convert a basic utility cart with wheels by adding a butcher block top and storage baskets underneath. Another popular choice is to mount casters on a microwave cart or small bookshelf. For extra flair, paint your cart to match your kitchen’s color scheme.
Upcycle Storage Cabinets
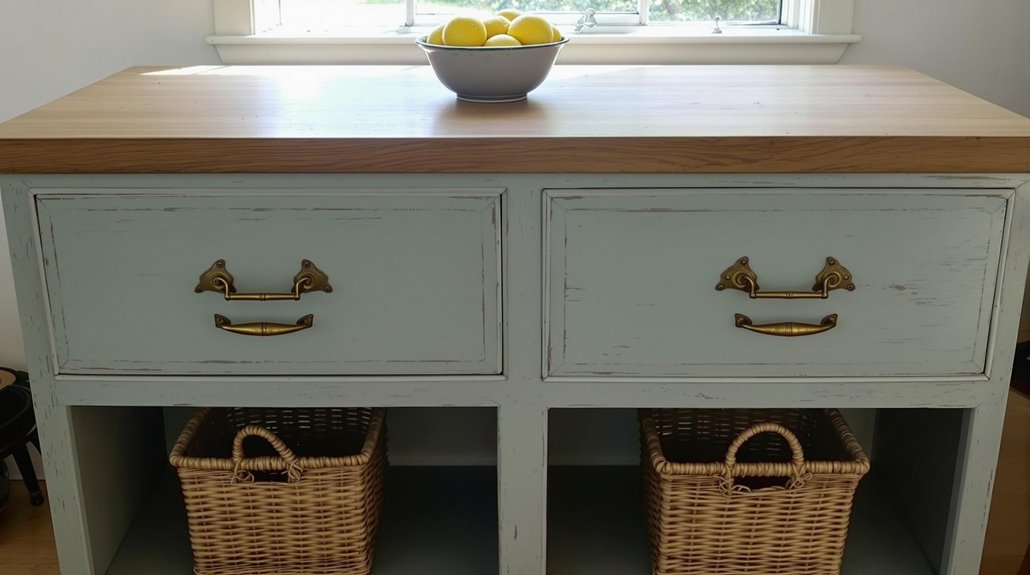
While rolling carts offer mobility, repurposing existing storage cabinets provides a more permanent kitchen island solution. You can transform old bathroom vanities, dressers, or file cabinets into stylish islands. Simply clean up your chosen cabinet, add a sturdy countertop, and give it a fresh coat of paint. Consider adding hooks, towel bars, or extra shelving to maximize storage space.
Build From Reclaimed Materials
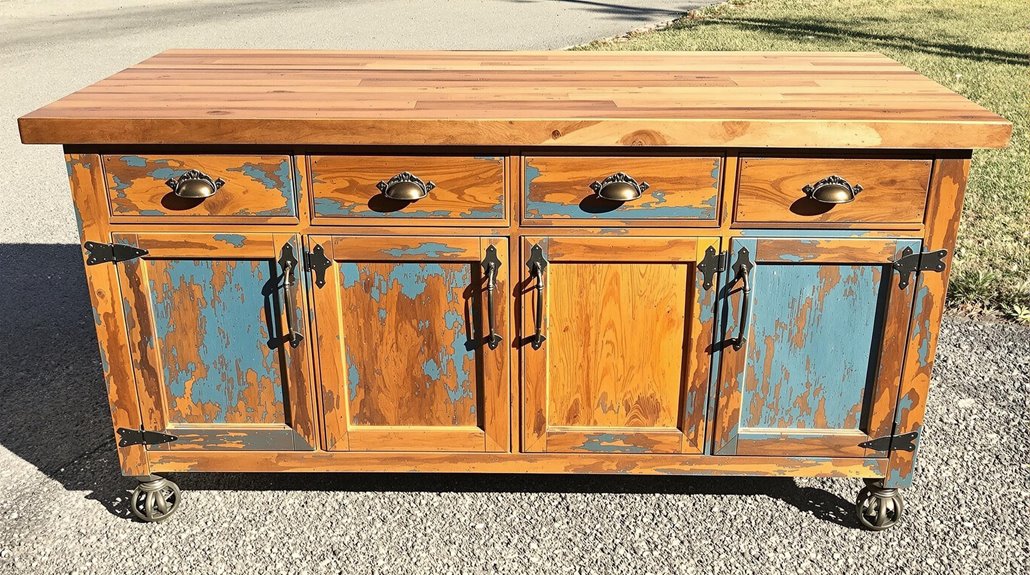
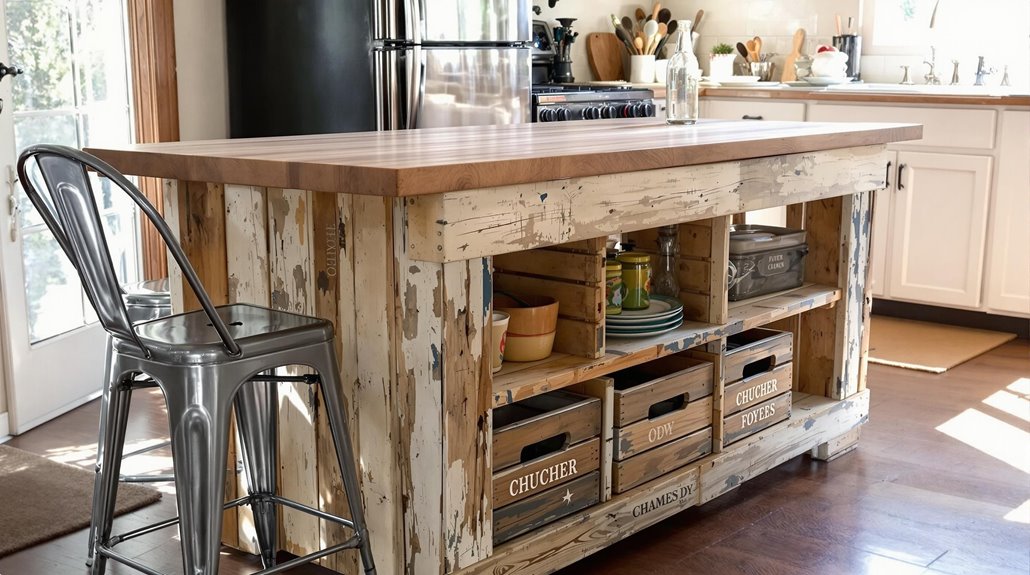
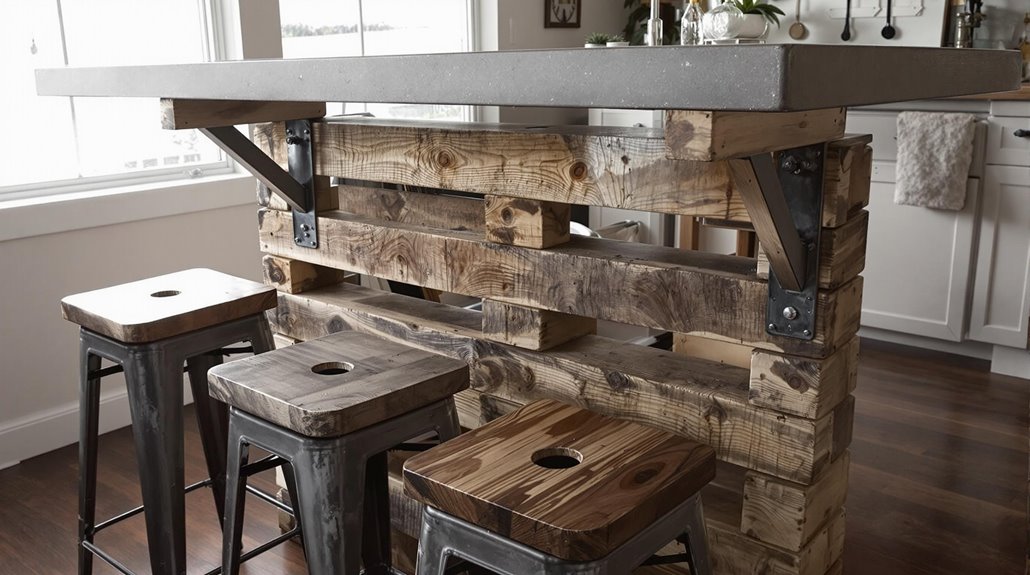
Reclaimed materials’ inherent character and affordability make them perfect candidates for creating a custom kitchen island. You can transform old doors, barn wood, or shipping pallets into a unique centerpiece. Check local salvage yards, online marketplaces, and demolition sites for materials. Just clean thoroughly, sand rough edges, and seal the wood properly to guarantee food-safe surfaces and lasting durability.
Smart Storage Solutions
Inside every kitchen island lies potential for maximizing storage capacity through thoughtful design choices. You can add pull-out drawers, adjustable shelving, and rotating corner units to make the most of every inch. Consider installing hooks on the sides for hanging utensils, adding a wine rack, or including a hidden trash bin. These budget-friendly storage solutions help keep your kitchen organized and clutter-free.
Budget Materials and Tools
For creating a cost-effective kitchen island, you’ll need to carefully select both materials and tools that balance quality with affordability. Consider using unfinished base cabinets, butcher block countertops, or repurposed wooden furniture as your foundation. You’ll need basic tools like a drill, screwdriver, level, and measuring tape. Look for discounted materials at home improvement stores and salvage yards.
Design Tips for Small Spaces
When designing a kitchen island for a compact space, careful planning and smart proportions are essential for maintaining functionality without overcrowding. Consider a narrow island design that’s 24-36 inches wide, and leave at least 36 inches of clearance on all sides. You can maximize space by incorporating storage solutions like pull-out drawers and adding wheels for mobility when needed.
Creative Countertop Alternatives
The countertop material you select can considerably impact both the aesthetics and budget of your kitchen island project. You can save money by using butcher block, stained plywood sealed with polyurethane, or peel-and-stick tiles over MDF. Another budget-friendly option is painting a solid wood surface with durable countertop paint, or repurposing salvaged materials like old doors or reclaimed wood.
Essential Kitchen Island Features
Every well-designed kitchen island should incorporate specific functional elements that enhance its utility and convenience. Your island needs adequate counter space for food prep, storage drawers or cabinets underneath, and electrical outlets for small appliances. Consider adding a slight overhang for comfortable seating, task lighting above, and at least one open side for easy access.
Frequently Asked Questions
What Permits Do I Need Before Installing a Permanent Kitchen Island?
Don’t put the cart before the horse when planning your kitchen island! Before installation, you’ll typically need a building permit from your local municipality. Some areas also require electrical permits if you’re adding outlets, and plumbing permits for sinks or disposals. Contact your city’s building department or check their website to learn about specific requirements, as regulations vary by location. A licensed contractor can help navigate this process.
How Much Weight Can My Kitchen Floor Safely Support for an Island?
A typical residential floor can support 40-50 pounds per square foot, but this varies based on your home’s construction and age. To be safe, you’ll want an engineer or contractor to assess your specific floor structure. They’ll check your joists, subfloor, and foundation to determine exact weight capacity. For reference, most kitchen islands weigh 100-500 pounds before adding countertops and storage items.
Should I Hire a Plumber if I Want Running Water Installed?
Did you know that 35% of DIY plumbing projects lead to costly repairs? When it comes to installing running water in your kitchen island, hiring a licensed plumber isn’t just recommended – it’s crucial. You’ll need proper permits, and plumbing work requires expert knowledge of local codes, pipe routing, and water pressure systems. Plus, a professional installation protects you from potential water damage and guarantees your insurance remains valid.
Will Adding a Kitchen Island Affect My Home Insurance Rates?
Adding a kitchen island typically won’t increase your home insurance rates directly, but you should notify your insurance company about this renovation. If your island includes plumbing or electrical work, it’s especially important to inform them. These upgrades might actually increase your home’s value, which could affect your coverage needs. Just make sure any modifications meet local building codes to avoid potential insurance issues.
How Close Can My Island Be to My Gas Stove Legally?
Better safe than sorry when it comes to kitchen spacing! For gas stoves, the National Kitchen and Bath Association recommends maintaining at least 24 inches of clearance between your island and stove. However, local building codes may require more space – typically 30-36 inches. You’ll want this space for safety, proper ventilation, and comfortable cooking. Always check your specific local building codes before finalizing your island placement.
