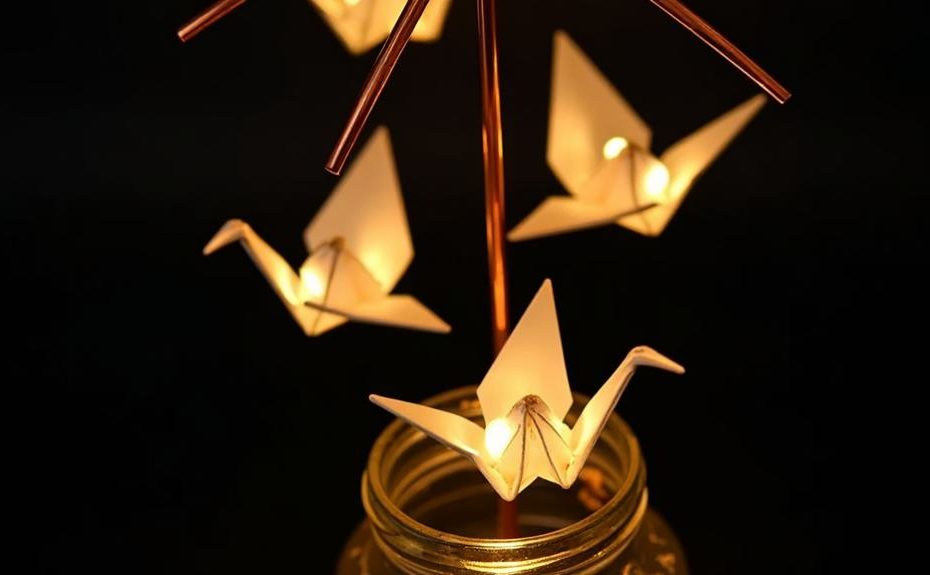
I’ll show you how to create a beautiful DIY lamp that’ll add character to any room. Start by selecting your perfect base – whether it’s a vintage brass piece, modern zinc, or rustic wood. You’ll need basic tools like wire strippers, pliers, and a drill to get started. The process involves careful drilling, proper wiring with safety knots, and attaching components like the socket and harp. Don’t forget the lampshade – it should be two-thirds the height of your base and match your room’s style. Once you’ve got these basics down, you can explore endless creative possibilities for your custom lighting masterpiece.
Selecting Your Perfect Base
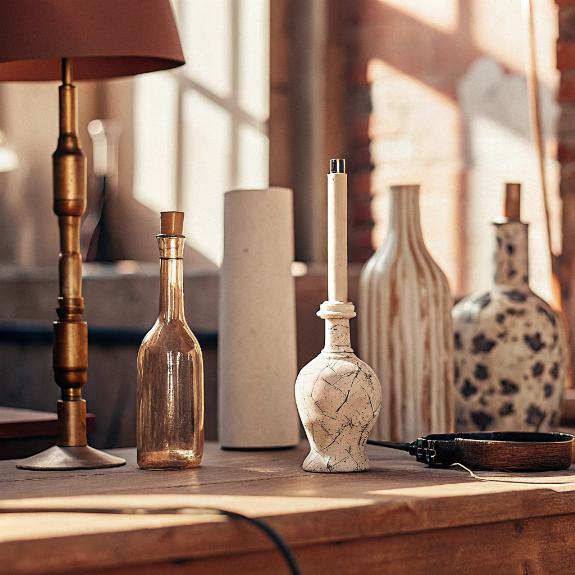
When selecting a lamp base for your DIY project, you’ll want to carefully consider both the material and style to guarantee it matches your home’s aesthetic while providing the stability and functionality you need.
I’ve found that traditional homes really shine with brass or bronze bases, which add that perfect touch of elegance and history to any room. The natural patina development over time adds to their vintage appeal and charm.
If you’re going for a more modern look, I’d recommend checking out zinc or iron bases. They’re fantastic for creating that sleek, contemporary feel, and I love how iron can bring an industrial edge to your space.
For those of you with country or vintage-style homes, you can’t go wrong with wood or ceramic – they’re my go-to choices for adding natural warmth and character.
Don’t forget about customization options! I’ve had great success painting existing bases or wrapping them in rope for a coastal vibe.
If you’re feeling adventurous, try creating your own base using concrete or resin – it’s easier than you might think, and you’ll end up with a truly one-of-a-kind piece that’s perfectly suited to your style.
Getting Your Tools Ready
Now that you’ve chosen your perfect base, let’s prepare our workspace with the right tools for the job. I’ll help you gather everything you’ll need to create your beautiful lamp safely and efficiently.
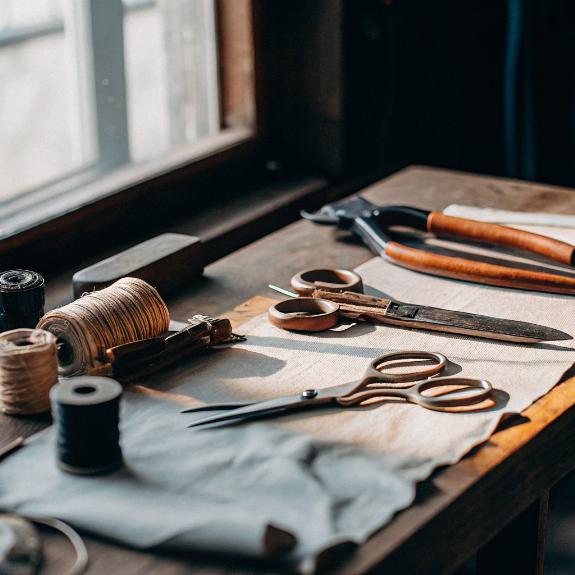
First, you’ll want to collect your essential tools: both manual and automatic wire strippers (I prefer manual for more control), small and large wire cutters, a box cutter, and scissors. You’ll need a concrete drill bit to create the cord exit hole in your vase.
Don’t skip on the safety equipment – your eyes are precious, so grab those safety glasses! You’ll also need a grip mat to keep things steady, and I always recommend having a continuity tester or multimeter handy to check those electrical connections.
For the more detailed work, you’ll want needle nose pliers and a small flathead screwdriver.
If you’re planning to customize your lamp base, make sure you’ve got a hand drill with a 25/64″ bit, a circle compass, and that all-important 1 9/16″ hole saw with its arbor and pilot bit.
I like to keep a half round file nearby for smoothing rough edges.
Finally, don’t forget the finishing supplies – electrical tape, masking tape, and measuring tools will be your best friends during this project!
Drilling and Wiring Steps

Before diving into the intricate wiring process, let’s start by drilling the necessary holes in your lamp base.
Using a drill press setup will ensure the most accurate and straight holes. I’ll let you in on a pro tip: if you’re drilling holes longer than 26 inches, split them into two shorter ones and work from both ends – trust me, it’ll make your life easier! I recommend using an electrician’s auger bit for the most accurate results.
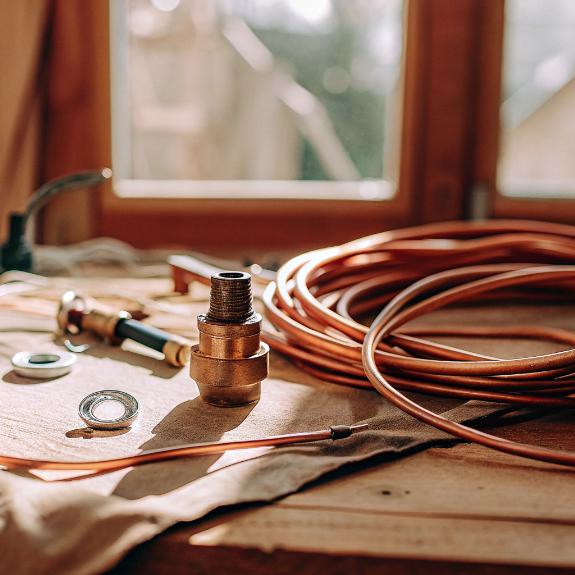
Now for the fun part – wiring! I always start by feeding the new lamp cord through the base and up through the tubing to the side arms.
Here’s where attention to detail really matters: you’ll want to loop the copper wire ends around the terminal screws and tighten them clockwise. Remember, black wires go to gold terminals, and white wires connect to silver ones.
Don’t forget the underwriter’s knot – it’s your safety backup to keep those wires secure inside the socket.
For the finishing touches, I carefully attach the new socket and insulating sleeve before securing the base.
While it might seem like a lot of steps, taking your time here will guarantee your lamp is both beautiful and safe to use.
Adding The Lamp Components
Three essential lamp components form the foundation of your DIY project: the socket, harp, and shade support system. I’ll guide you through installing these vital elements to create a professionally finished lamp.
First, you’ll want to attach your chosen socket to the lamp’s base or cap using construction adhesive, making sure it’s perfectly centered. Once that’s secure, I recommend installing the harp supports, which will hold your shade steady and prevent any wobbling. The heavy-duty harp fitters provide superior stability for various lamp shade styles.
Here’s what you’ll need to watch out for during assembly:
- Make sure to tie an Underwriter’s Knot in your wiring – it’s not just fancy, it’s a safety essential!
- Don’t skip testing your connections with a multimeter before powering up.
- Check that your shade sits level on the harp – nothing ruins the look quite like a crooked shade.
- Keep your finial and harp finish matching for that polished look.
Finally, I’ll help you add those perfect finishing touches. Whether you’re going for crystal prisms, a decorative chain, or an eye-catching finial, these elements will transform your basic lamp into a custom masterpiece that’ll have friends asking where you bought it.
Choosing Your Lampshade Design
Selecting the perfect lampshade design brings your DIY project to life while setting the mood for your space. I’ll help you make sure your shade complements your lamp base perfectly.
First, you’ll want to measure your lamp base – the shade’s height should be about two-thirds of the base height, and its bottom width should be within two inches of the lamp’s height.
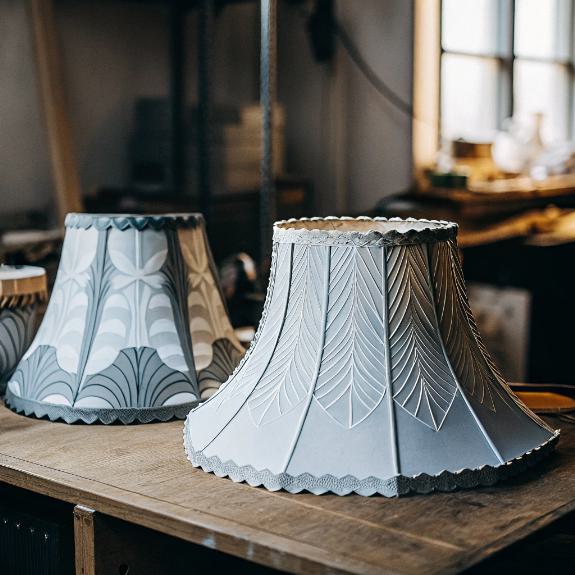
Now for the fun part! You’ve got several shape options to play with: drum, bell, cone, empire, or cylindrical.
I personally love working with cotton fabric because it’s so forgiving, but you might want to explore other materials like washi paper or wood veneer for a unique twist. Using textured cotton fabric creates a polished appearance similar to store-bought shades. If you’re feeling creative, try incorporating macrame cord or embroidery floss for added texture.
Here’s a pro tip: before committing to your design, consider how it’ll fit with your room’s décor. You can customize your shade with fabric strips, paint, stencils, or even gold leaf.
I’ve found that adding small decorative touches like ribbons or buttons can really make a lampshade pop. Just remember to press those raw edges for that professional finish we’re aiming for!
Frequently Asked Questions
Can I Use a Plastic Vase as a Lamp Base?
Did you know that plastic vases can support up to 15 pounds when properly reinforced?
I’d say you can definitely use a plastic vase as a lamp base, but you’ll need to take some precautions.
I recommend checking that your vase is sturdy enough to hold the lamp components, drilling carefully to avoid cracks, and ensuring proper ventilation for heat.
For safety, I always suggest using LED bulbs.
How Do I Repair Hairline Cracks That Appear After Drilling?
I’d recommend following my tried-and-true repair method for those pesky drilling cracks.
First, I clean the area thoroughly and widen the crack slightly with a Stanley knife.
Then, I apply flexible filler with a caulking gun, let it dry completely, and sand it down.
I finish with a fine surface filler for that seamless look, and once it’s dry, I paint over it.
Works like a charm!
What Wattage Bulb Is Safe for My DIY Lamp?
Did you know that using the wrong wattage bulb accounts for over 25% of home electrical fires?
I’d strongly recommend checking your lamp’s socket rating first – it’s usually printed right on the socket.
For DIY lamps, I suggest sticking with LED bulbs no higher than 40-60 watts equivalent (about 8-12 watts actual for LEDs).
They’re safer, run cooler, and still give you plenty of light without risking overheating.
Should I Add Weights Inside the Base for Better Stability?
I’d definitely recommend adding weights to your lamp base – it’s one of those small steps that makes a big difference.
You’ve got several options: I love using sand or gravel for hollow bases since they’re adjustable, or you could go with a cast iron weight for serious stability.
Just make sure to distribute the weight evenly, and consider your floor type when choosing.
Trust me, it’s worth it to prevent any tippy situations!
How Do I Childproof My Homemade Lamp’s Cord and Switches?
I’d recommend using a cord shortener to wrap up any excess length, keeping it out of reach.
For the exposed cord, I’ll secure it with a surface-mounted raceway along the wall or baseboard.
Don’t forget to add a childproof outlet cover where you plug in the lamp, and consider installing a safety switch cover over the lamp’s on/off switch to prevent little fingers from tampering with it.
